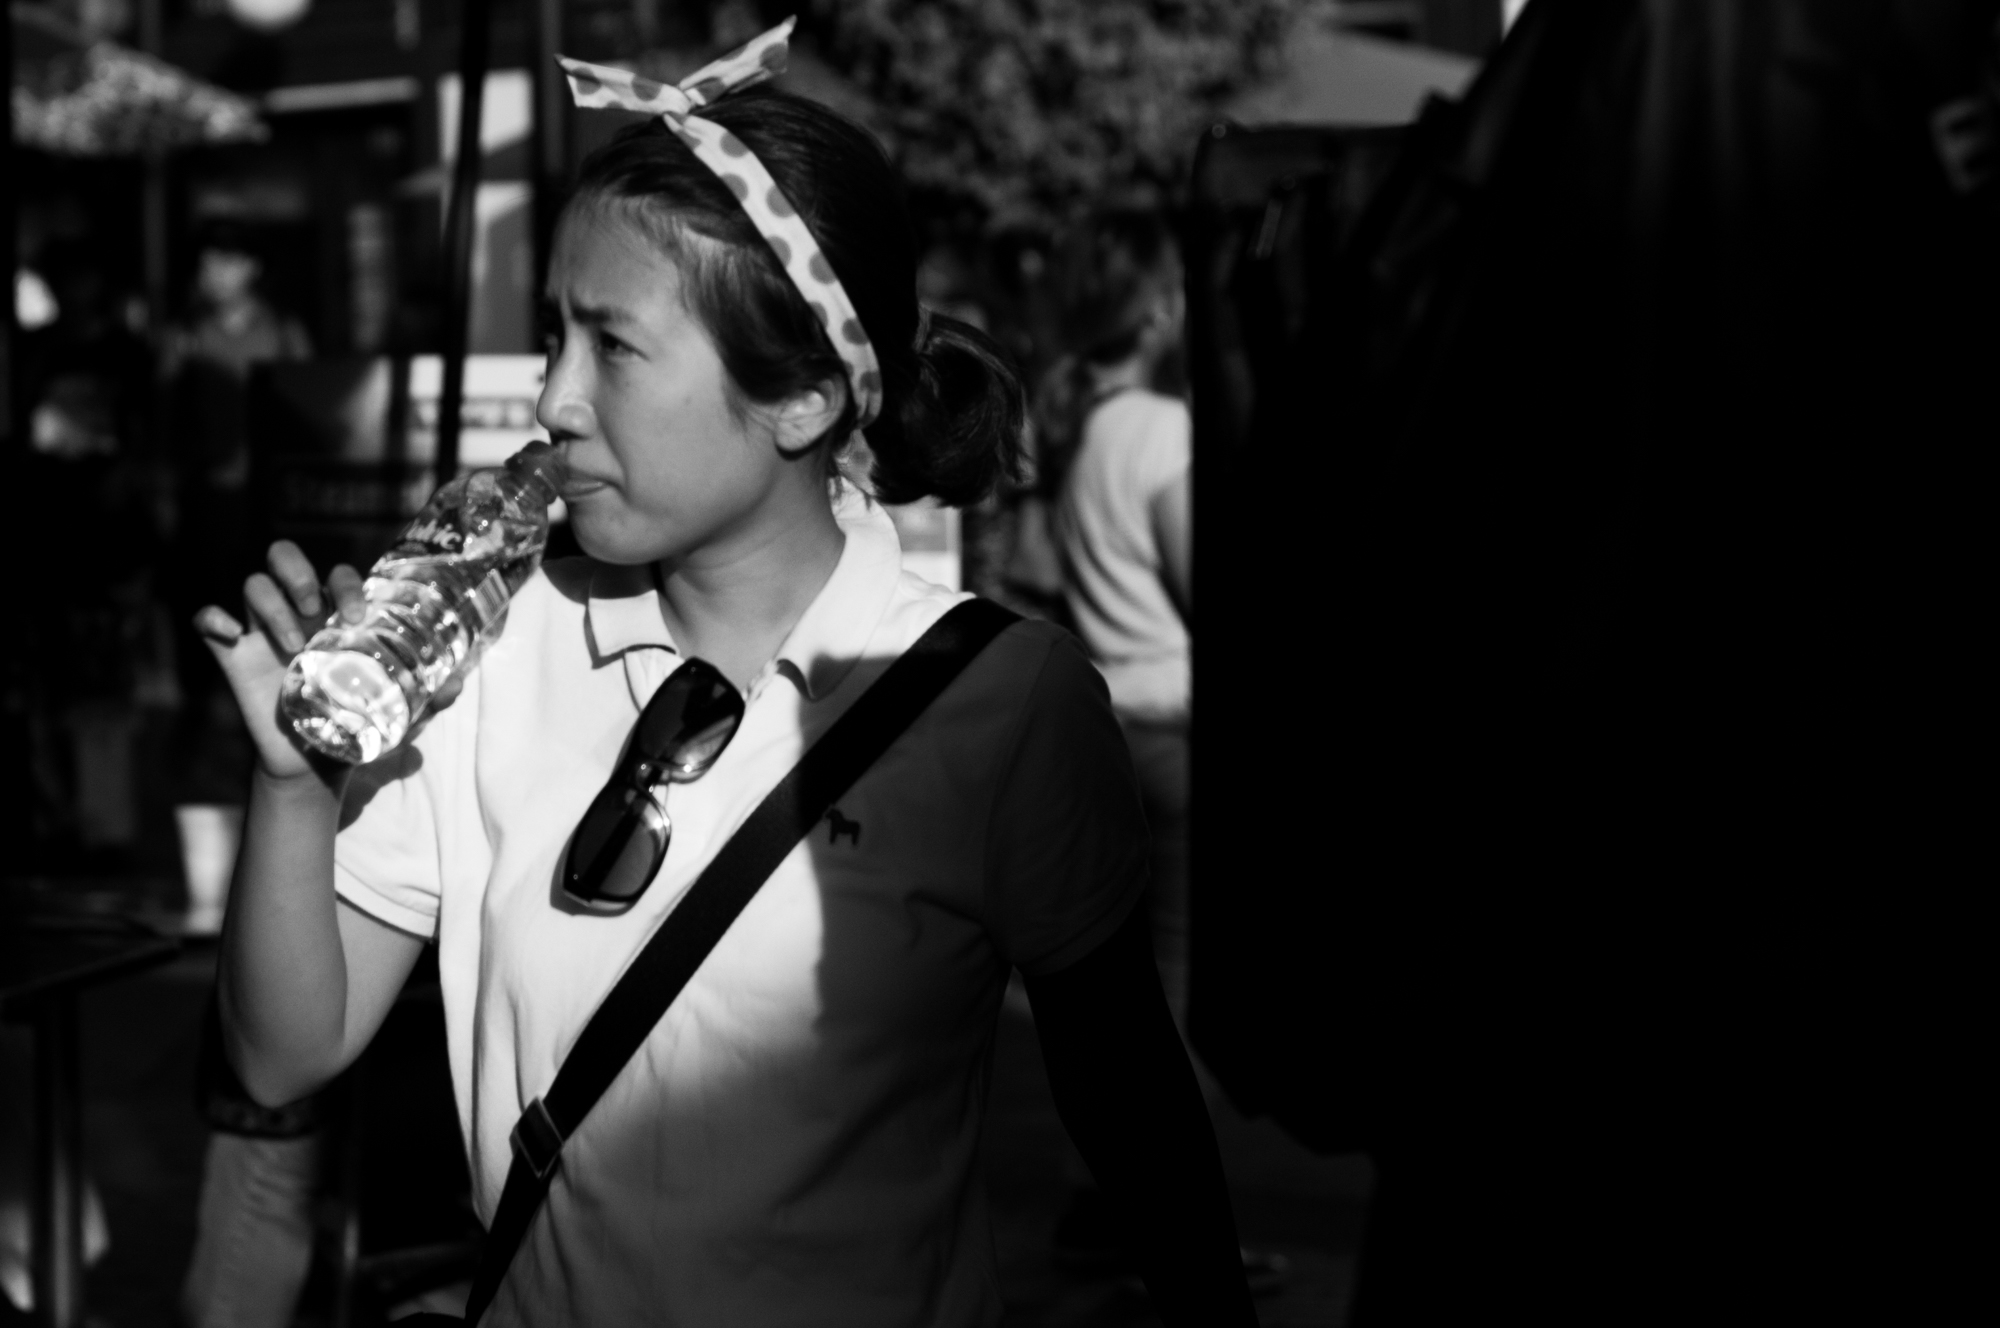
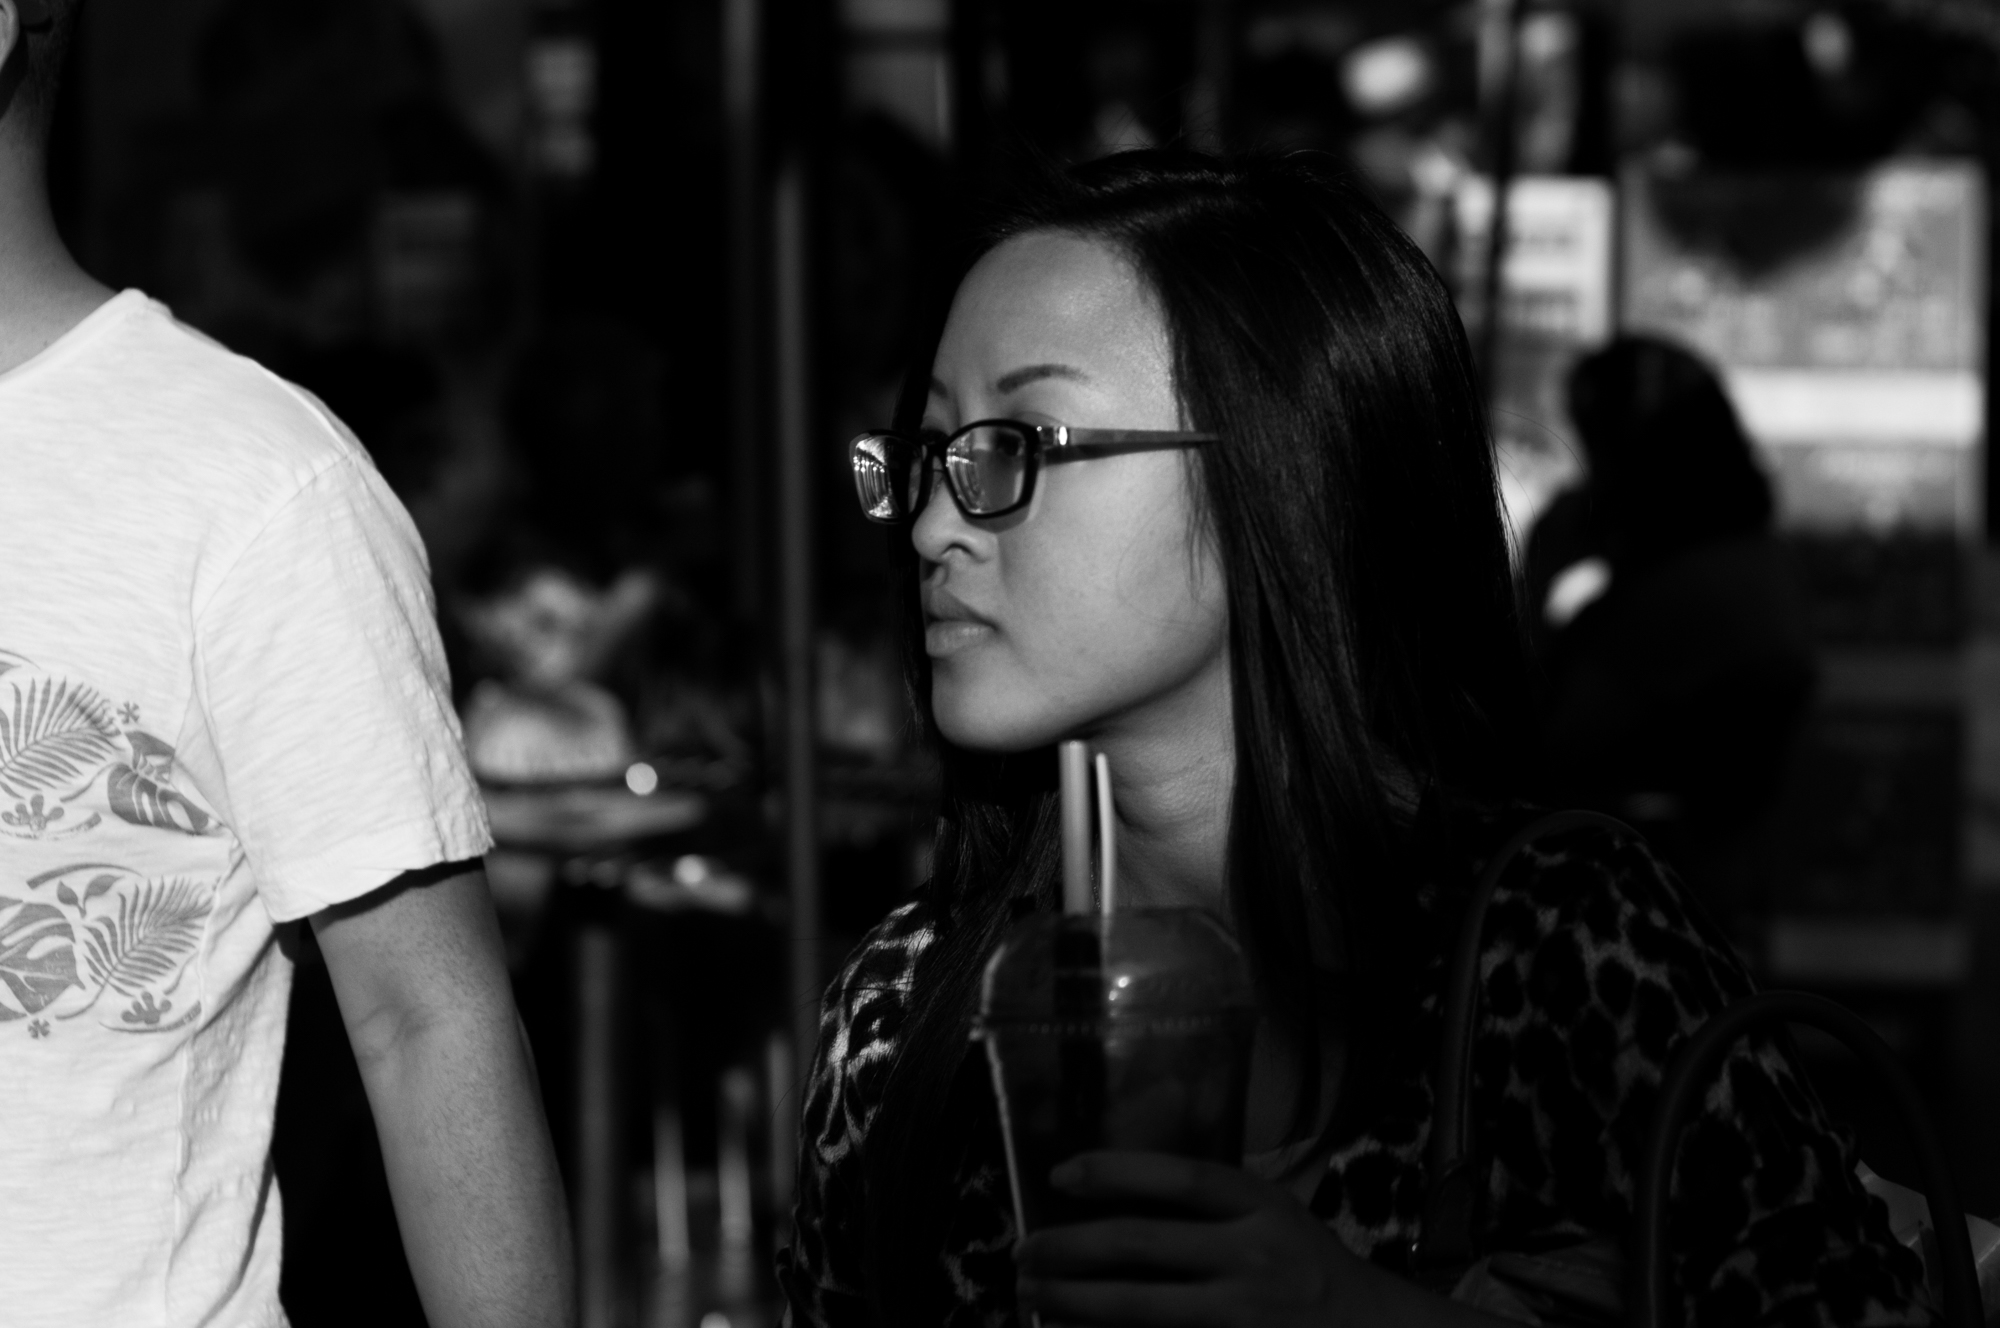
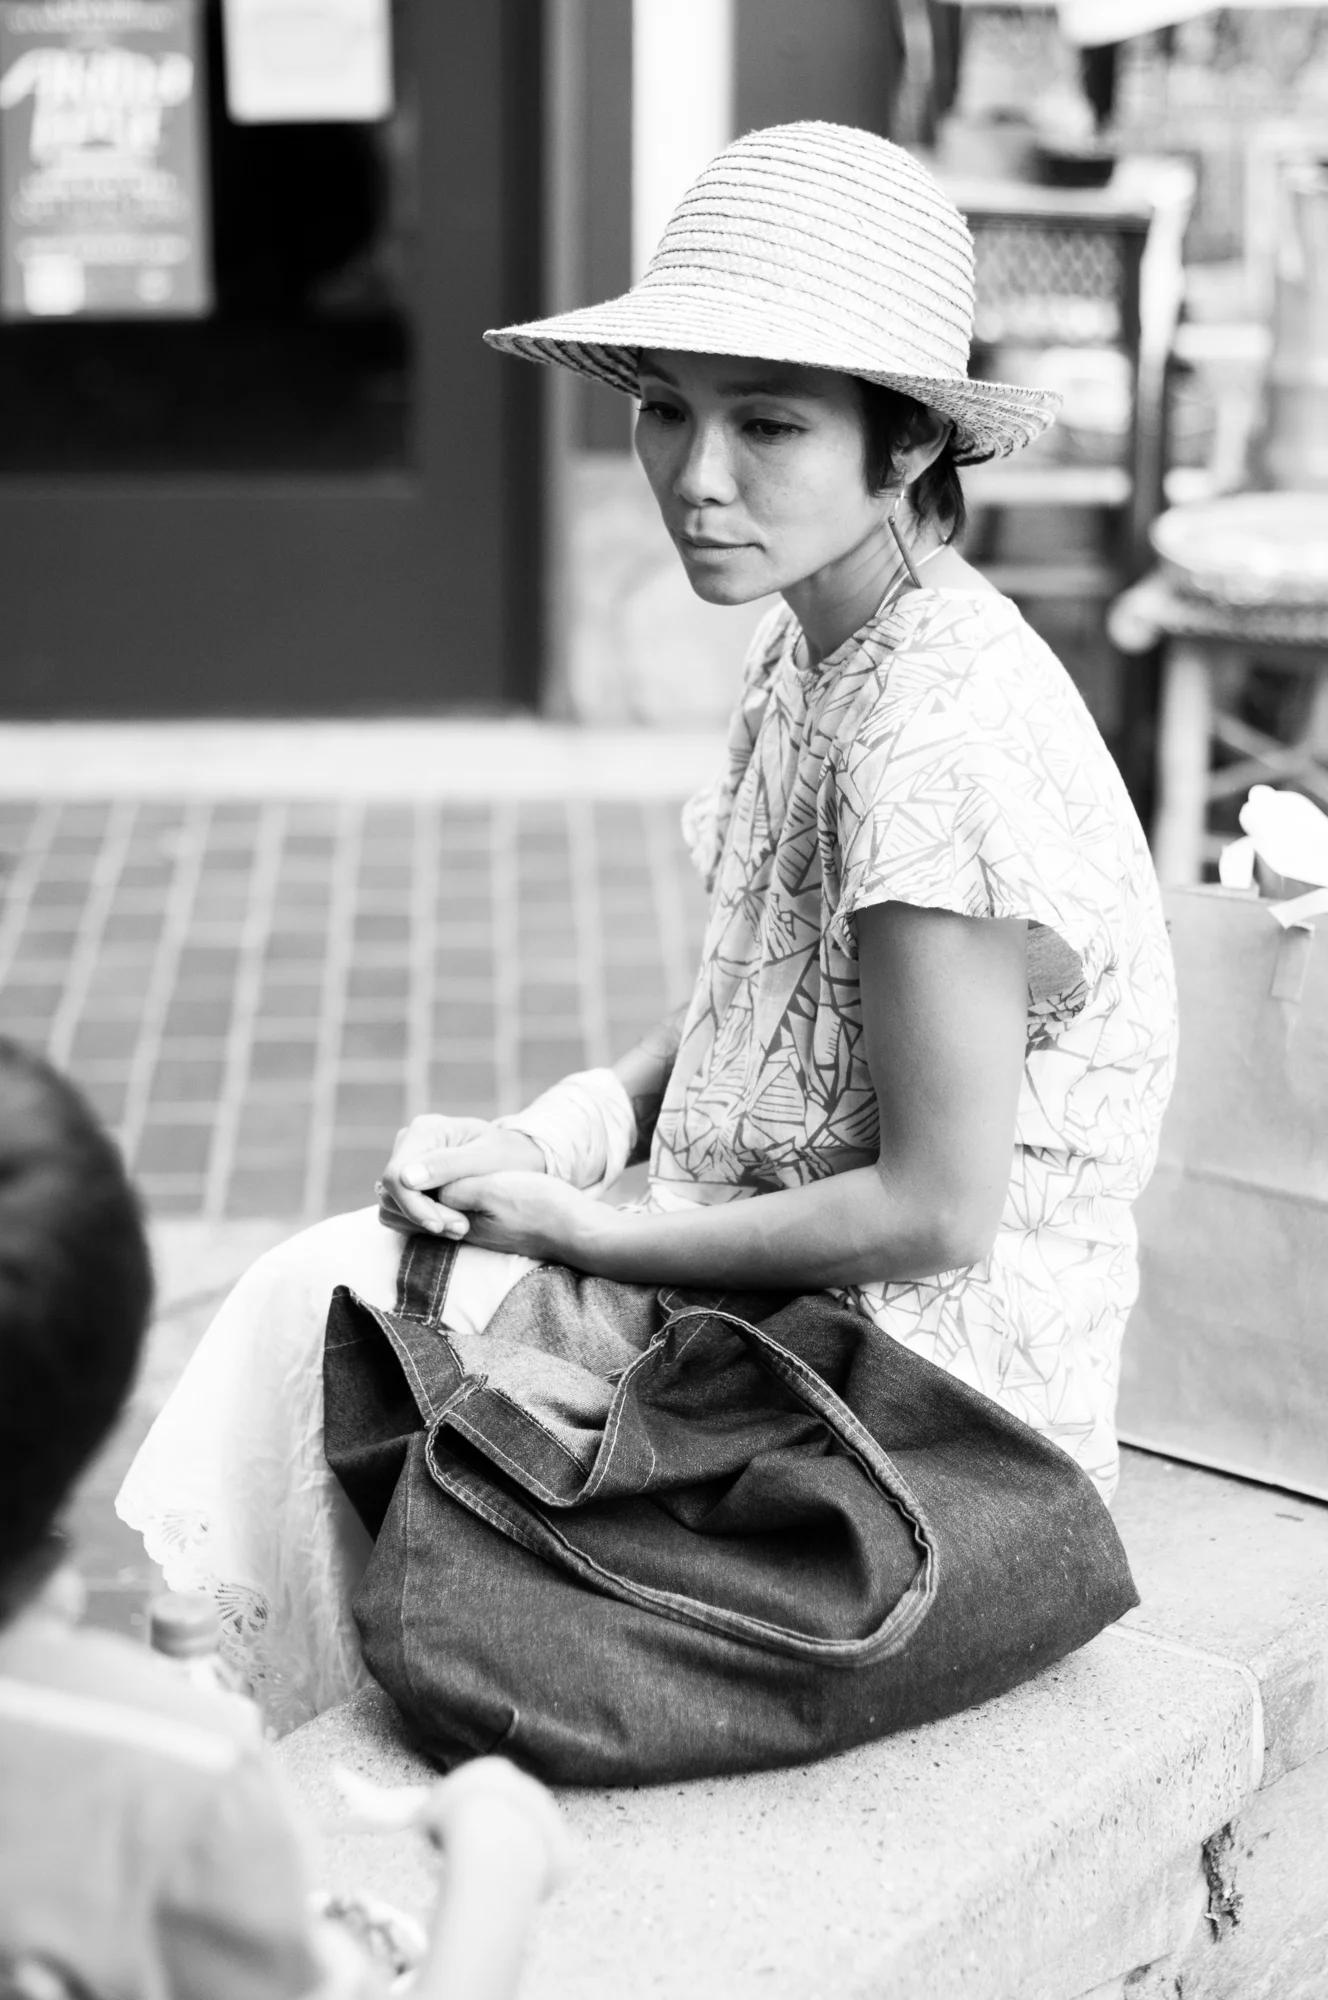
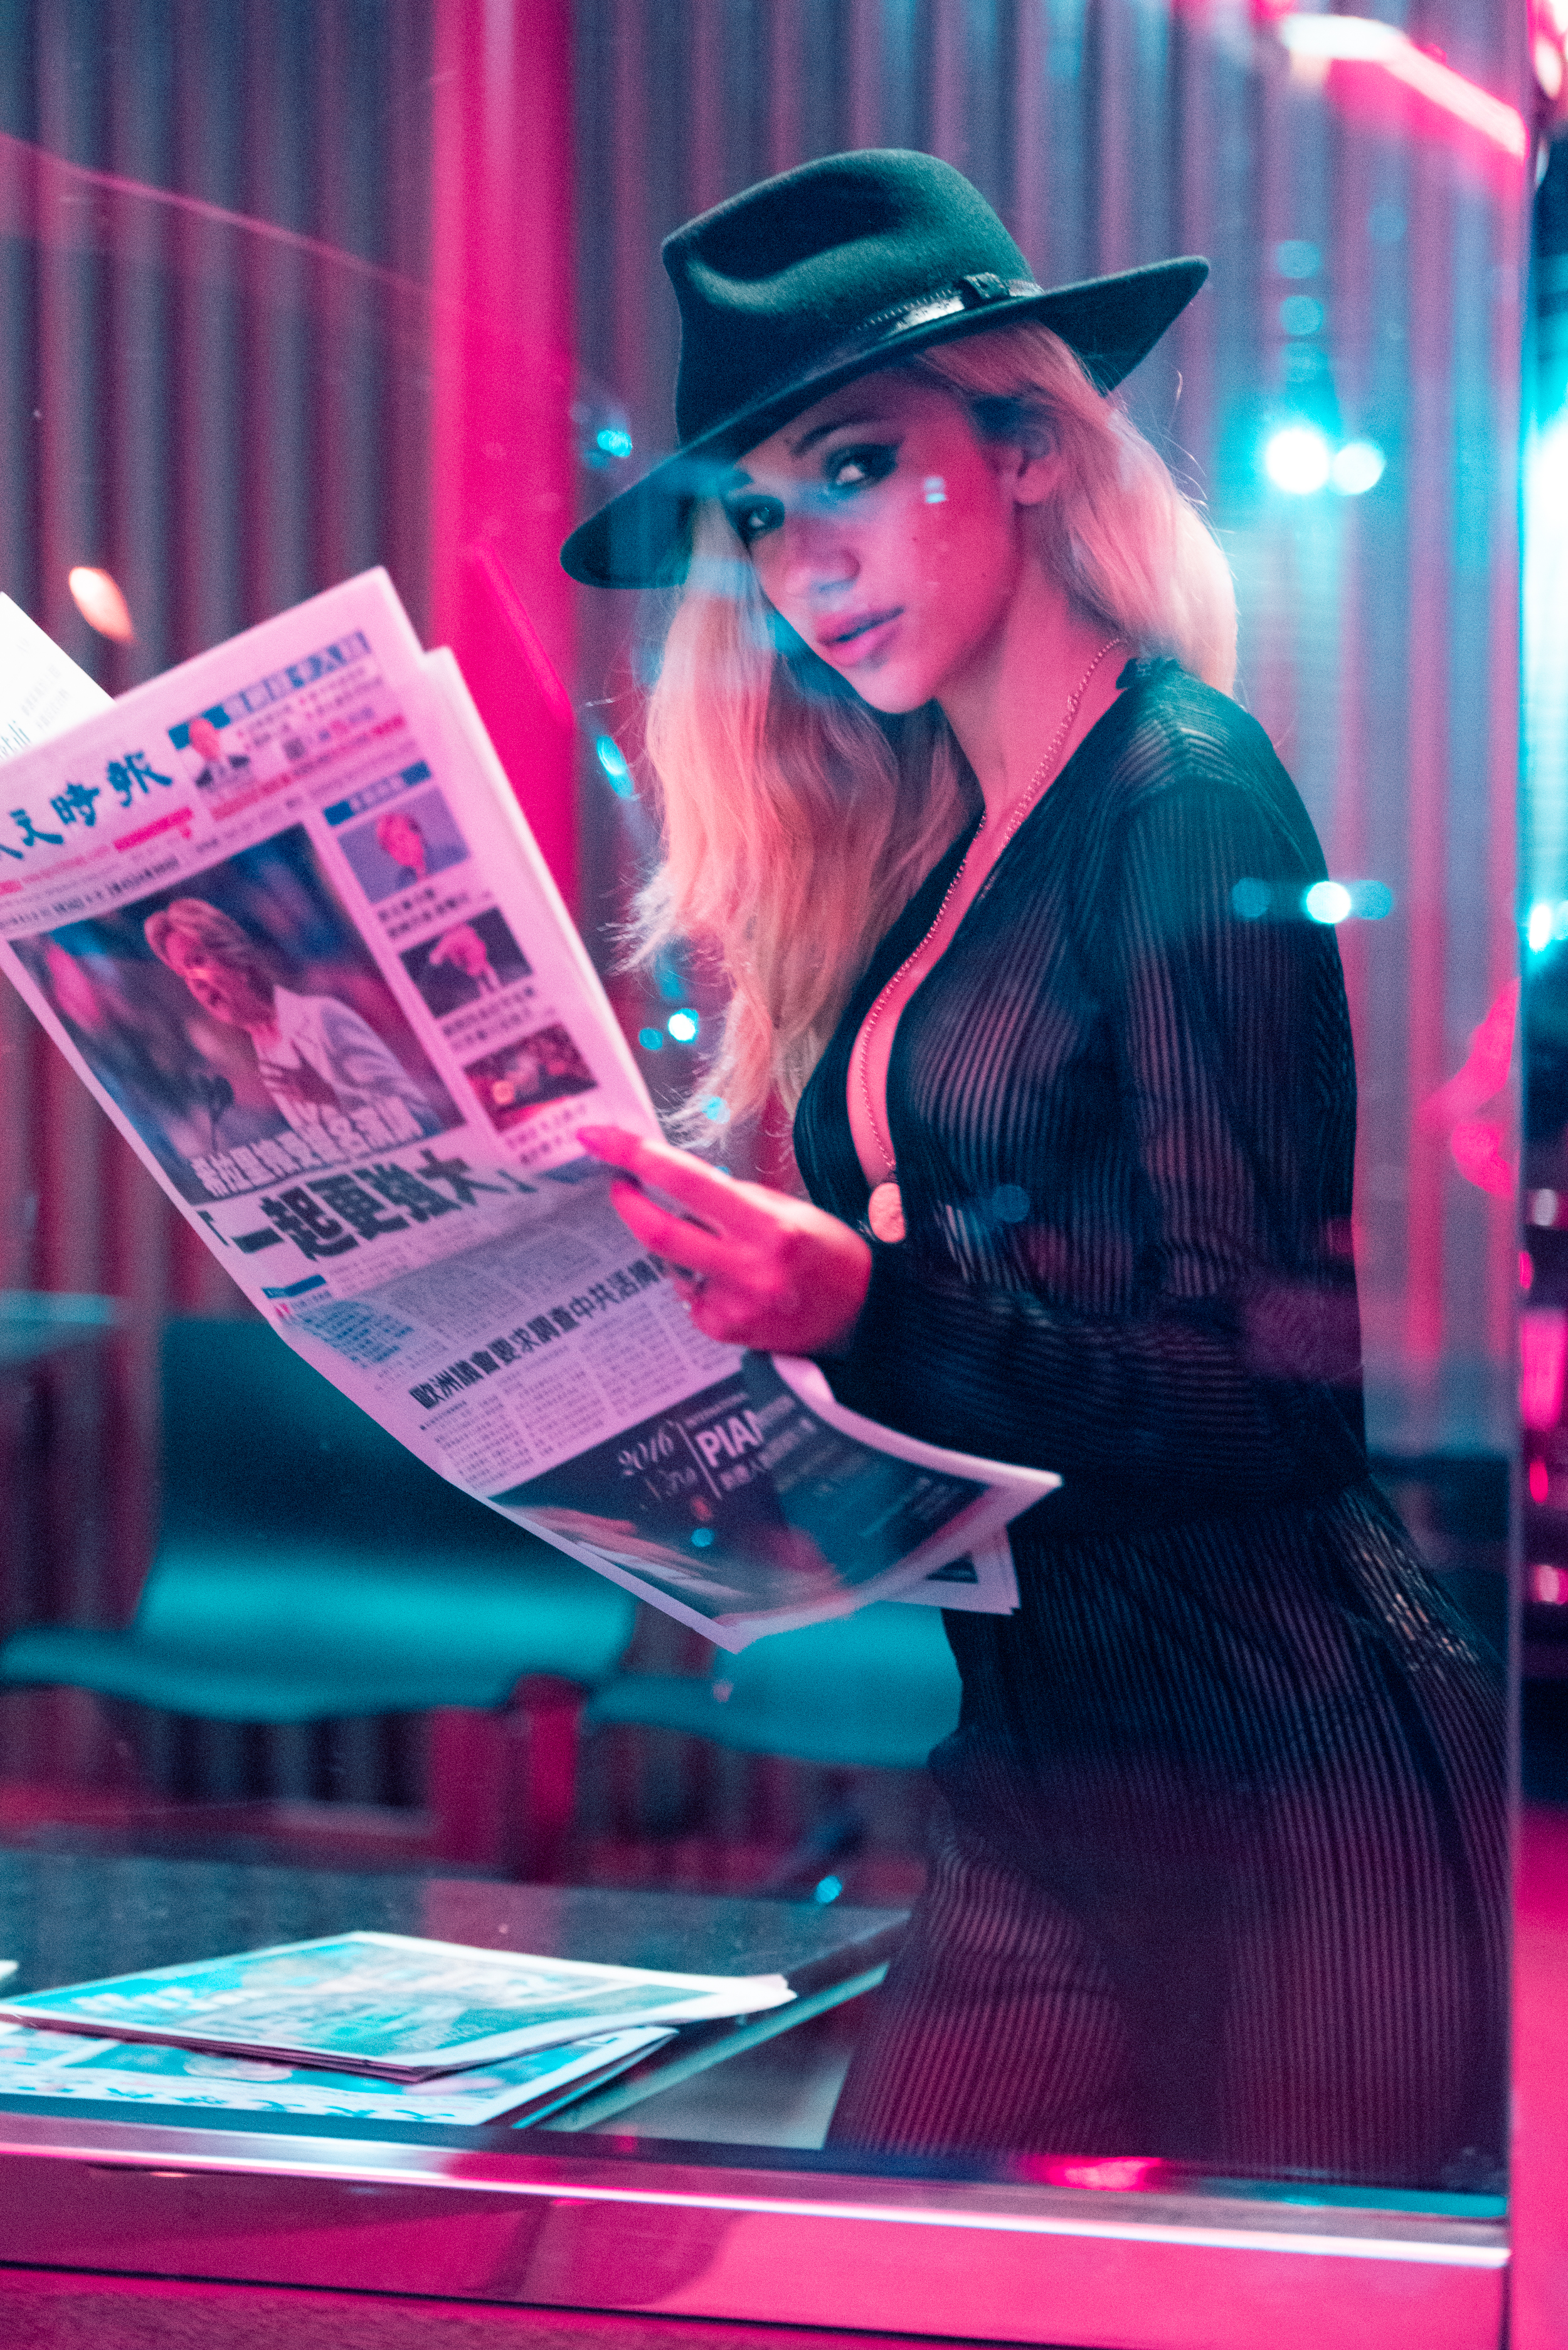
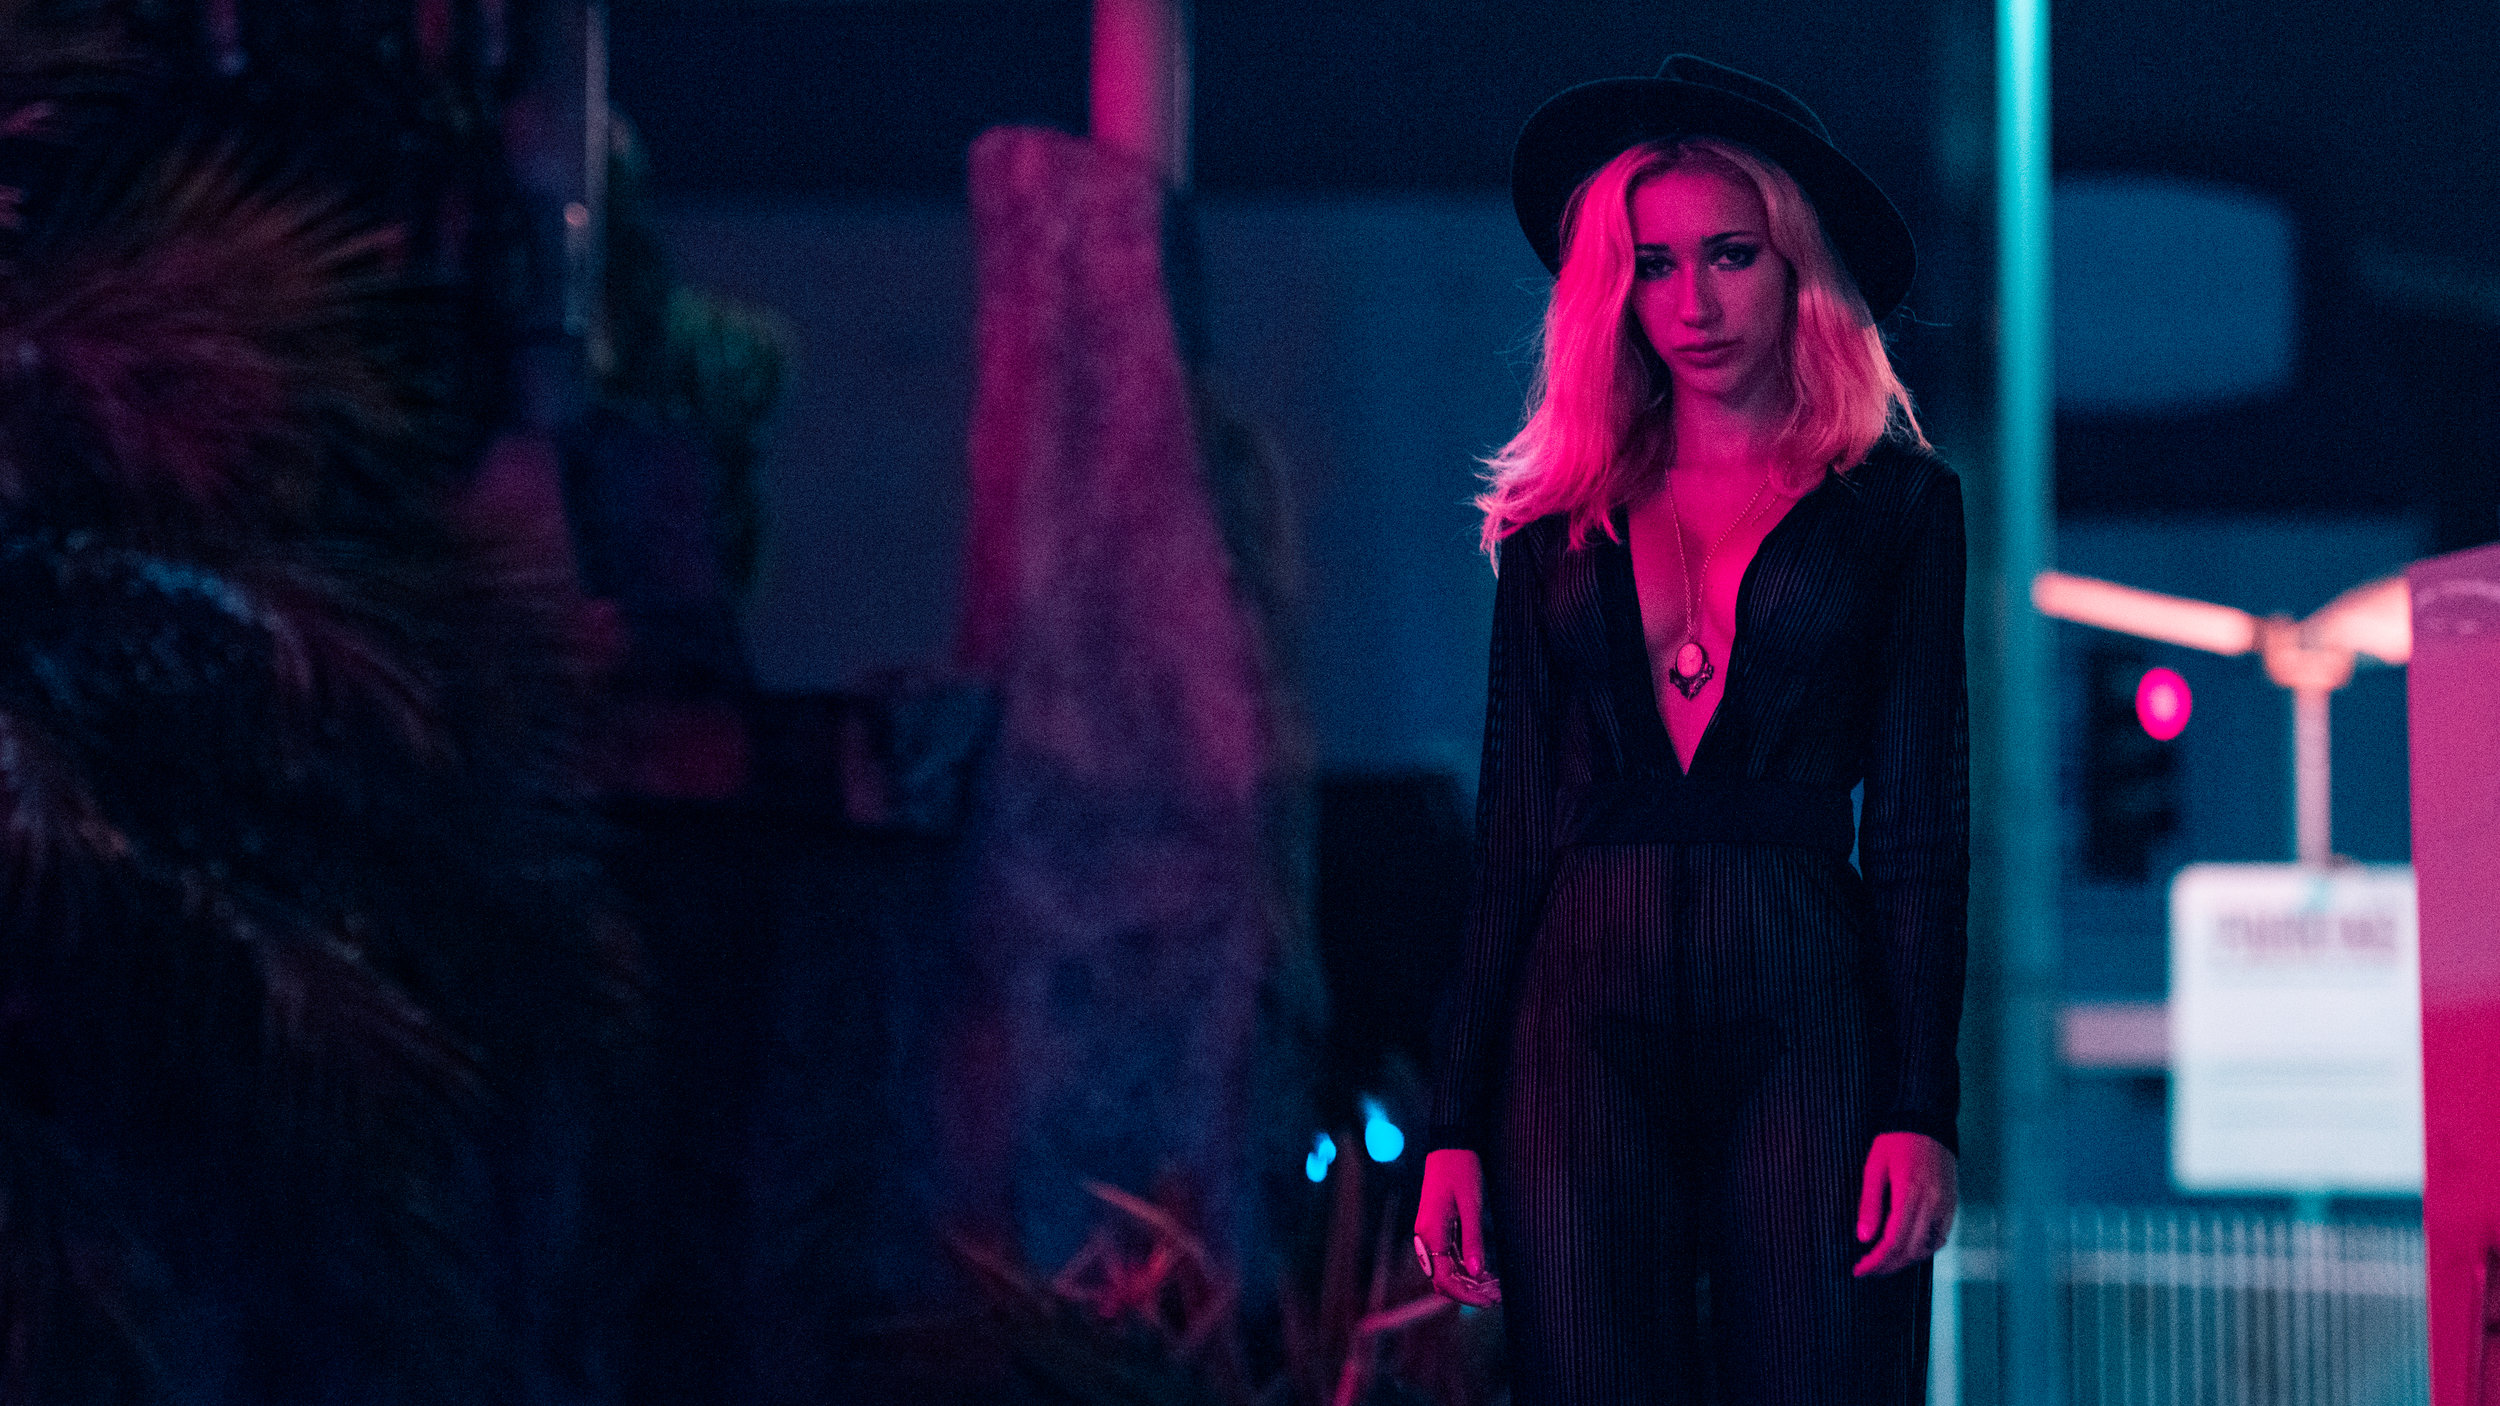
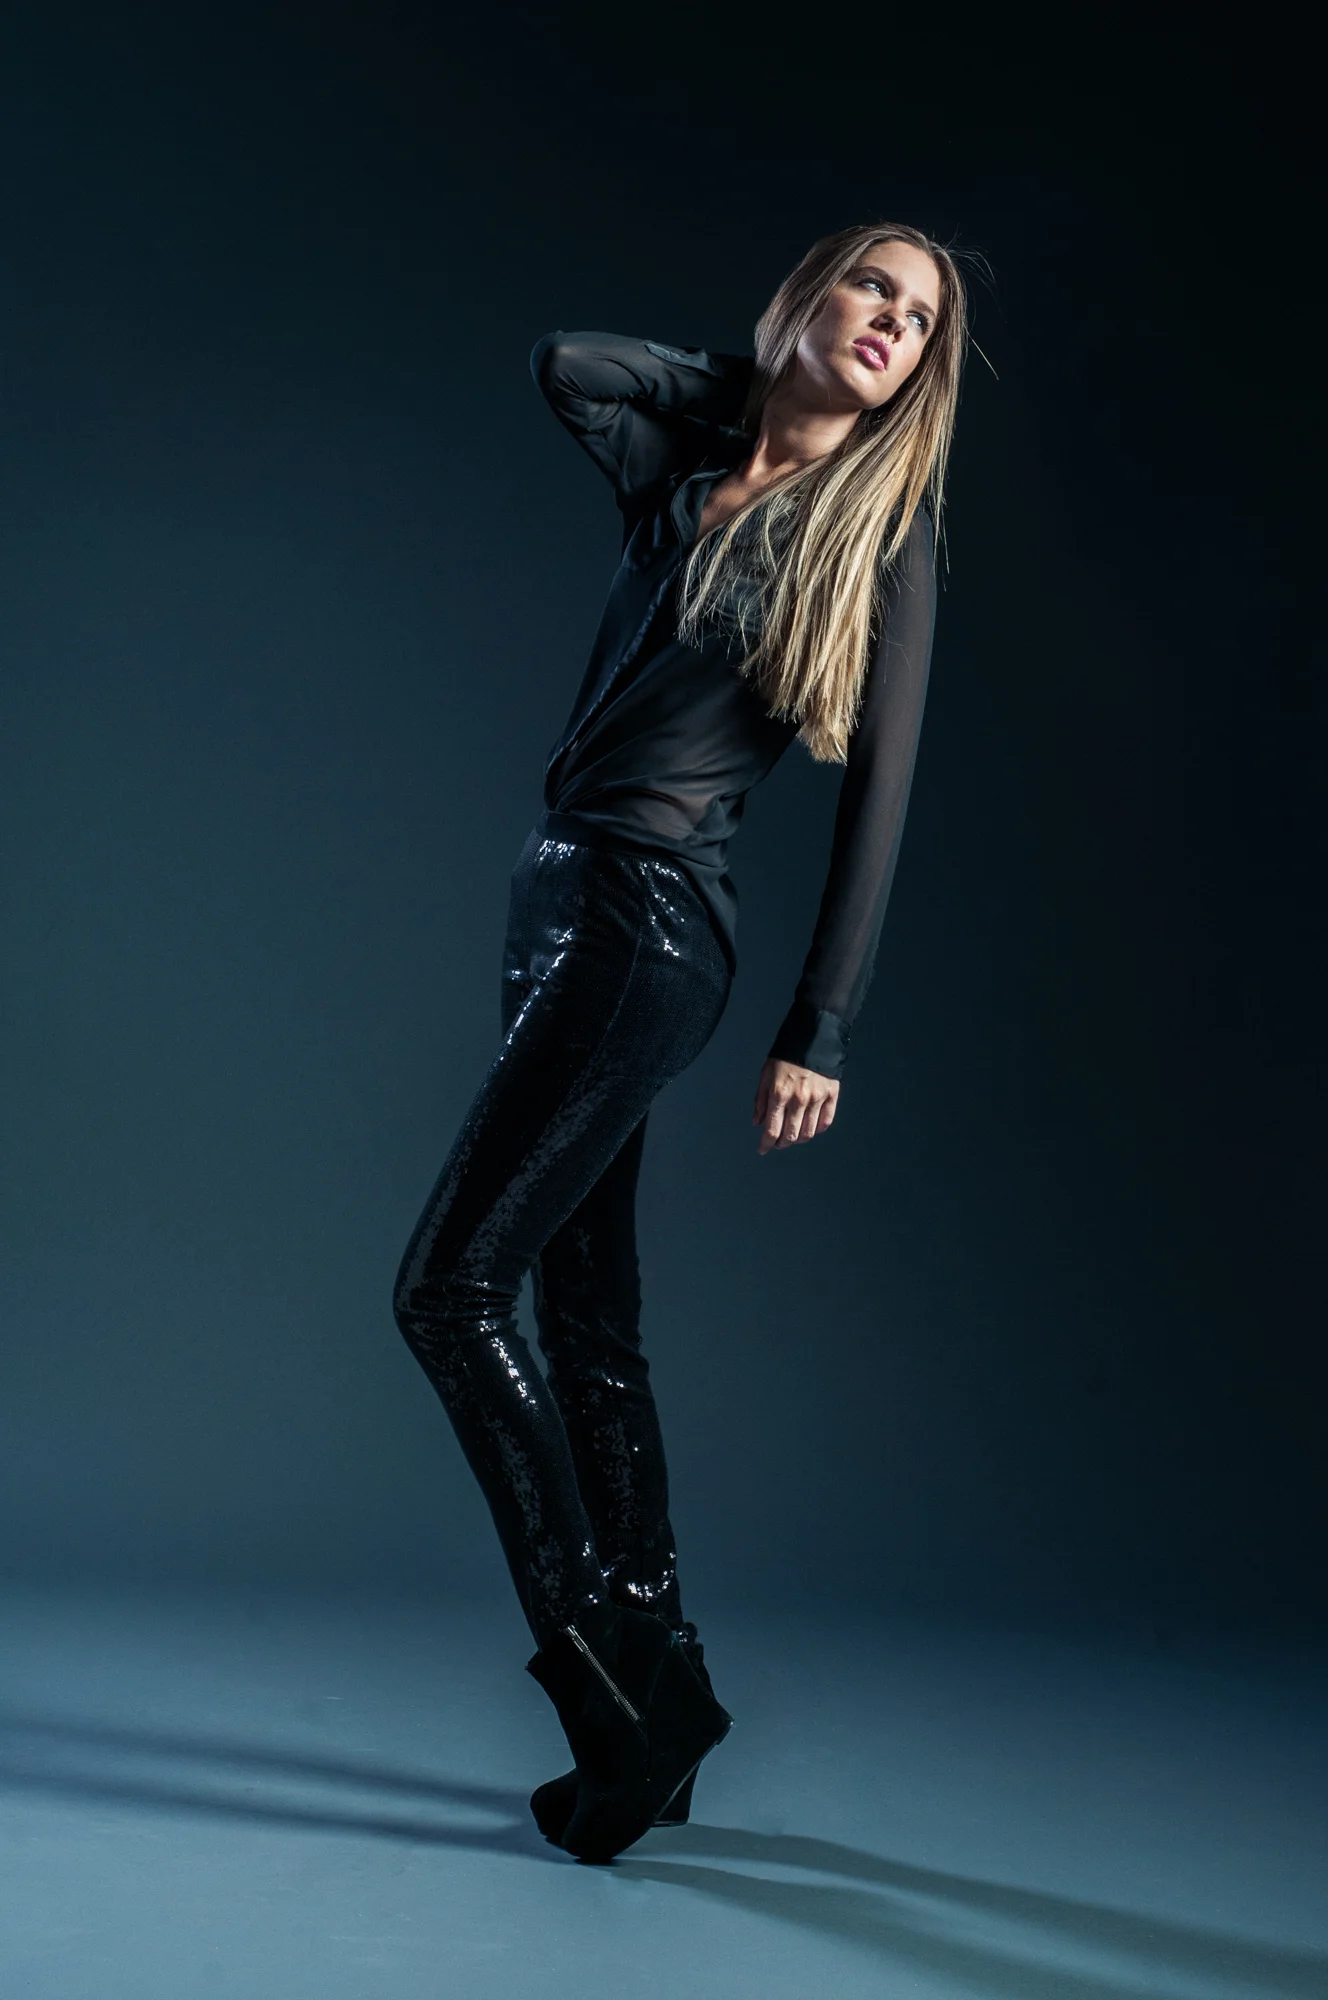
One of my favorite things to do these days is take a model around the city to shoot in available light. This particular night I took Mara Del Rose around Old Chinatown in downtown Los Angeles for some noir photo action.
“everything is a light source, so keep your eyes peeled when you’re out in the field.”
In the past, doing this kind of photography was virtually unachievable without a great deal of special equipment and skill, but thanks to my Nikon D810, shooting in low light now only requires me to identify my light sources (virtually all modern DSLRs are holding up great in low light situations). Among my circle of friends I often hear them joke about amateur photographers stating that they can forgo pro lighting for ambient, but armed with the right knowledge I feel like there could be some merit to that. Naturally, when it comes to a professional shoot, you have to consider quality and client expectations, but if your aim is at interesting content for social media or fine art, it's really a lot of fun and you should give it a try!
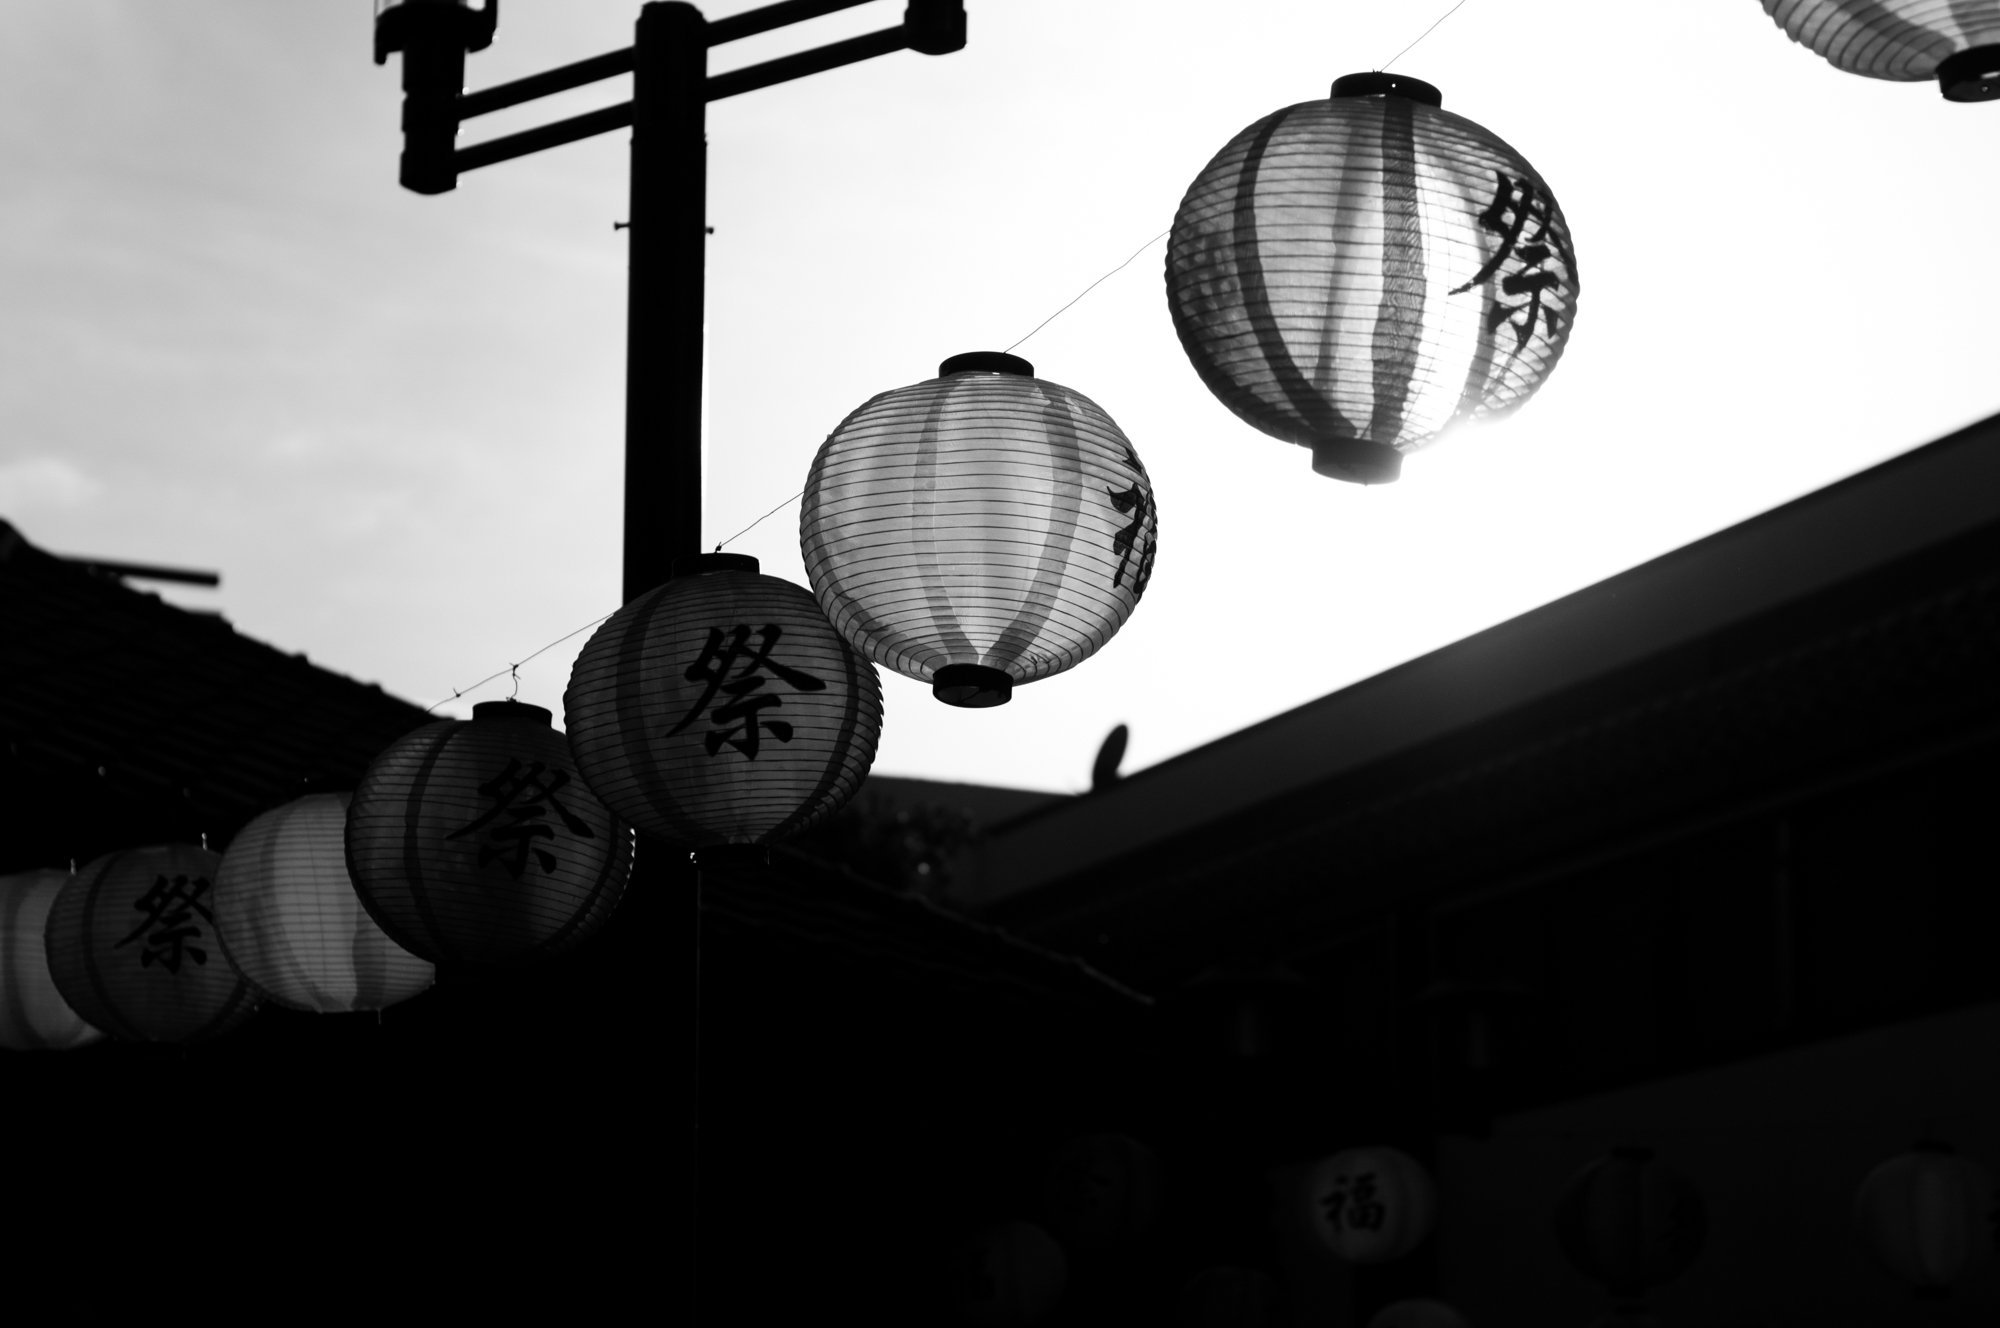
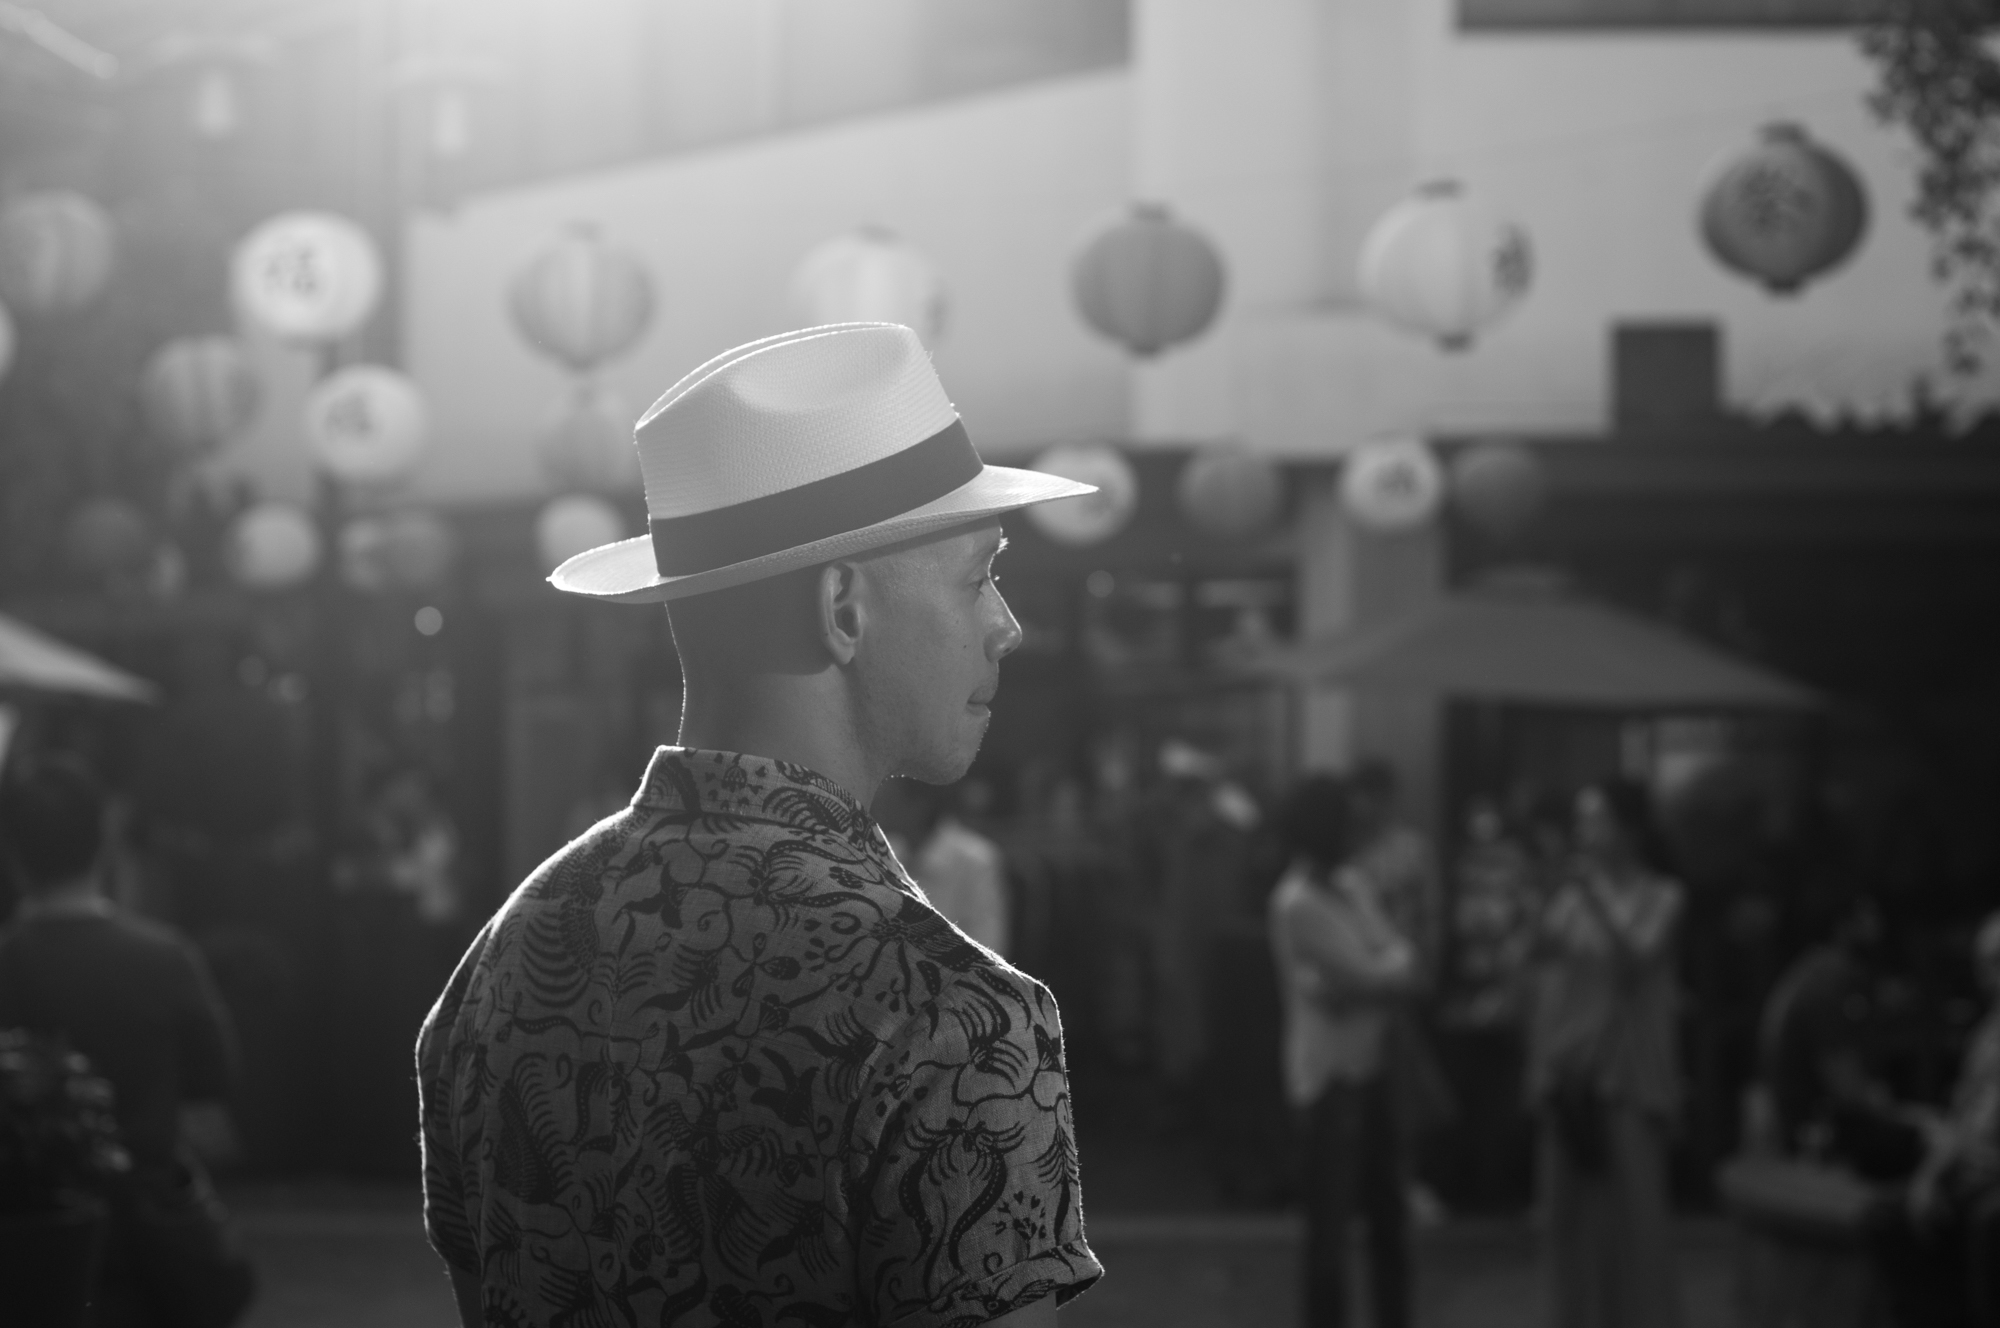
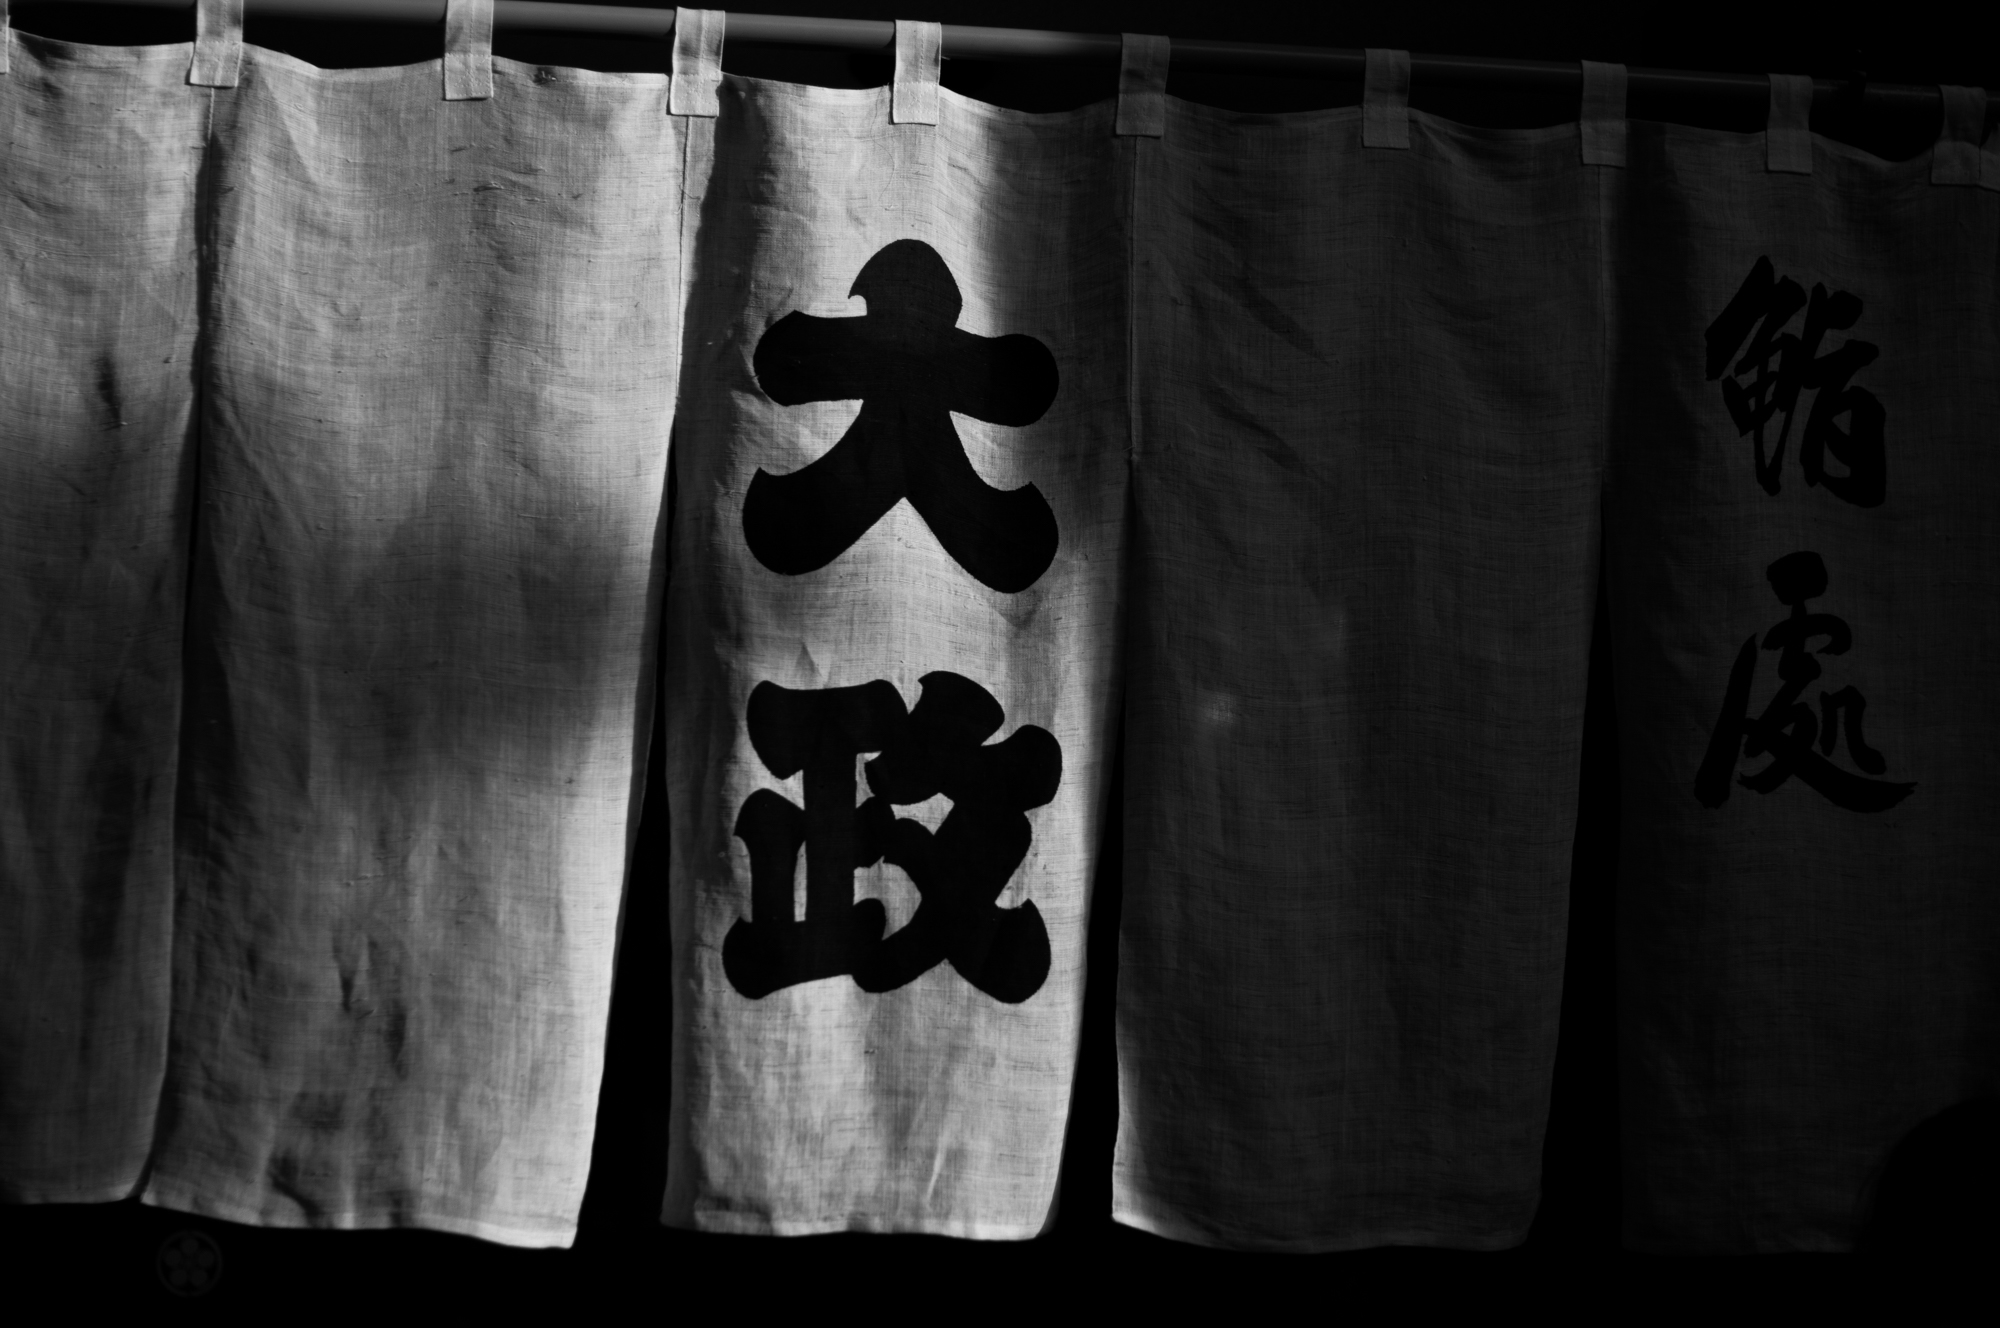
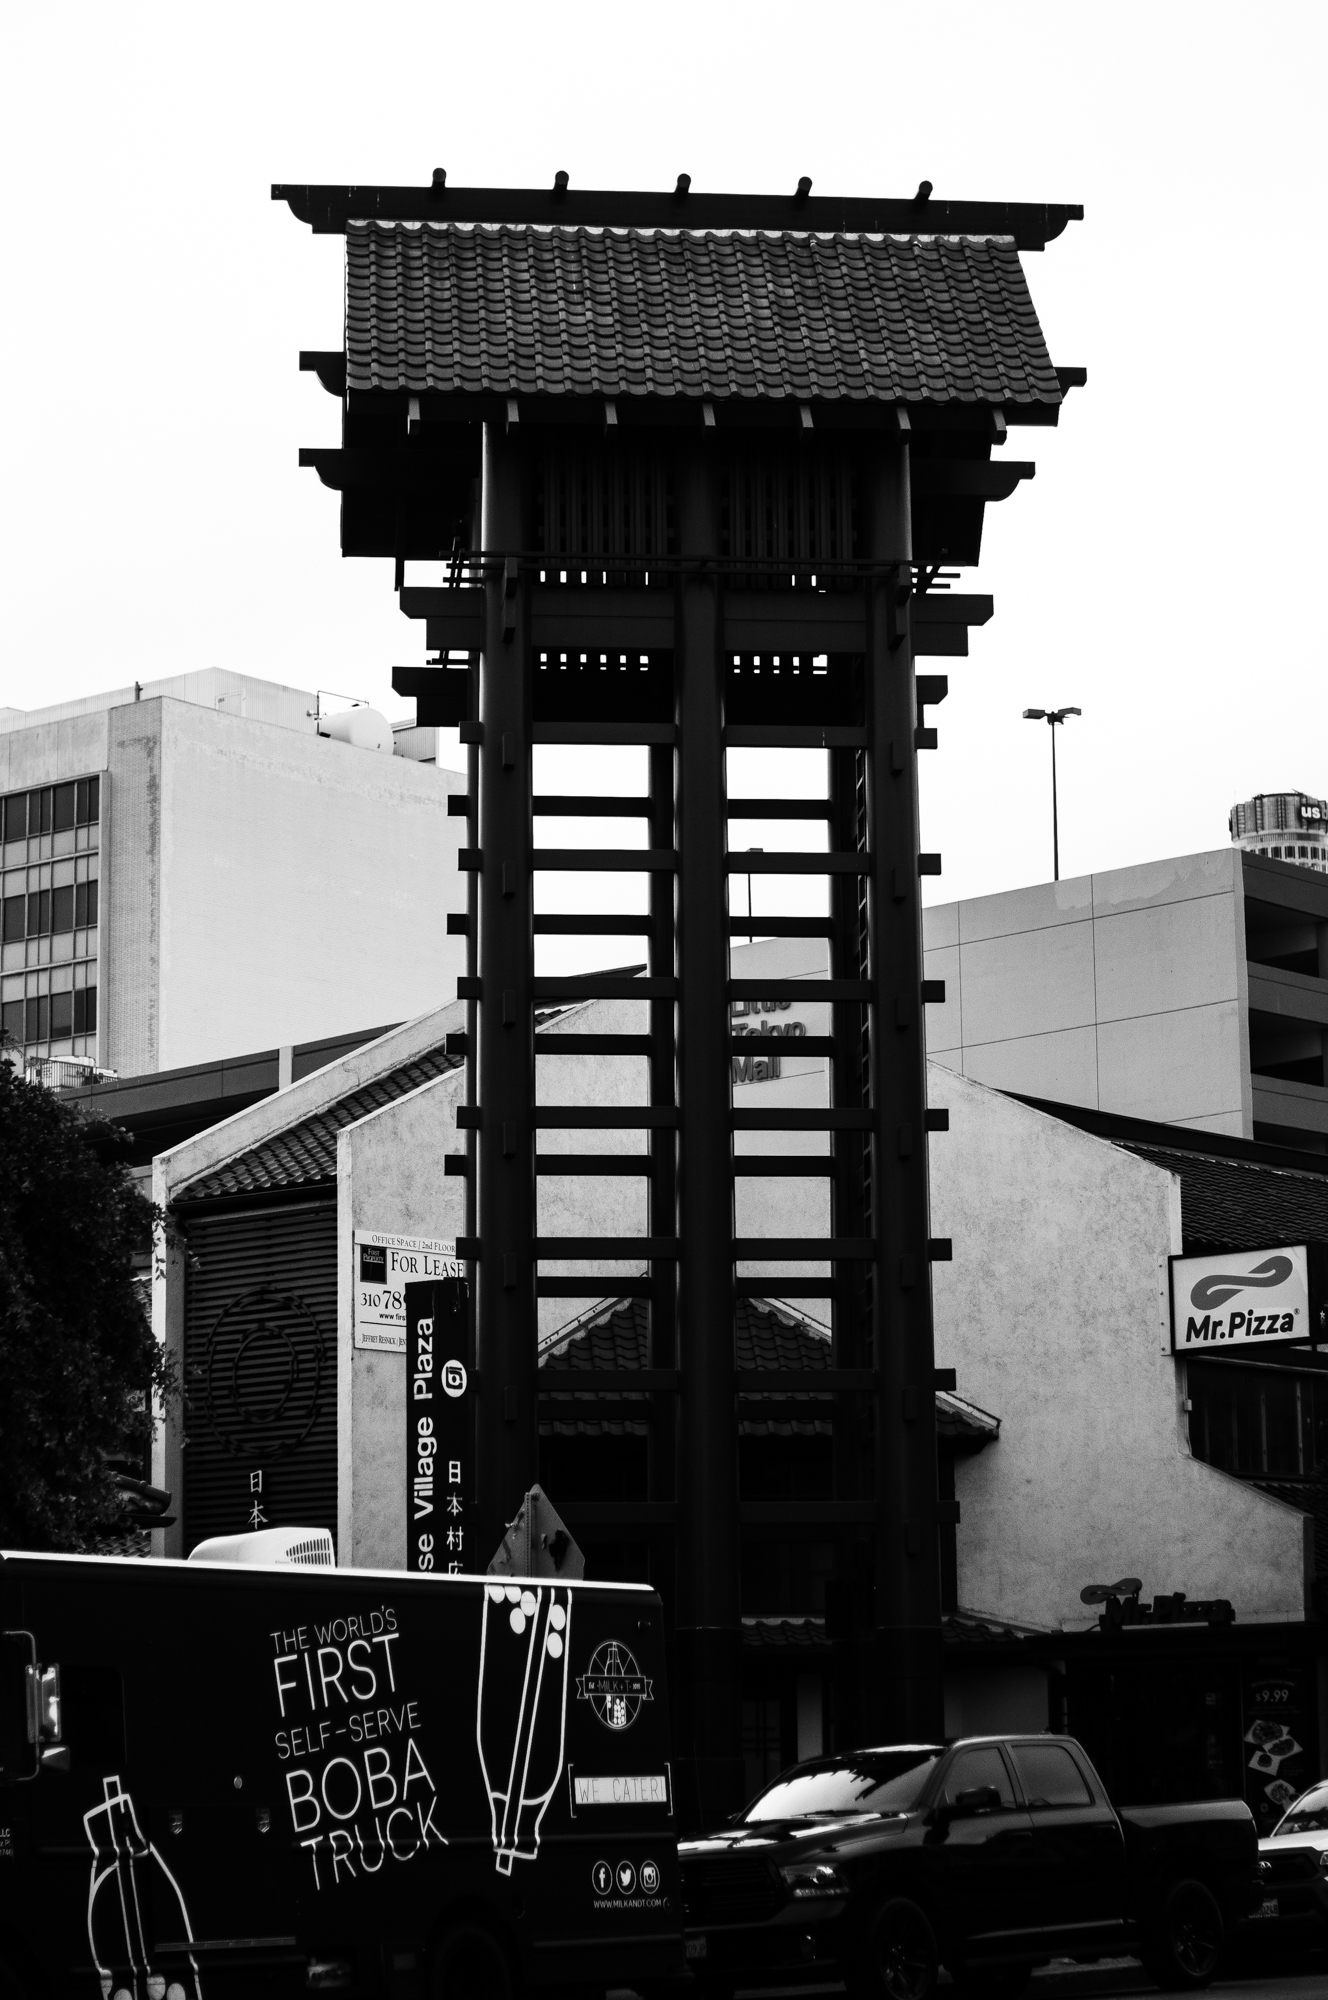
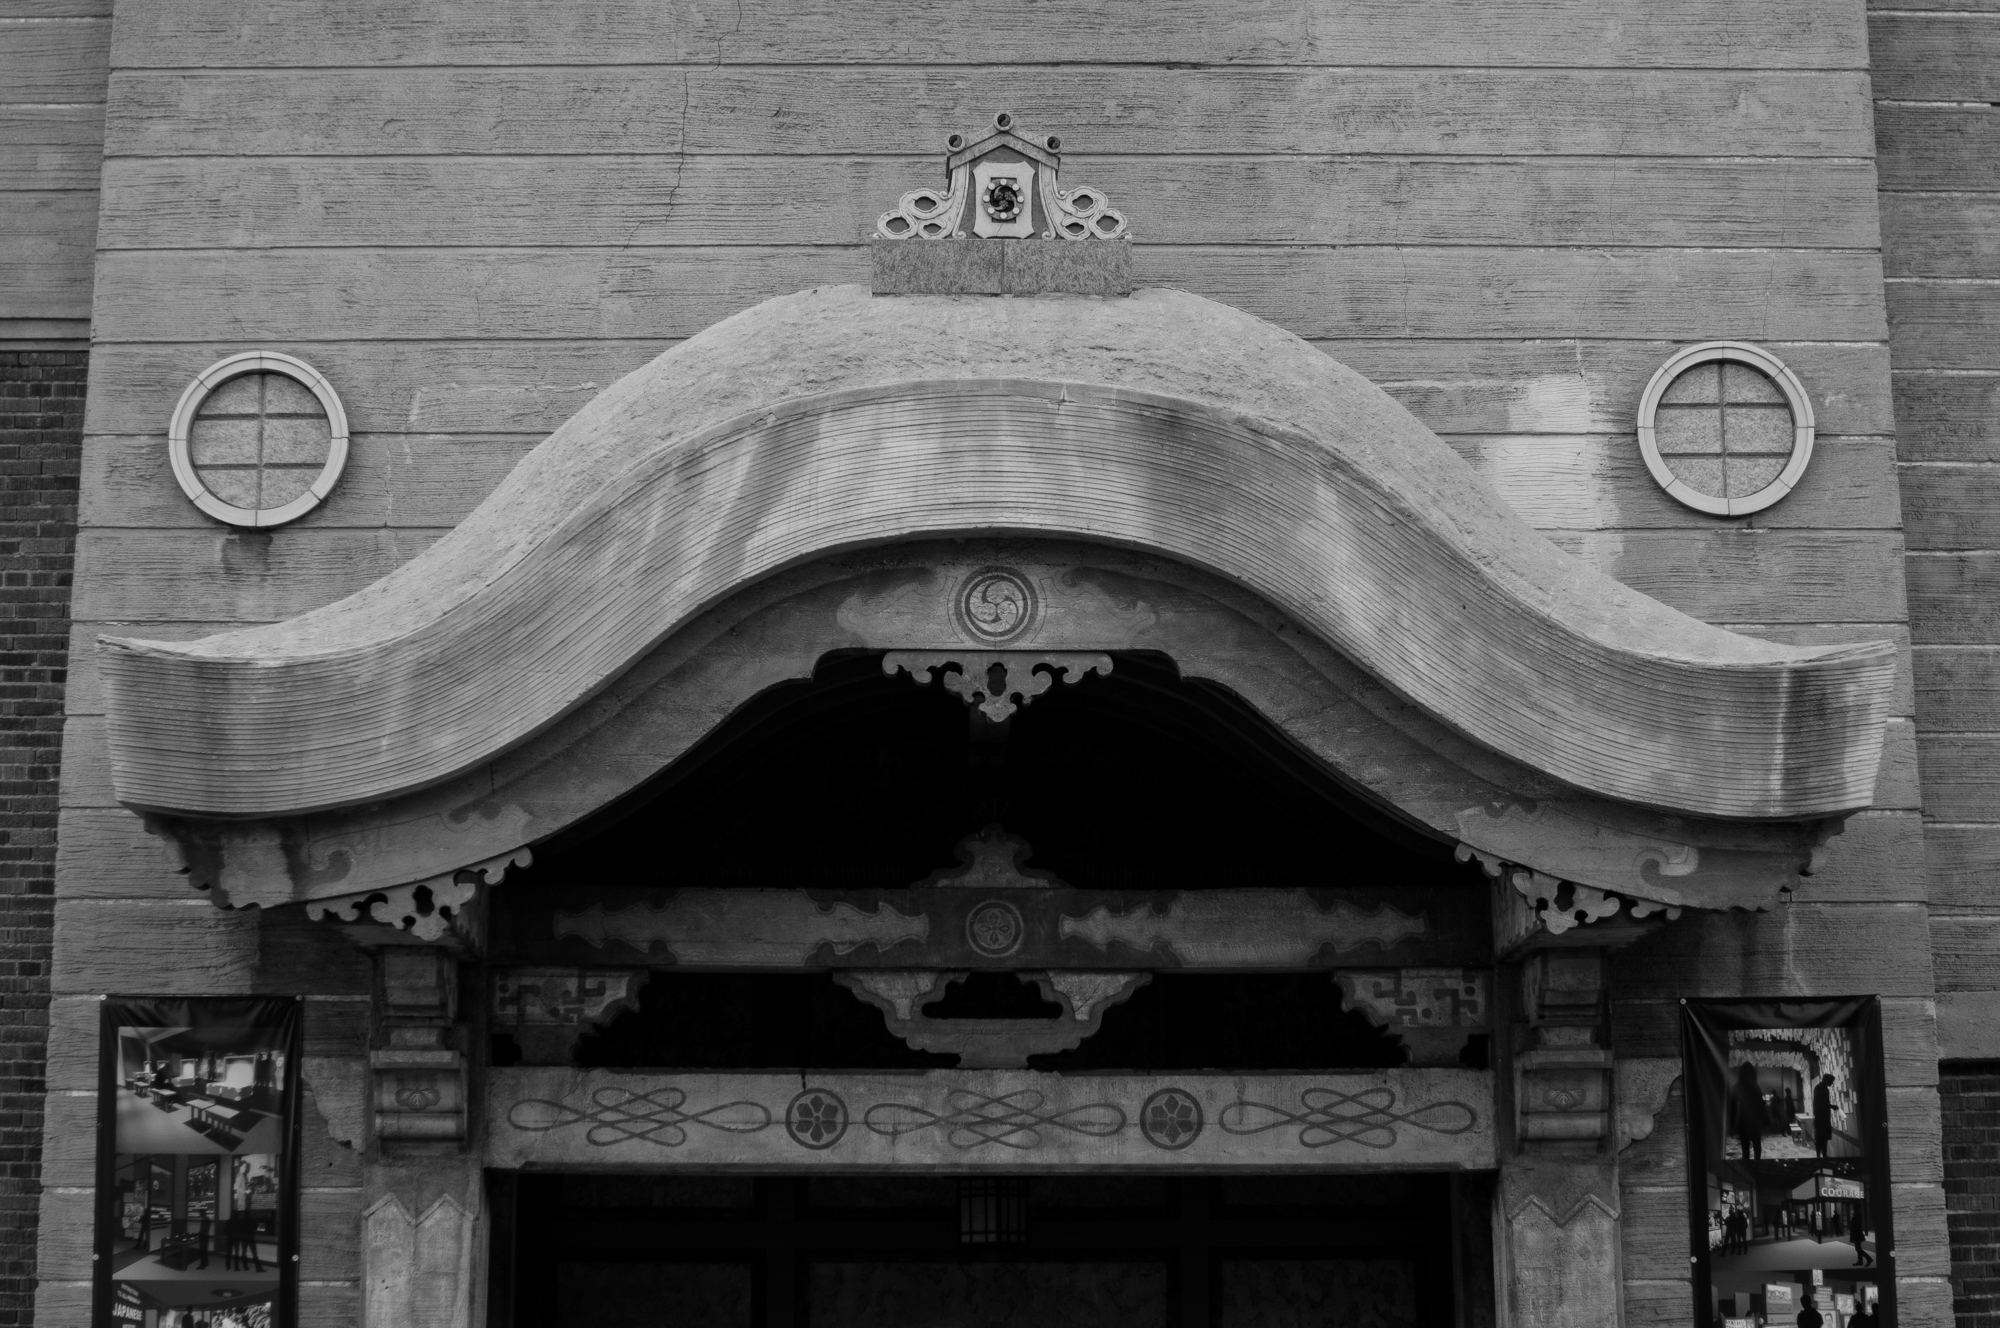
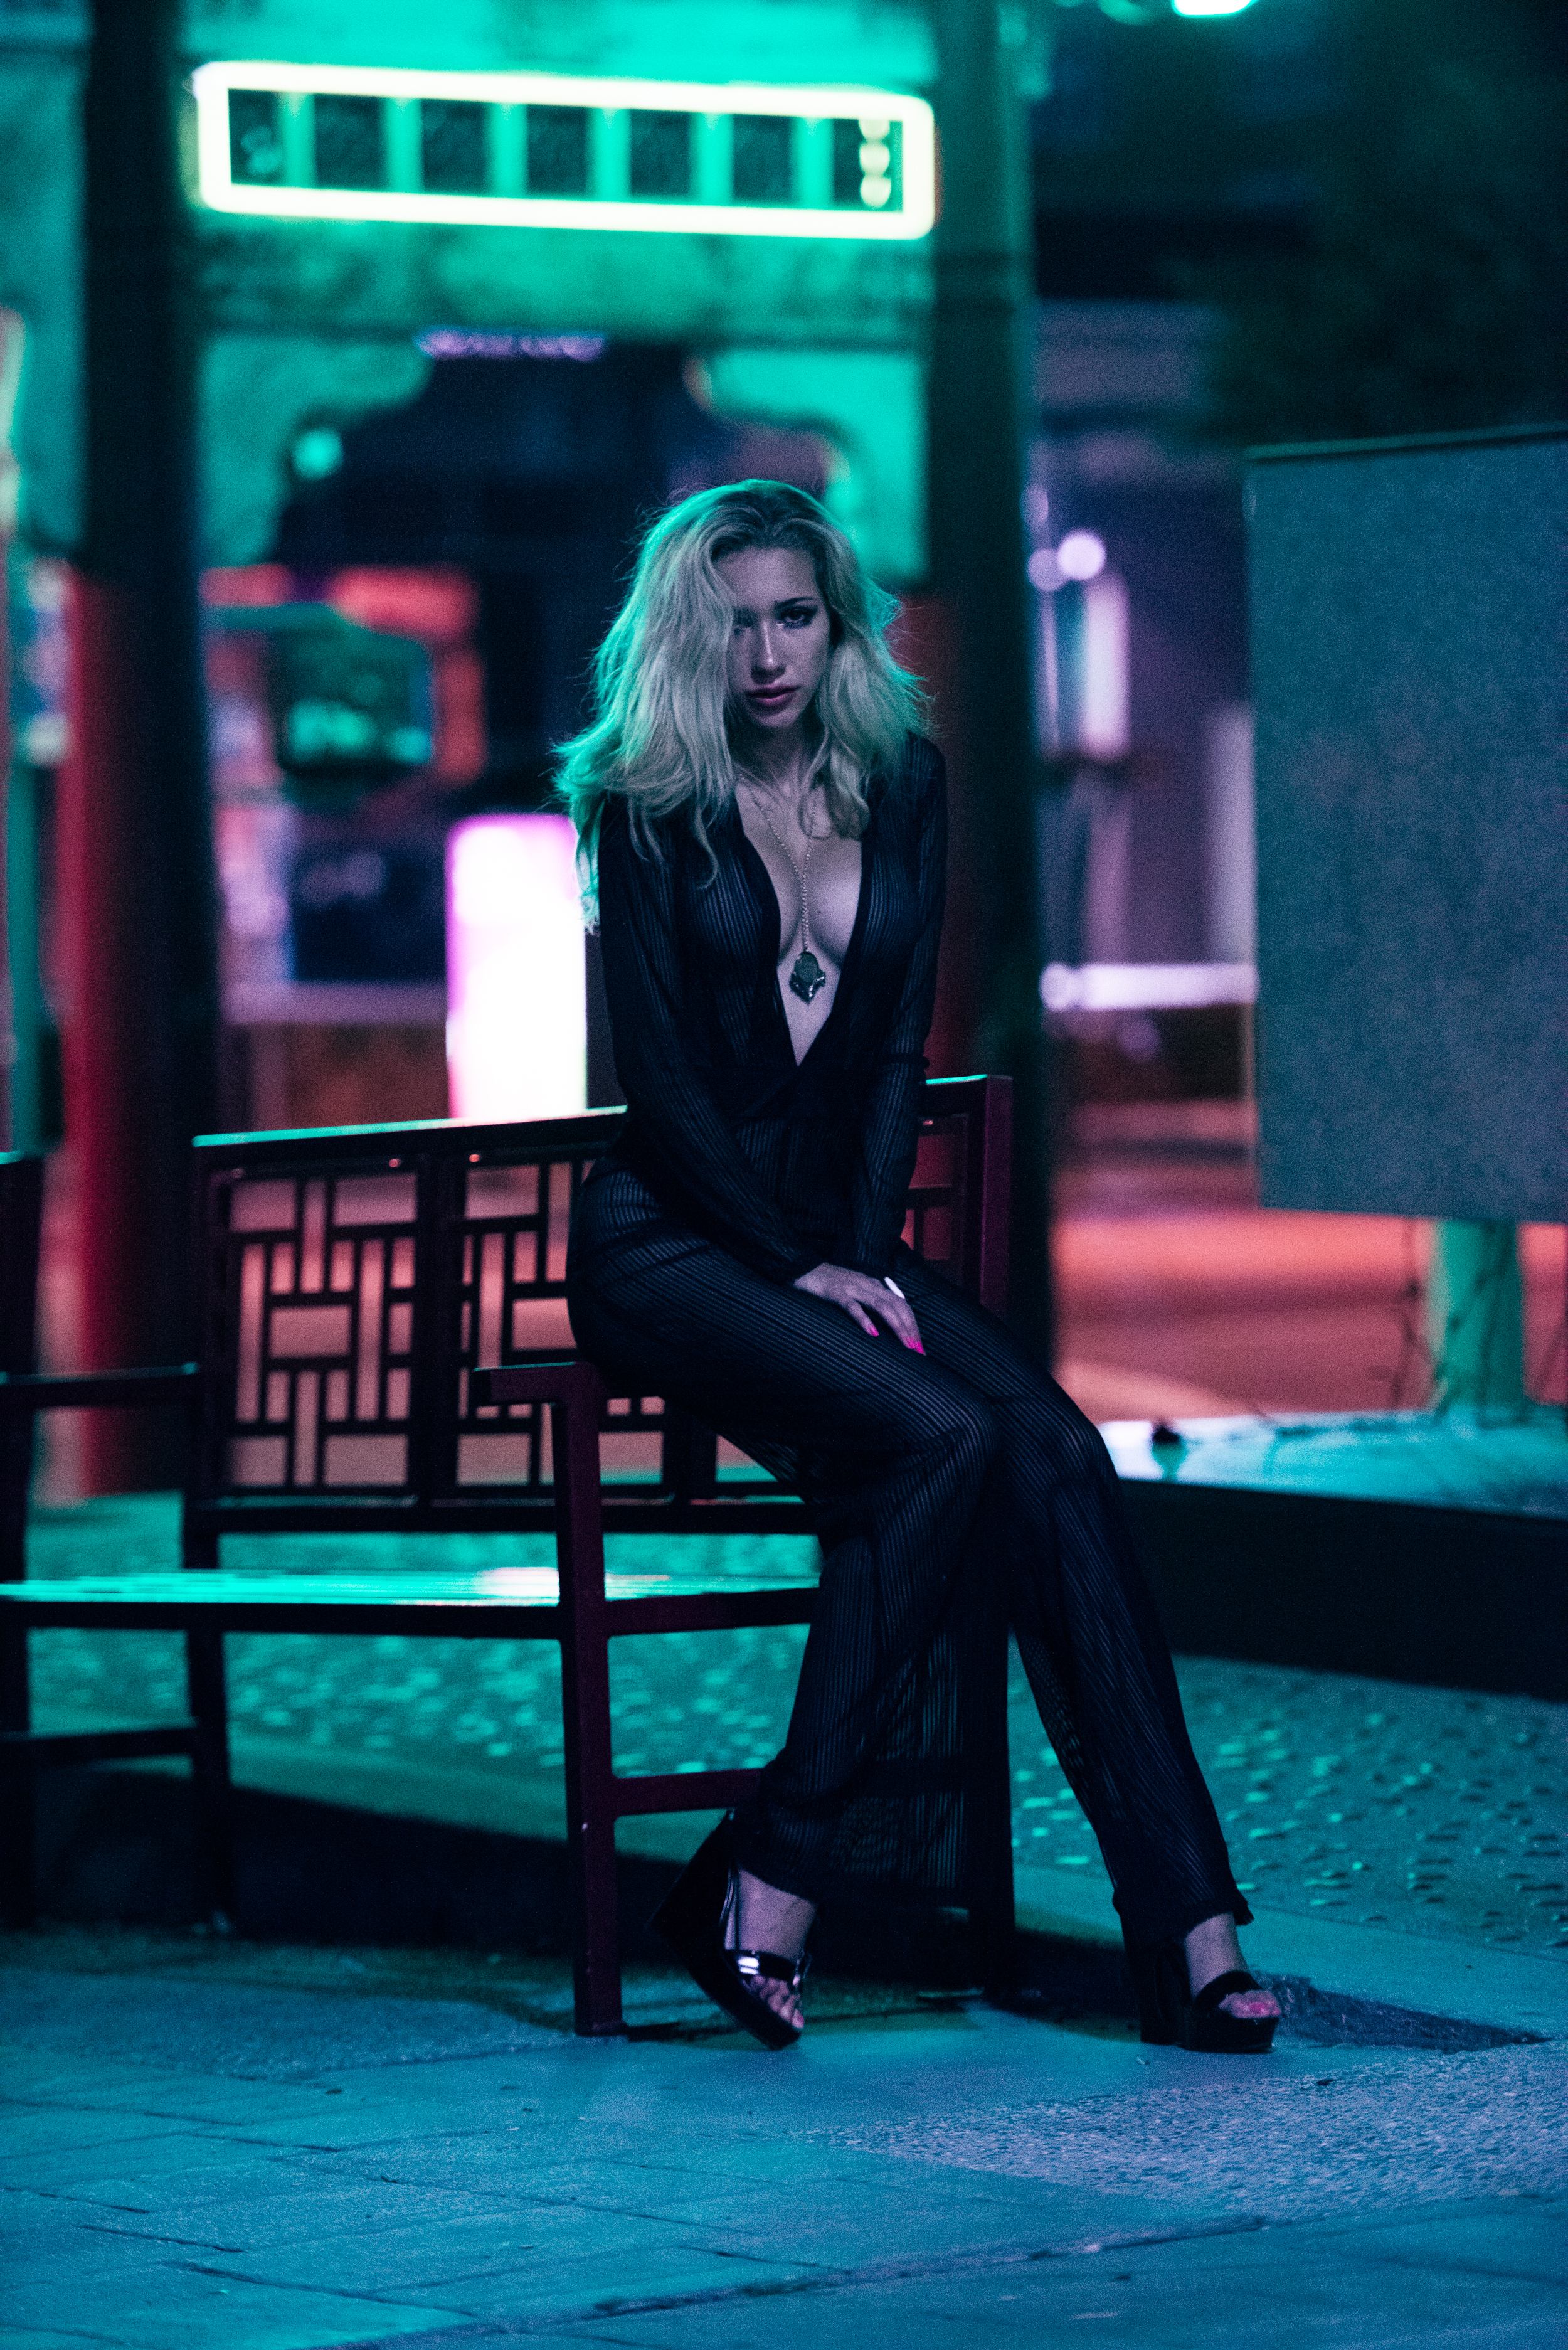
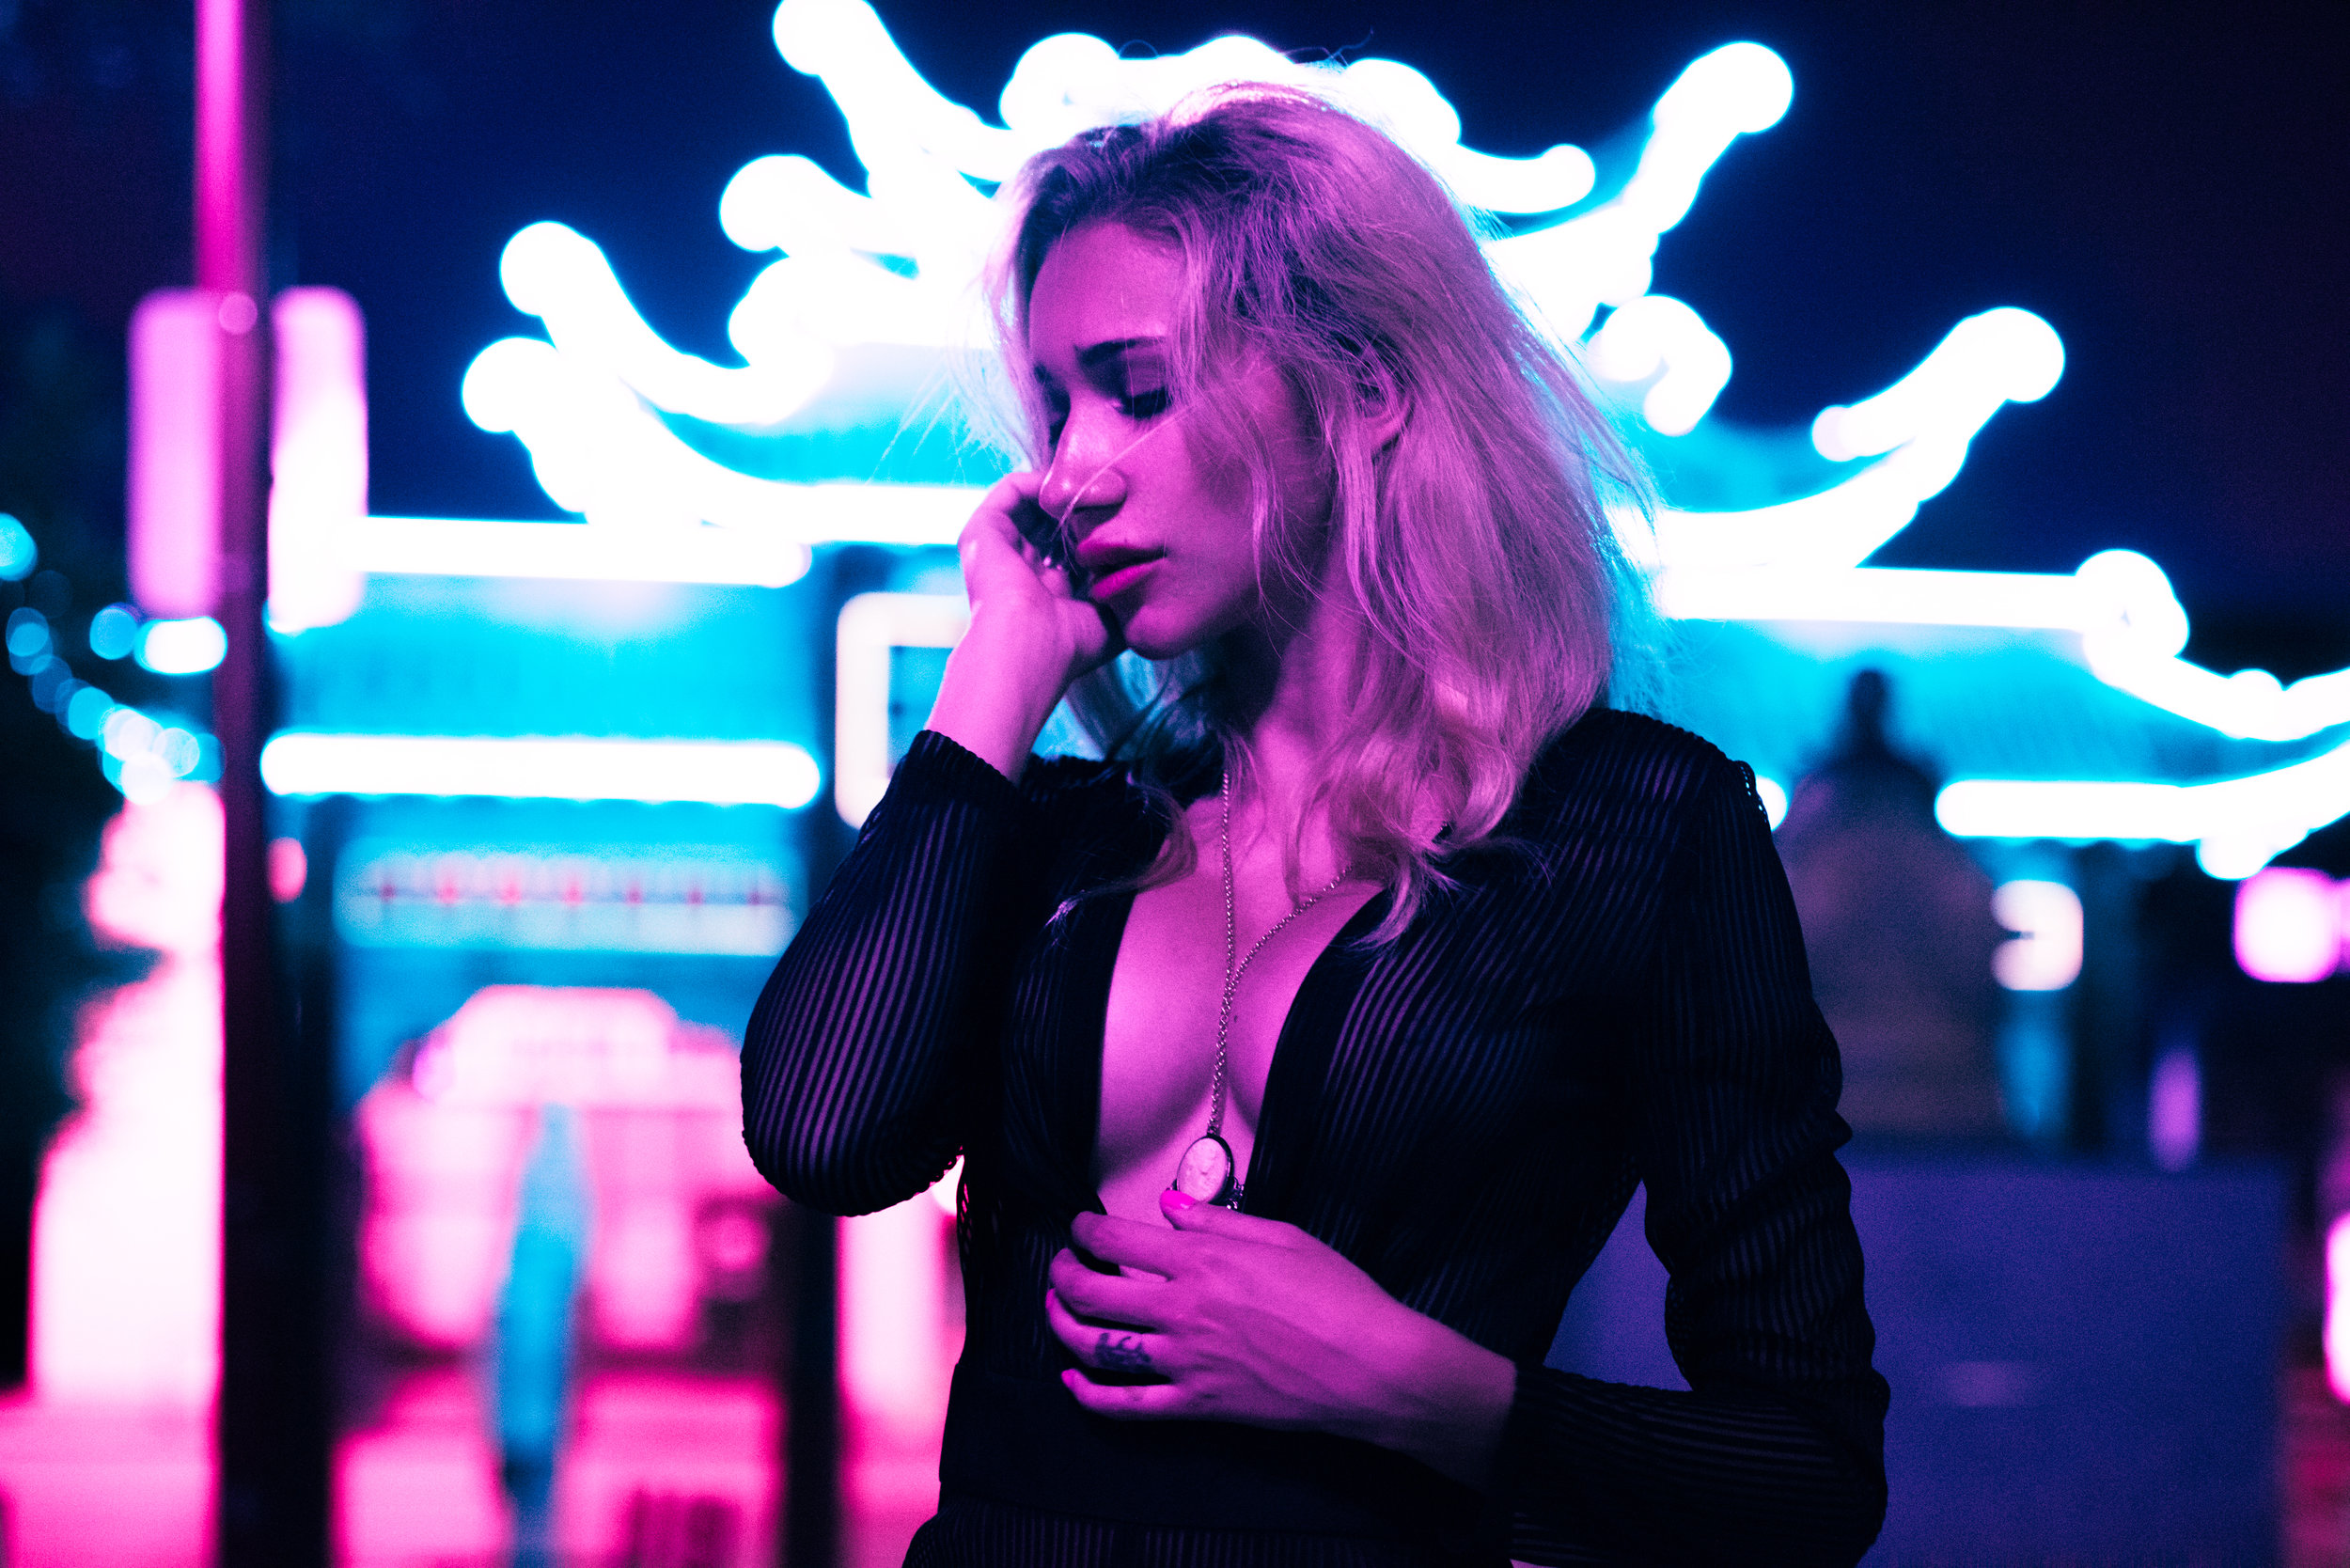
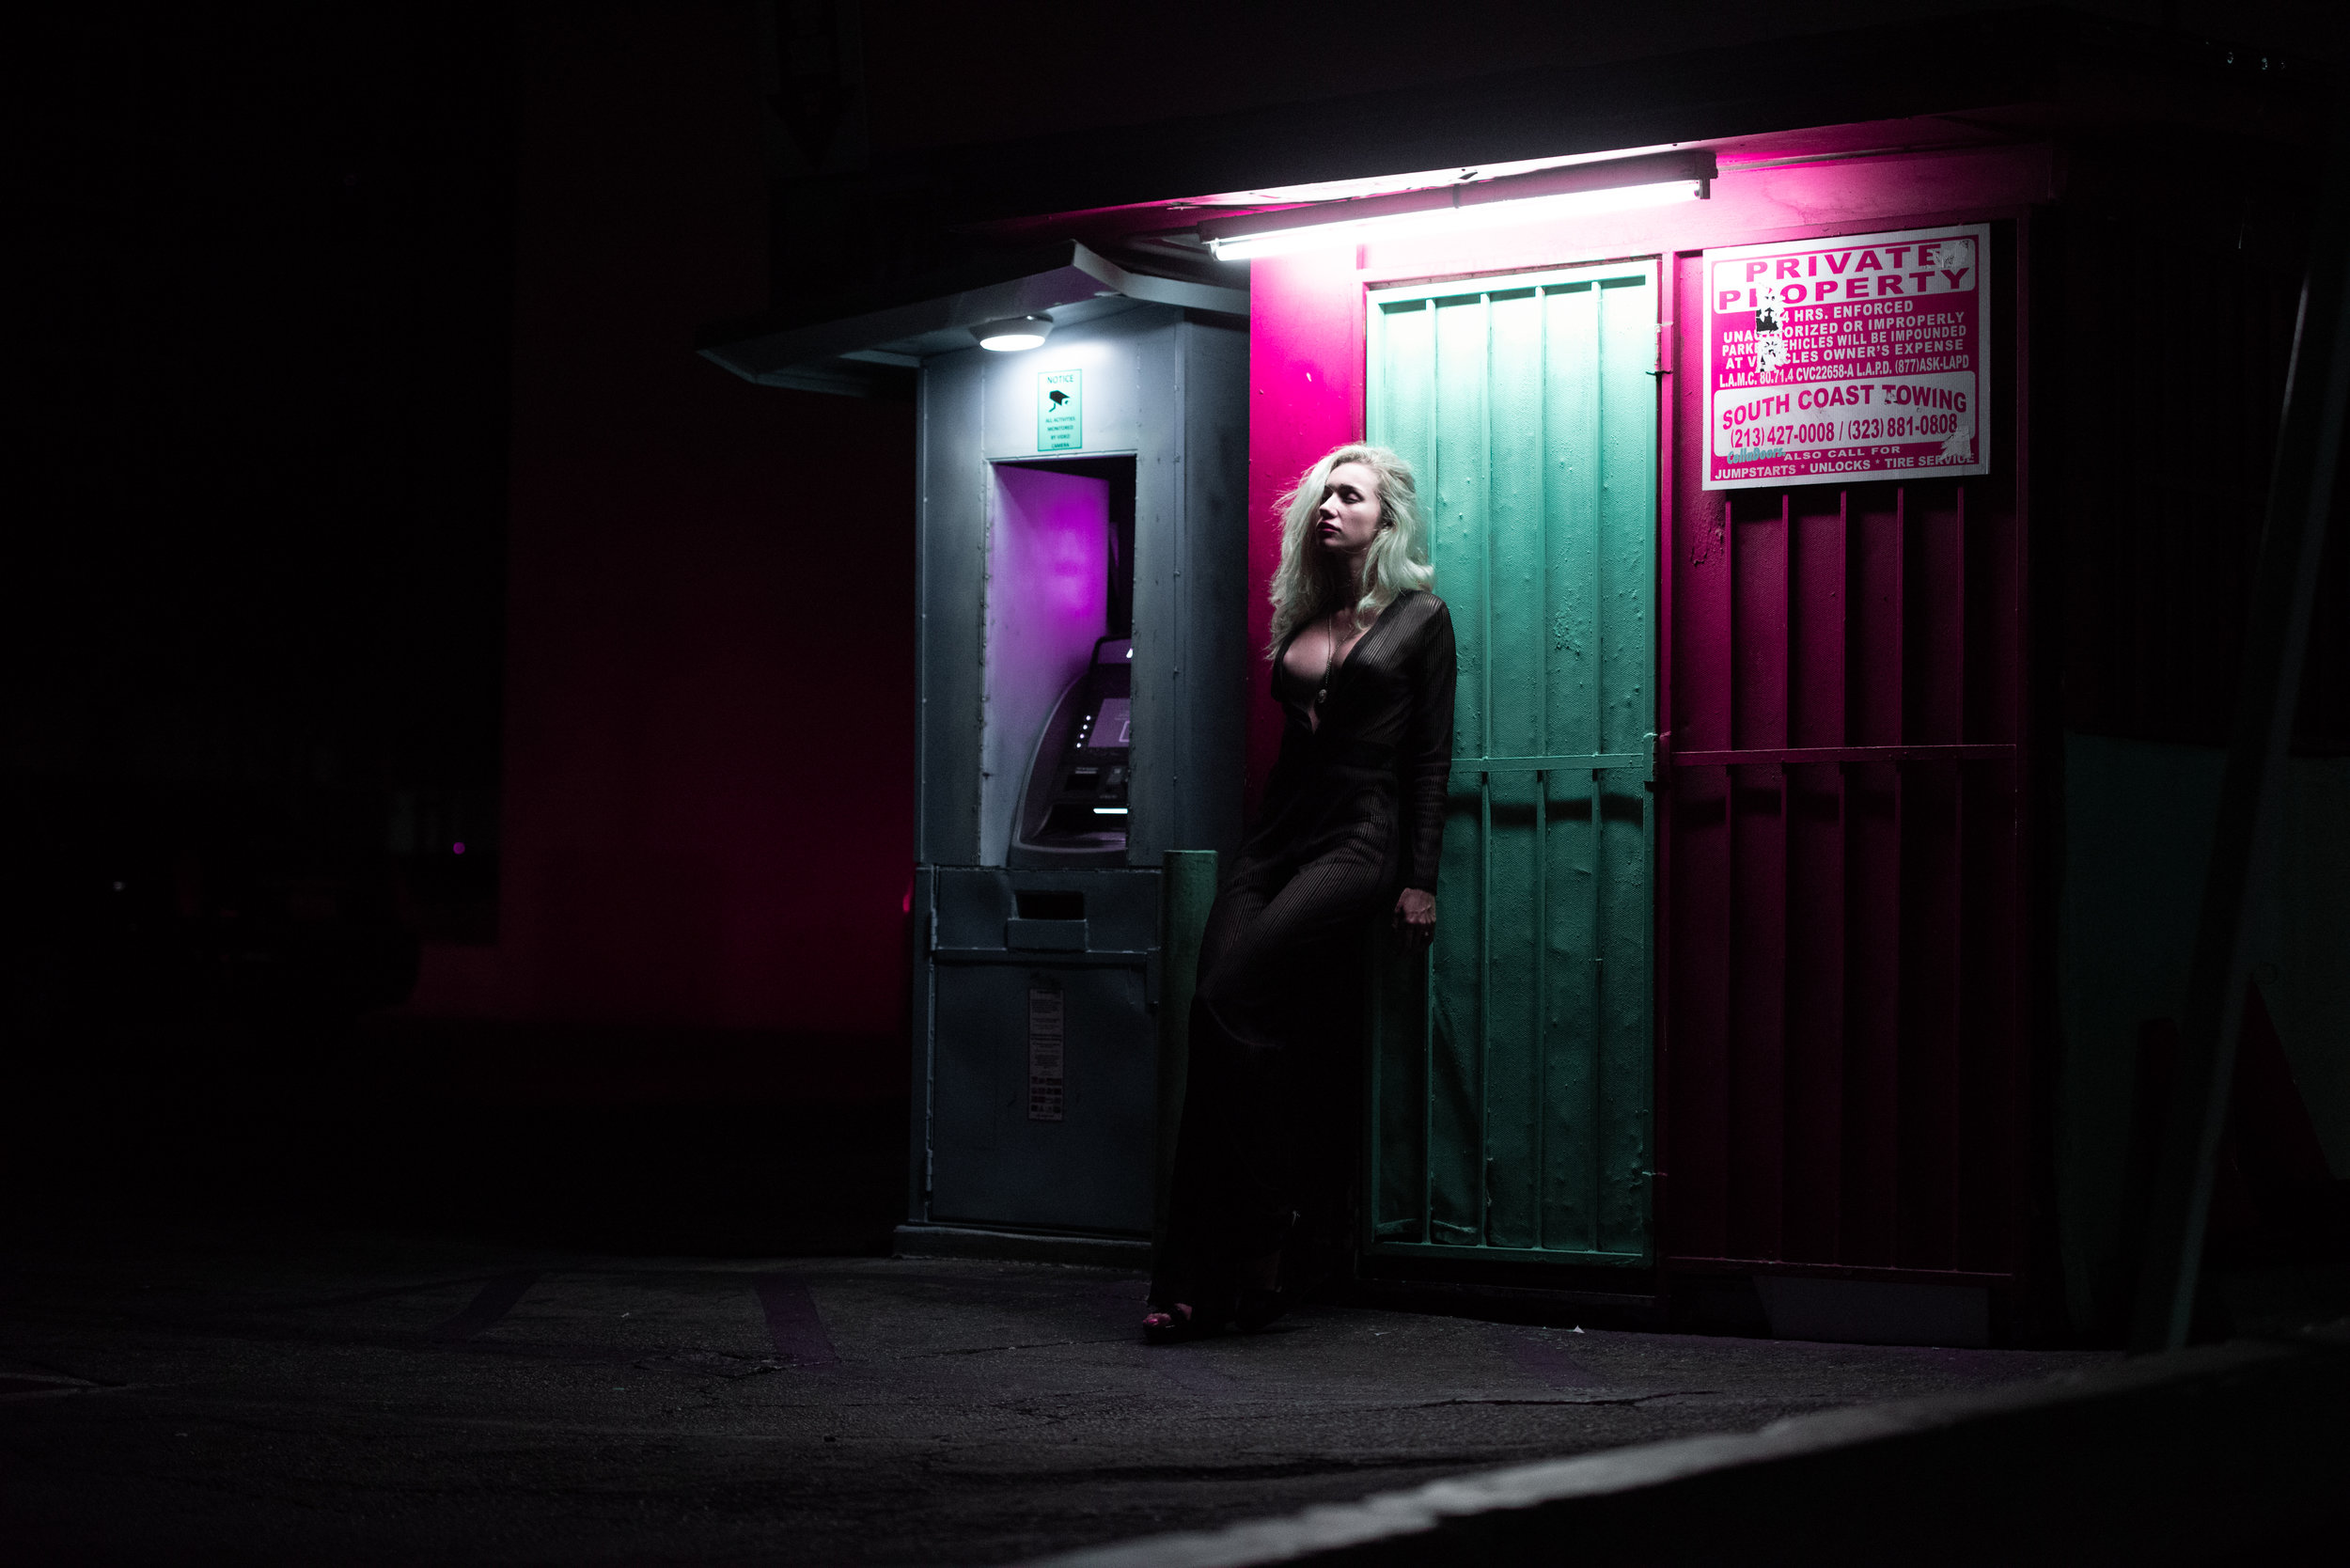
With it's Chinese architecture, lanterns, and neon lights, Old Chinatown in downtown Los Angeles is a great place to shoot at night. It also helps that after the sun goes down and the shops close, not many people other then the adventurous tourist or bar hoping hipster, hangs out in the area. Street parking also becomes readily available; a constant battle in downtown. The first building that caught our eye was the Royal Pagoda Motel with it's incredible red neon lights running along the side. For my shooting purposes though, the neon red lights were too distant to actually light my model. I needed something bigger and I found it across the street at a bus stop. Some bus stops downtown have illuminated advertising kiosks which I used to light my main subject while keeping those red neon lights in the background to give a sense of place. As I learned from Nels Israelson, everything is a light source, so keep your eyes peeled when you're out in the field. Lucky for you, when you shoot at night, the light sources are much easier to identify.
To speak a bit about my thought process when shooting models at night, I'm looking for flattering light sources for the subject. Often I will see a beautiful light but, it's just pointed in the wrong direction or maybe it's just a little too overhead and gives terrible shadows under the eyes. For women, shadows under the eyes is a terrible pet peeve of mine. Flood lights often give great harsh light to shoot in, but if your model has bad skin then you'll be spending a lot of time in post, at which point maybe you can find a light source that's softer and better for your model. I'm also looking for interesting background lights and scenes, keeping in mind how bokeh is going to look around the subject. Finally, I'm looking at light temperatures and how I can adjust them in camera and in post. Here's a great trick I find people don't often think about: put your camera in live view, if it has it, and then cycle through the custom white balance temperatures. It's a simple way to save yourself some time in post by getting it closer to the color you want before you take any captures. You can also play around with the tint option in the custom settings of your camera (be sure to check the Manuel for your camera to see if these are options for you).
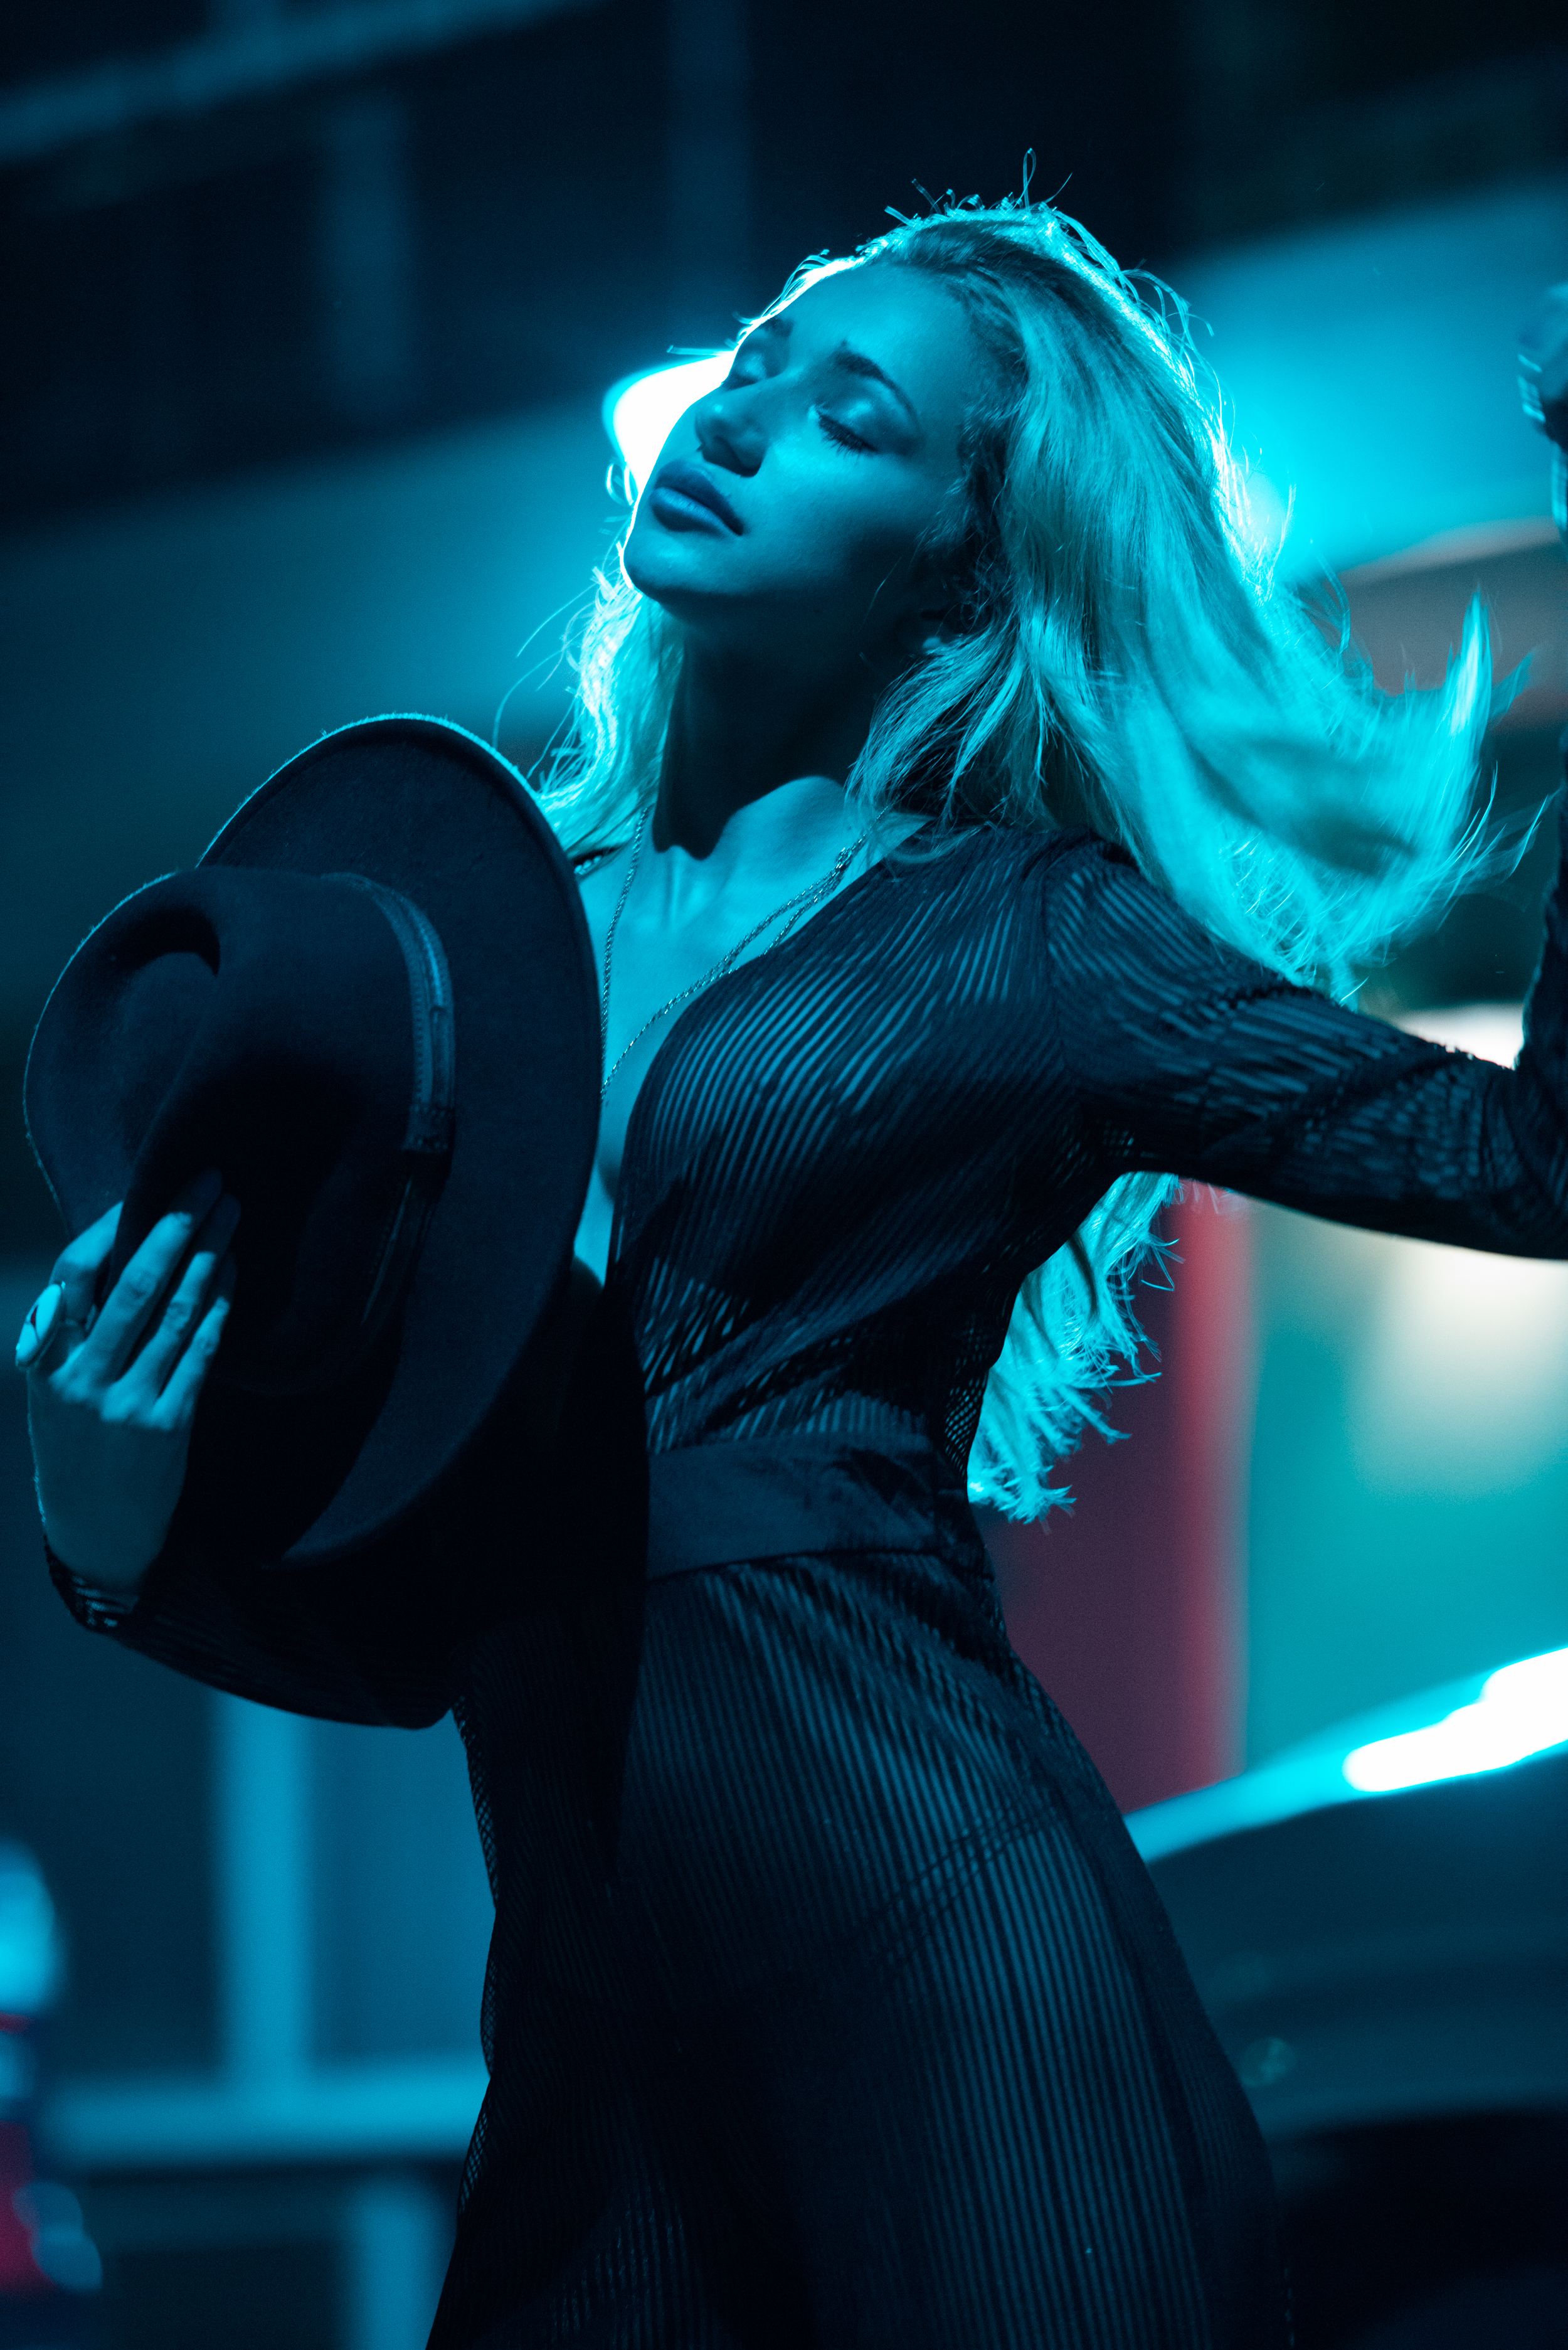
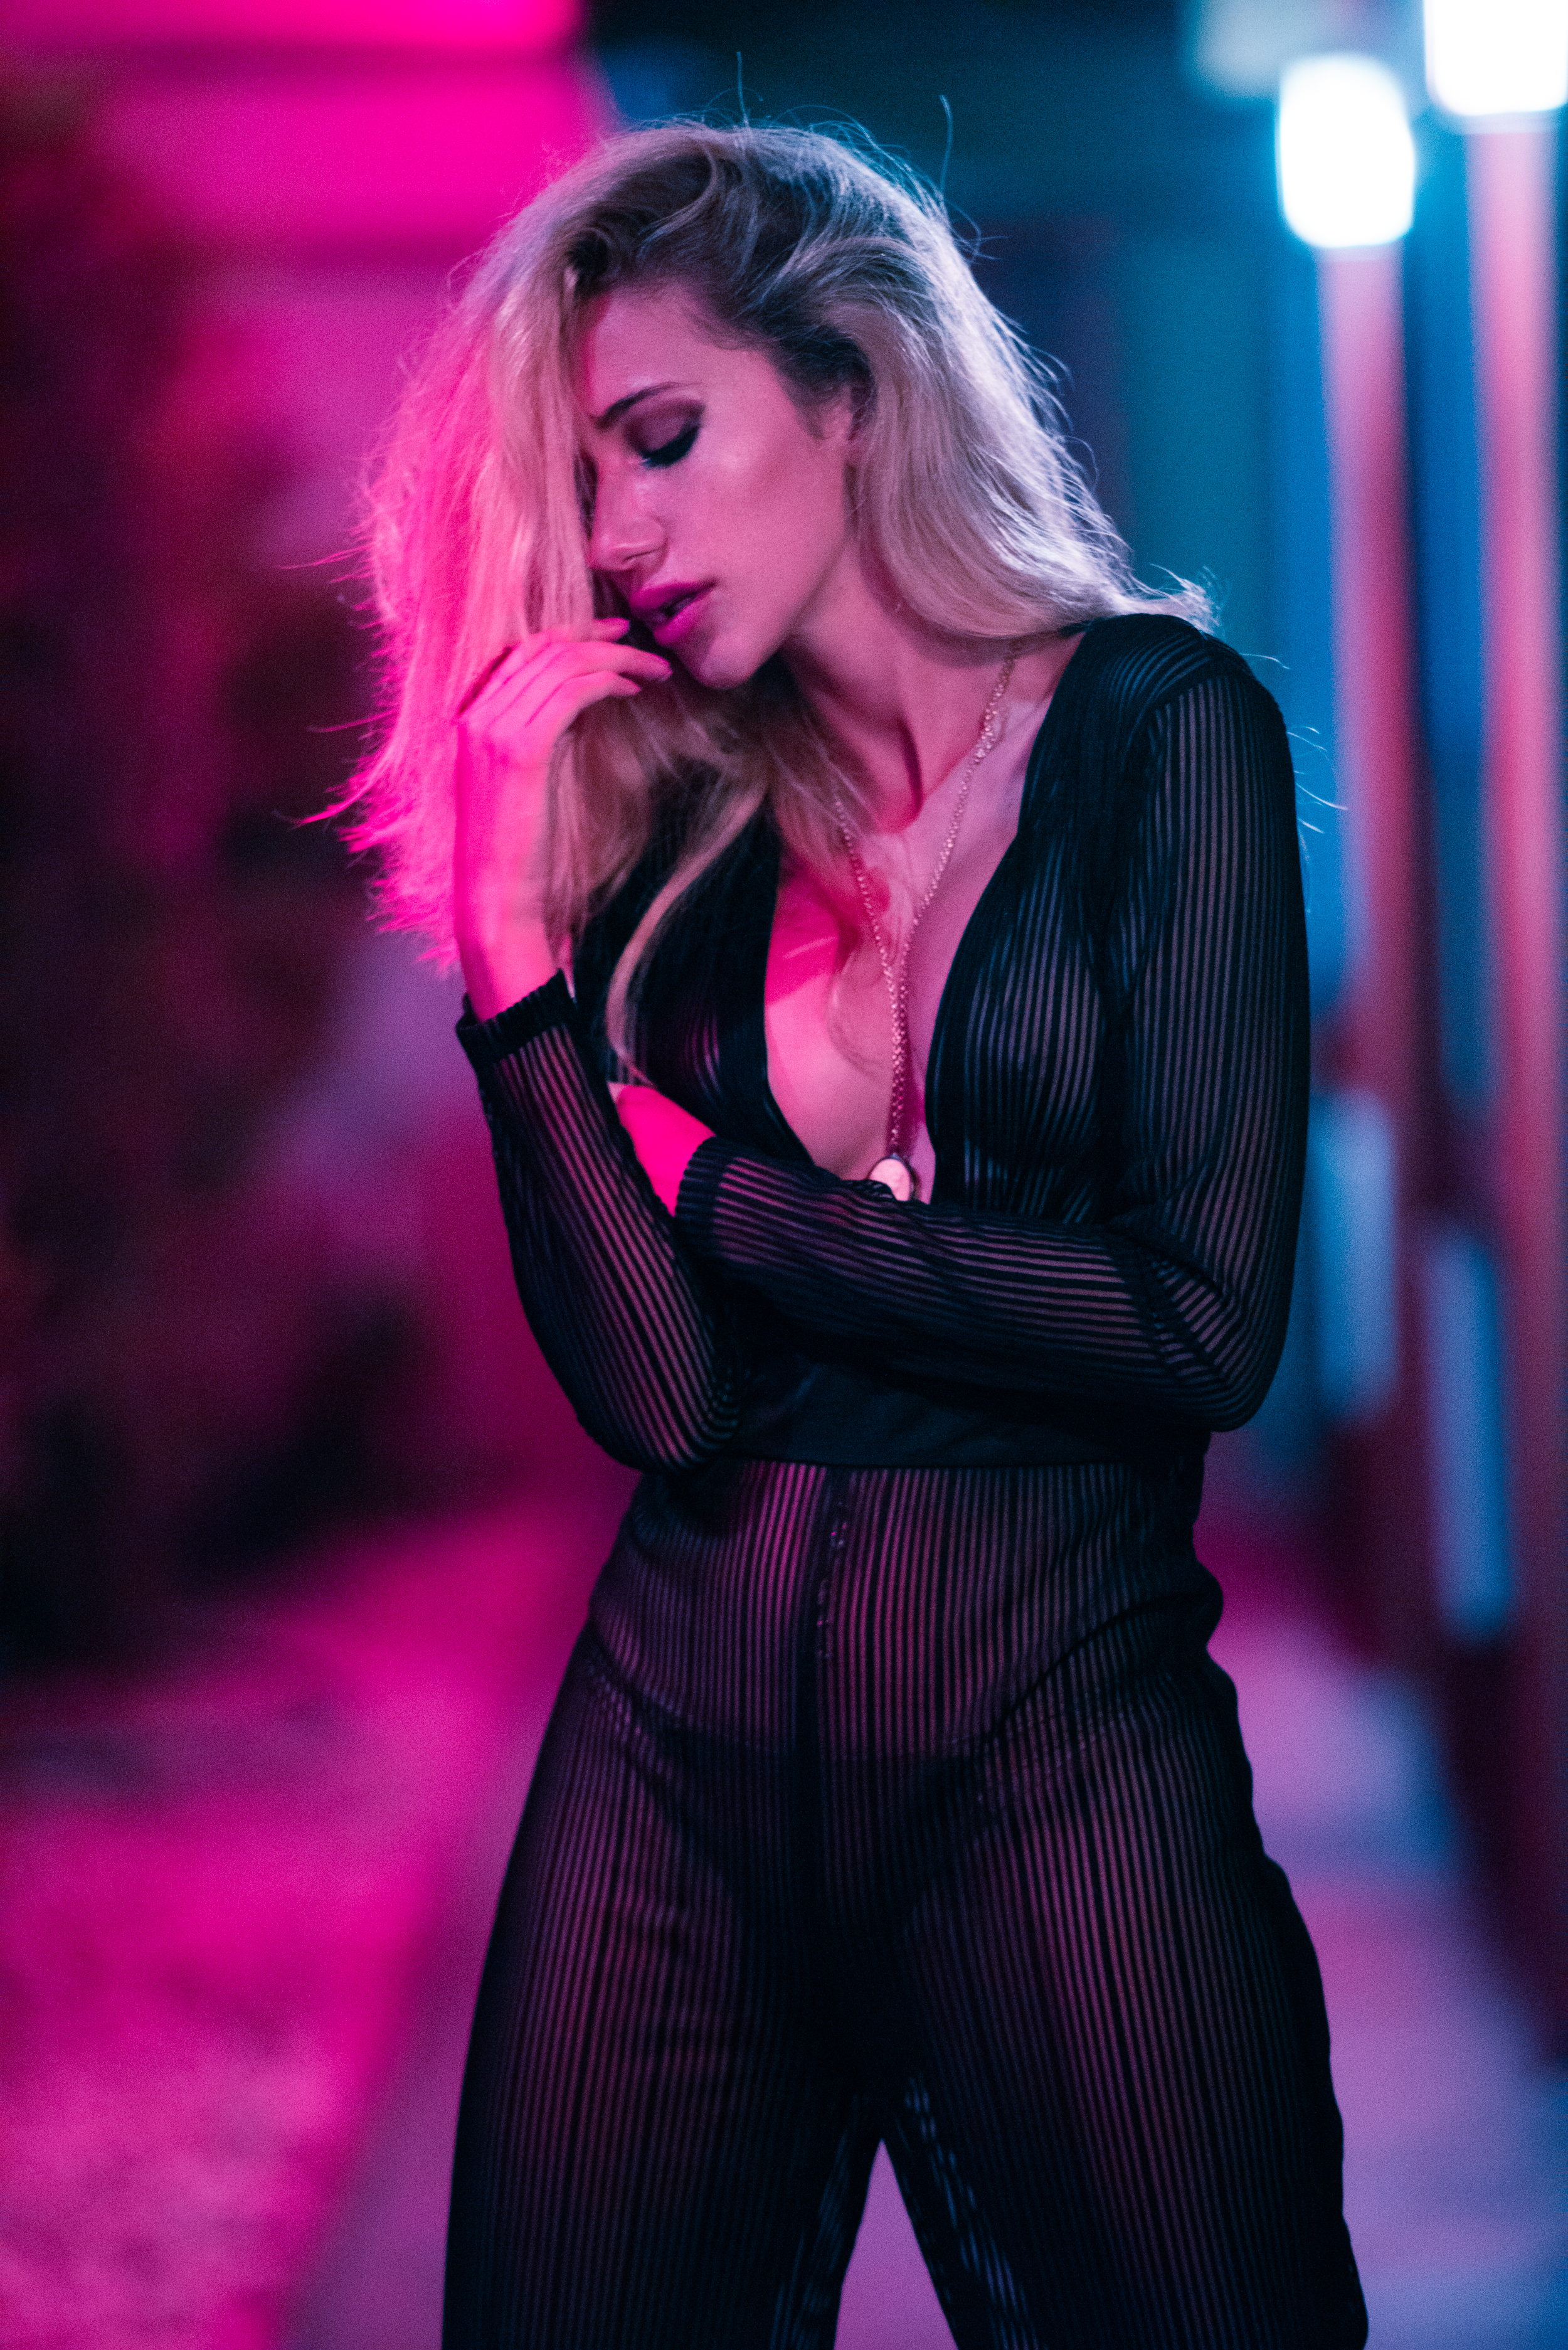
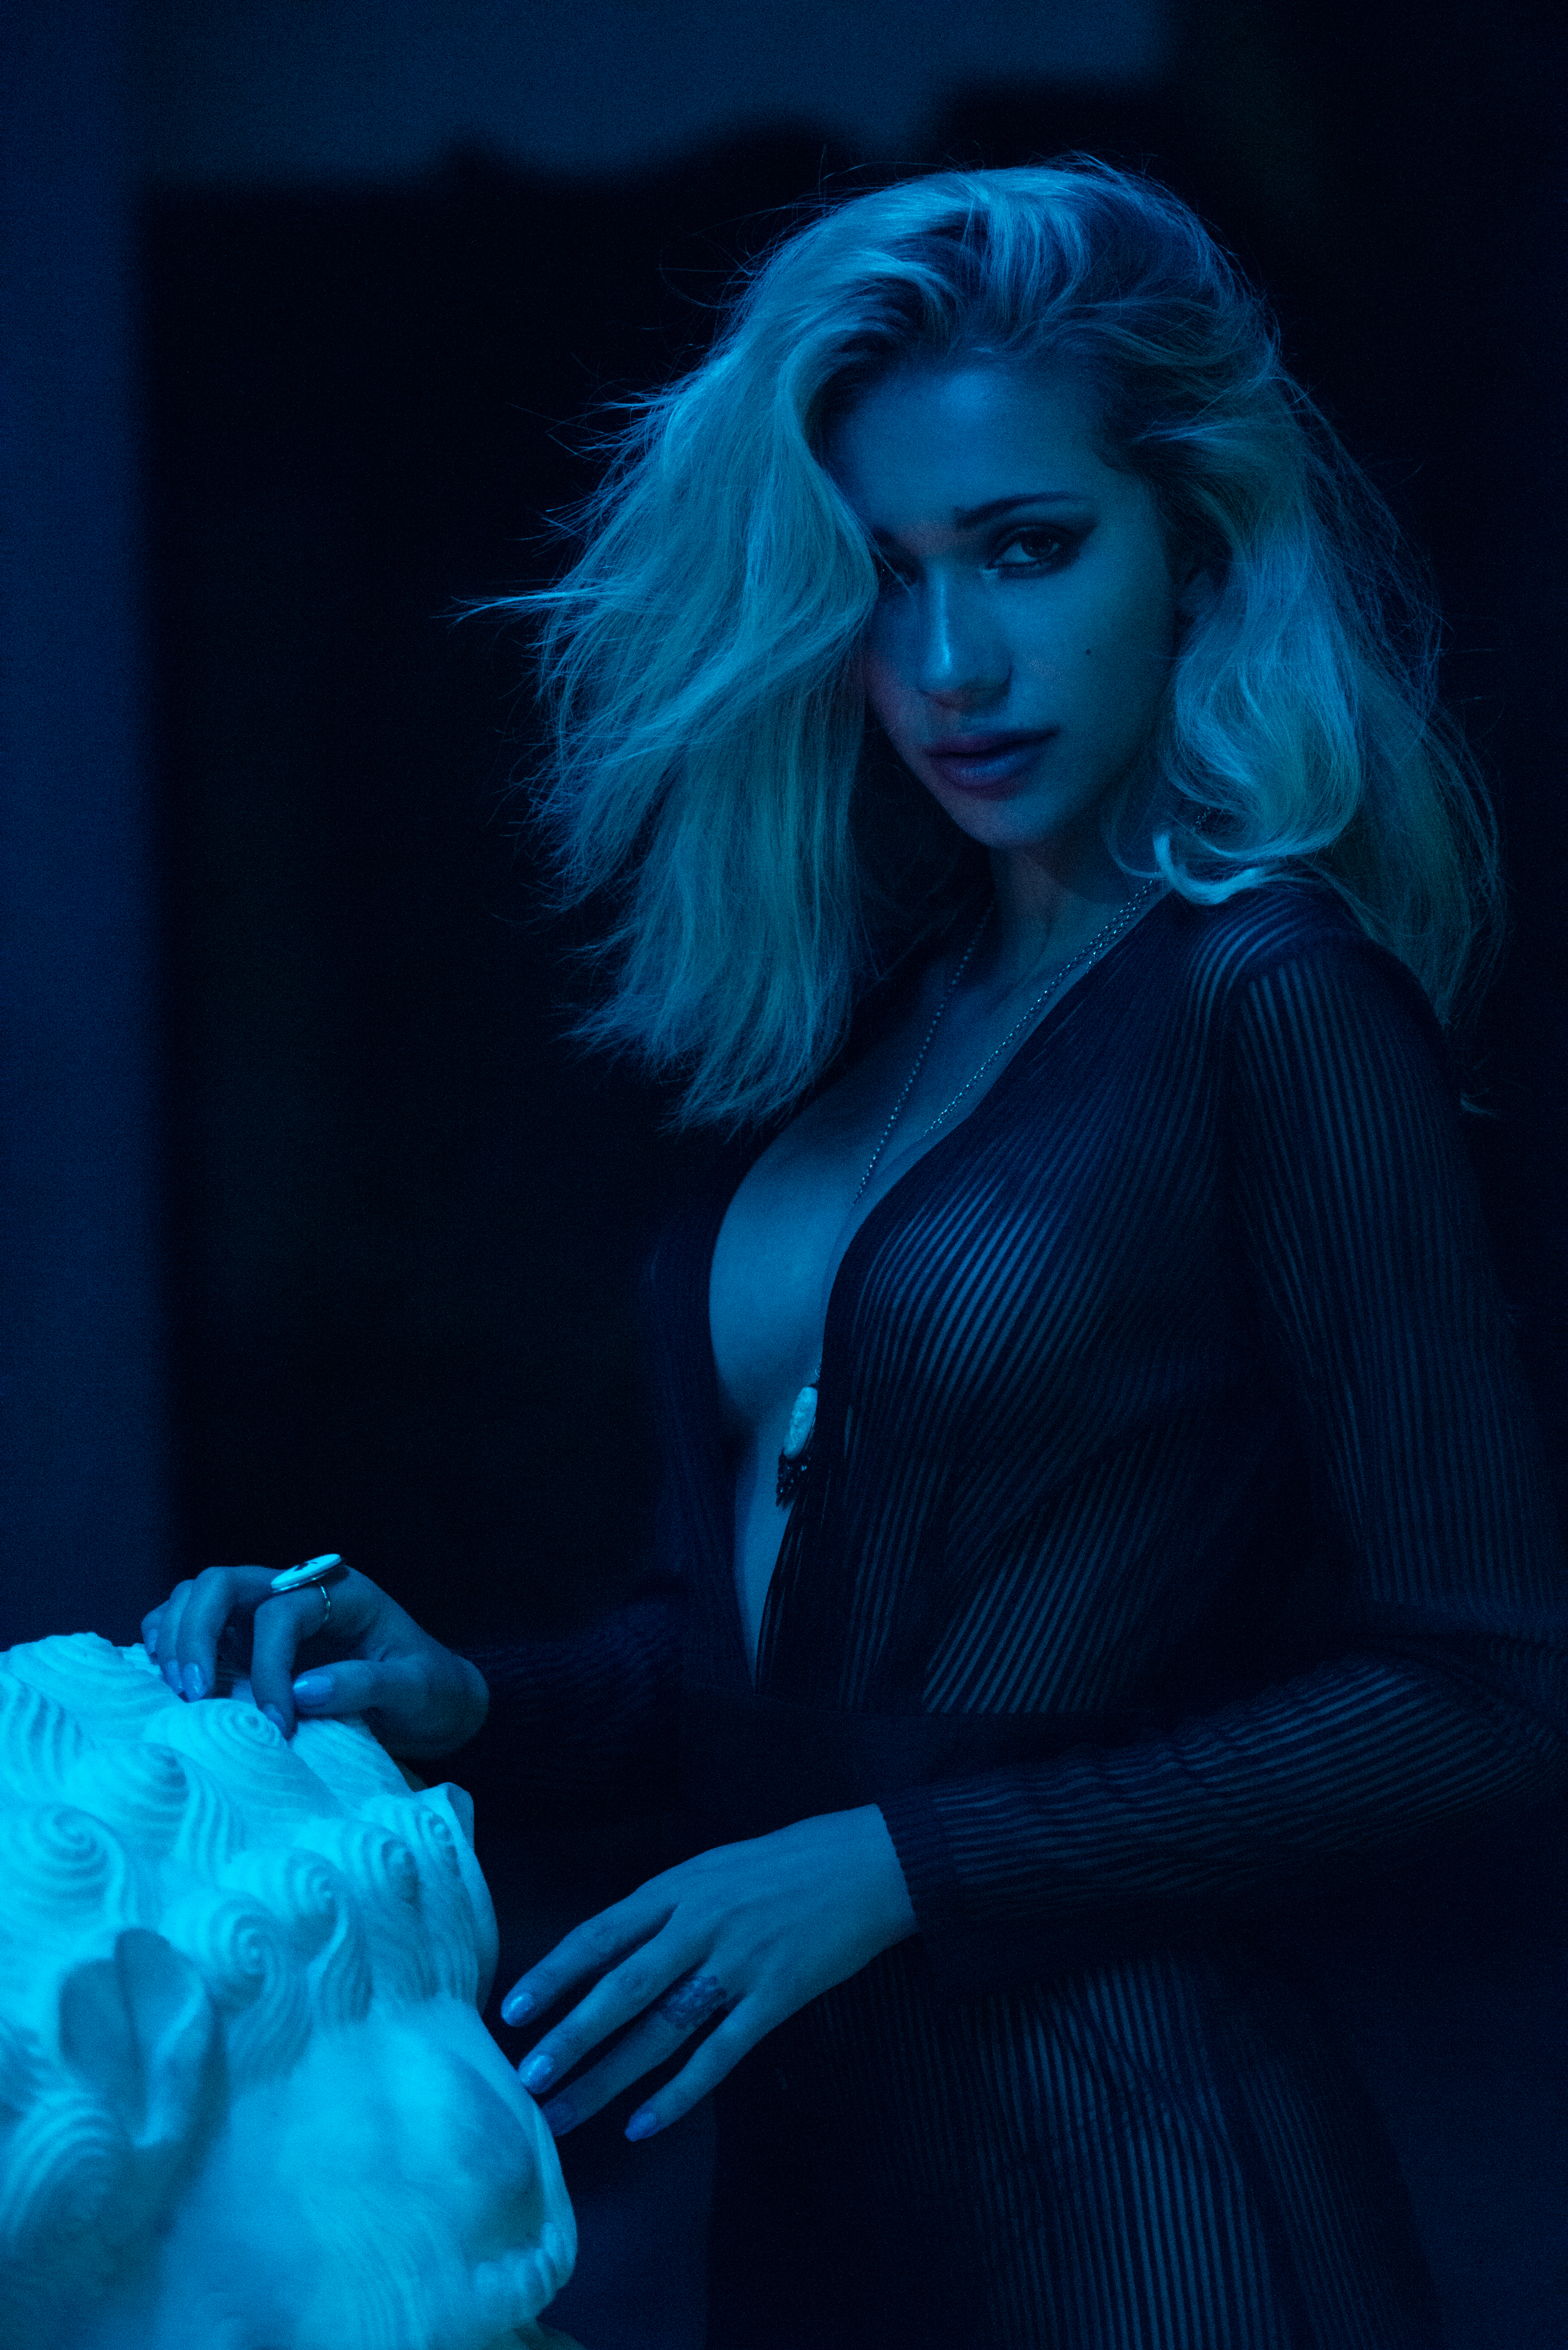
The following are the results of my night with Mara Del Rose. As always, let me know what you think, are there any other tips you care to share? Link to your night photography and I'll give you a free critique.


“If you’re a diligent photographer, serious about your craft, you’ll learn how to see light. It’s just a matter of time.”
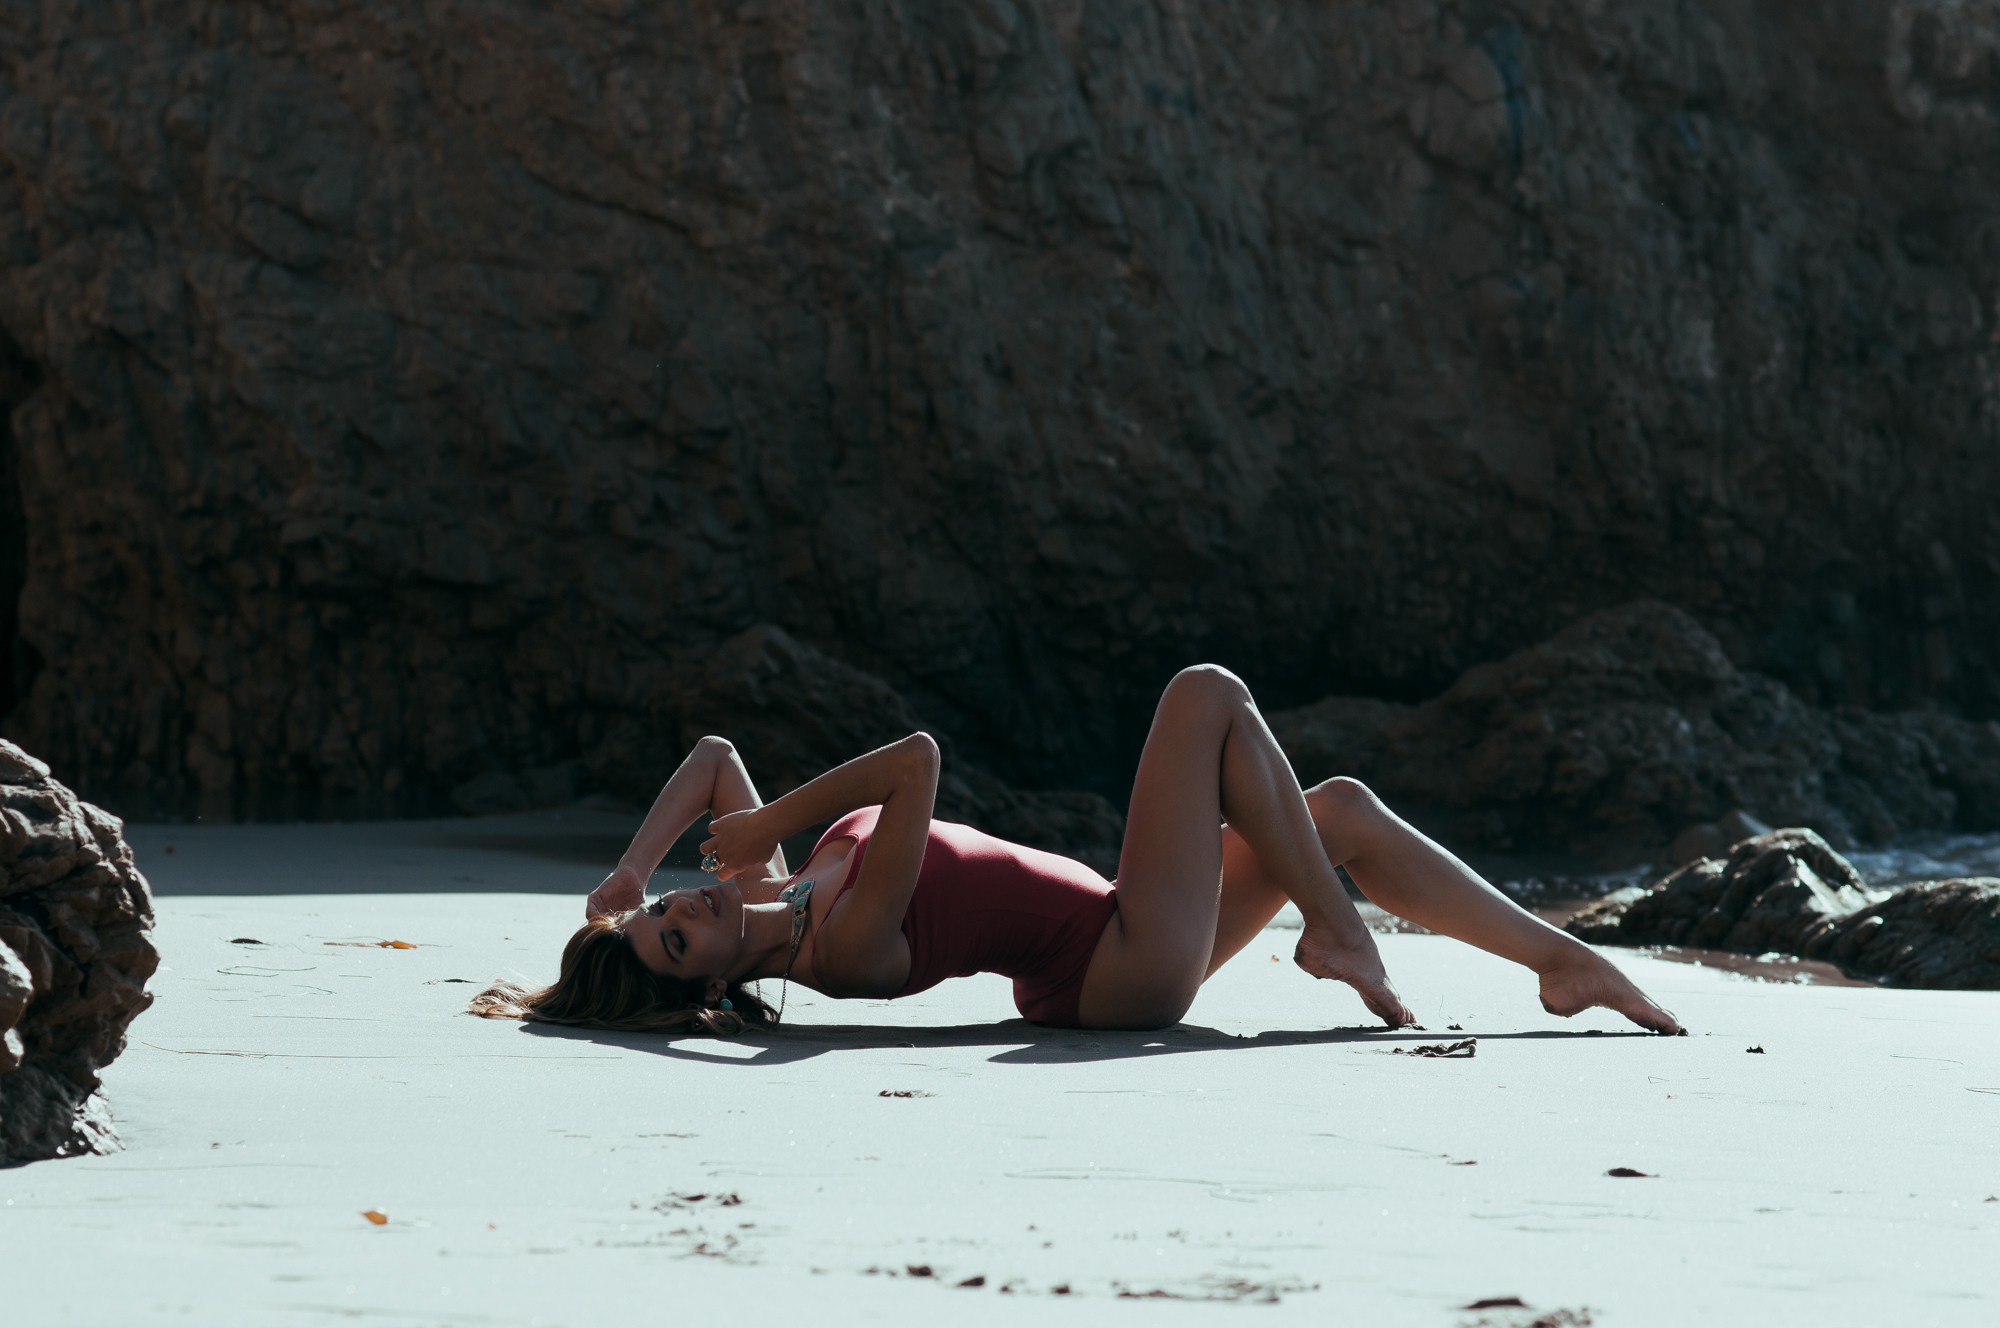
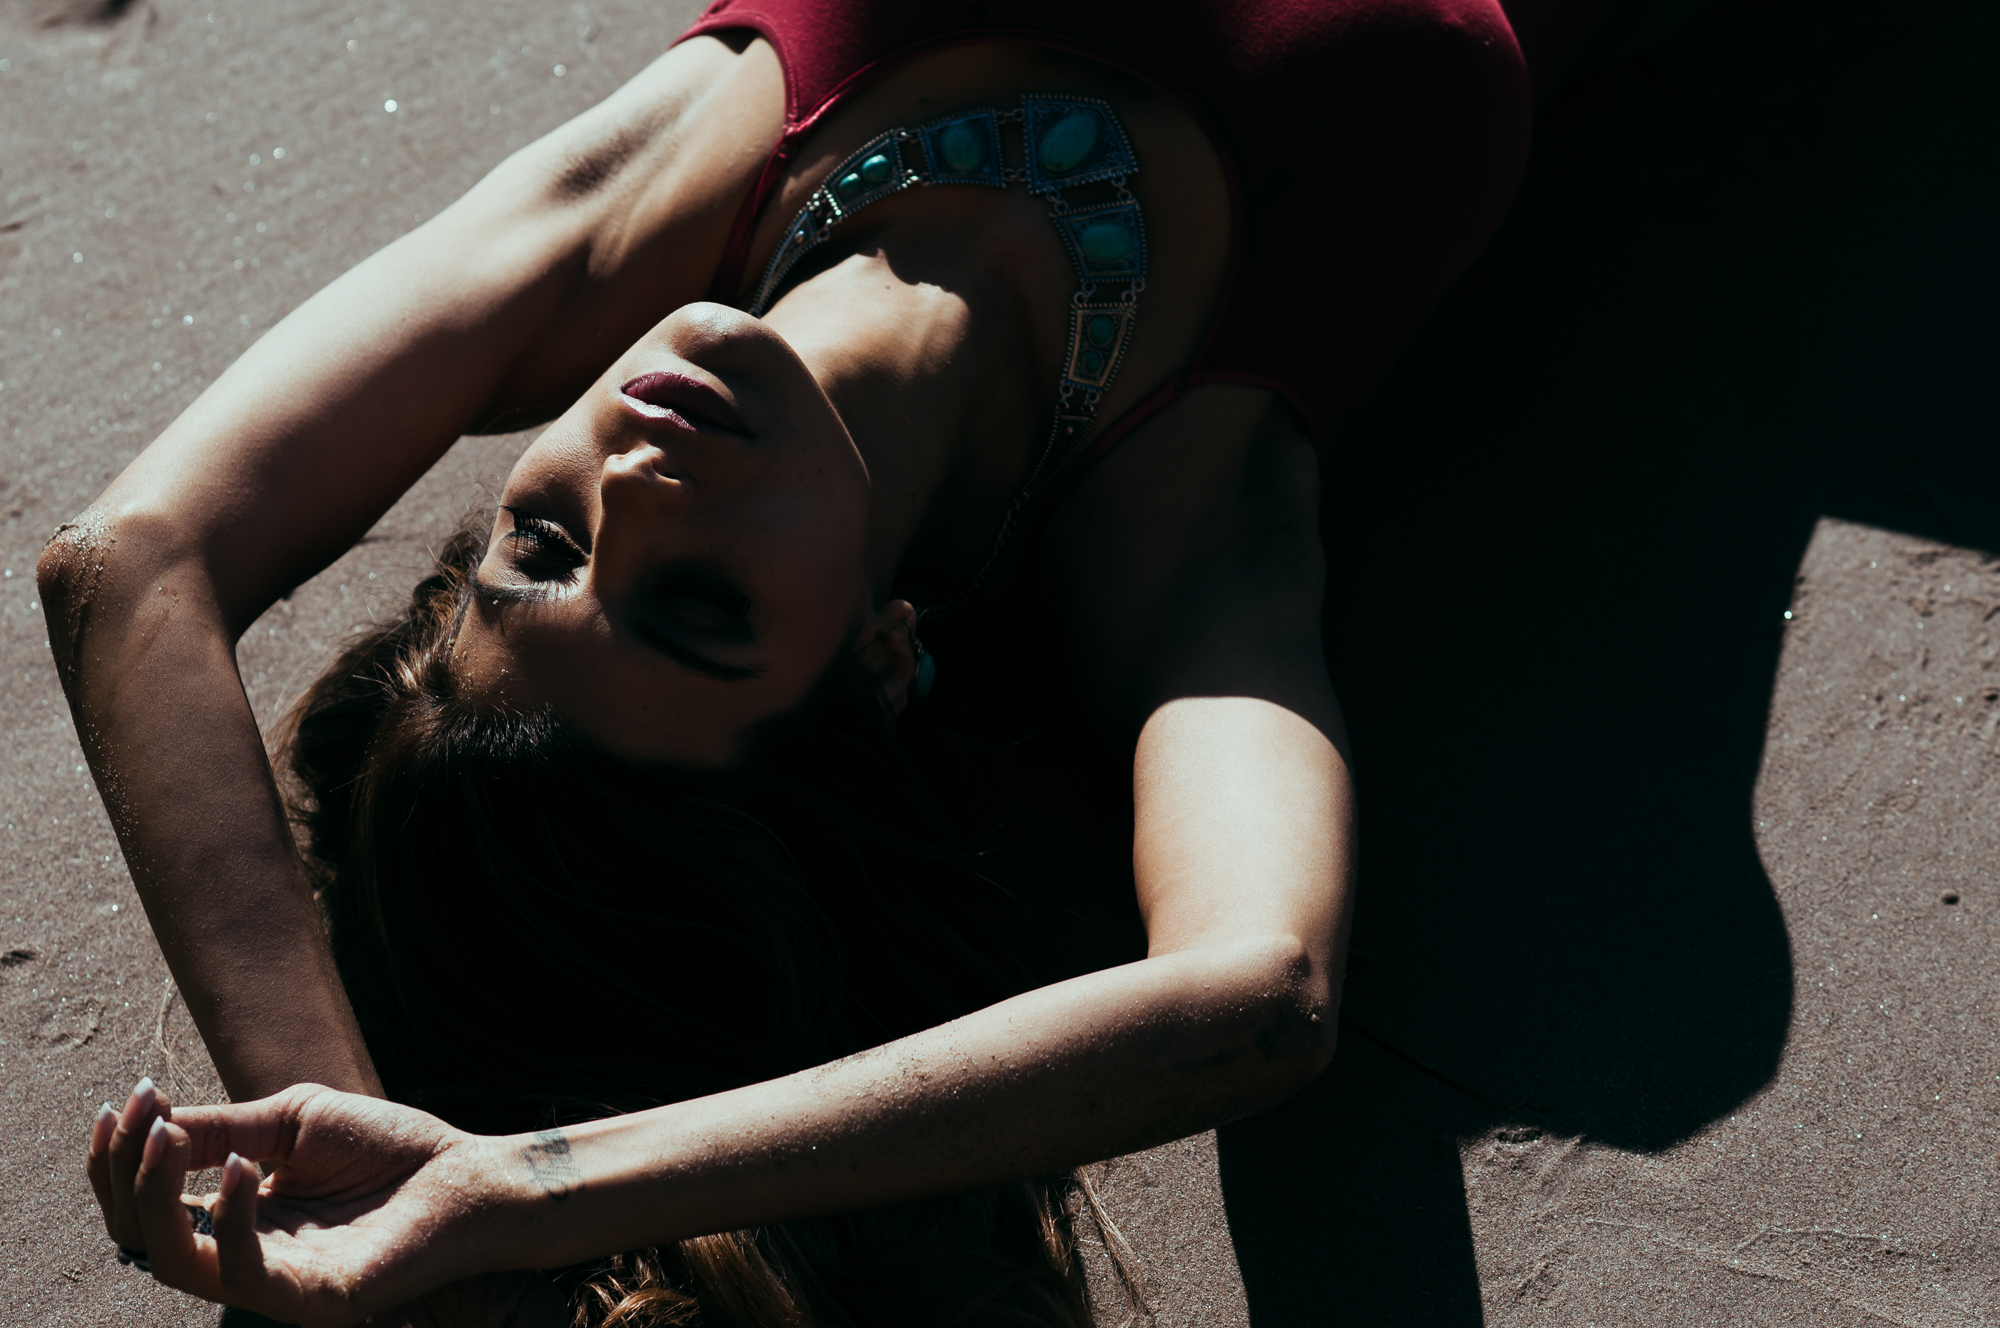
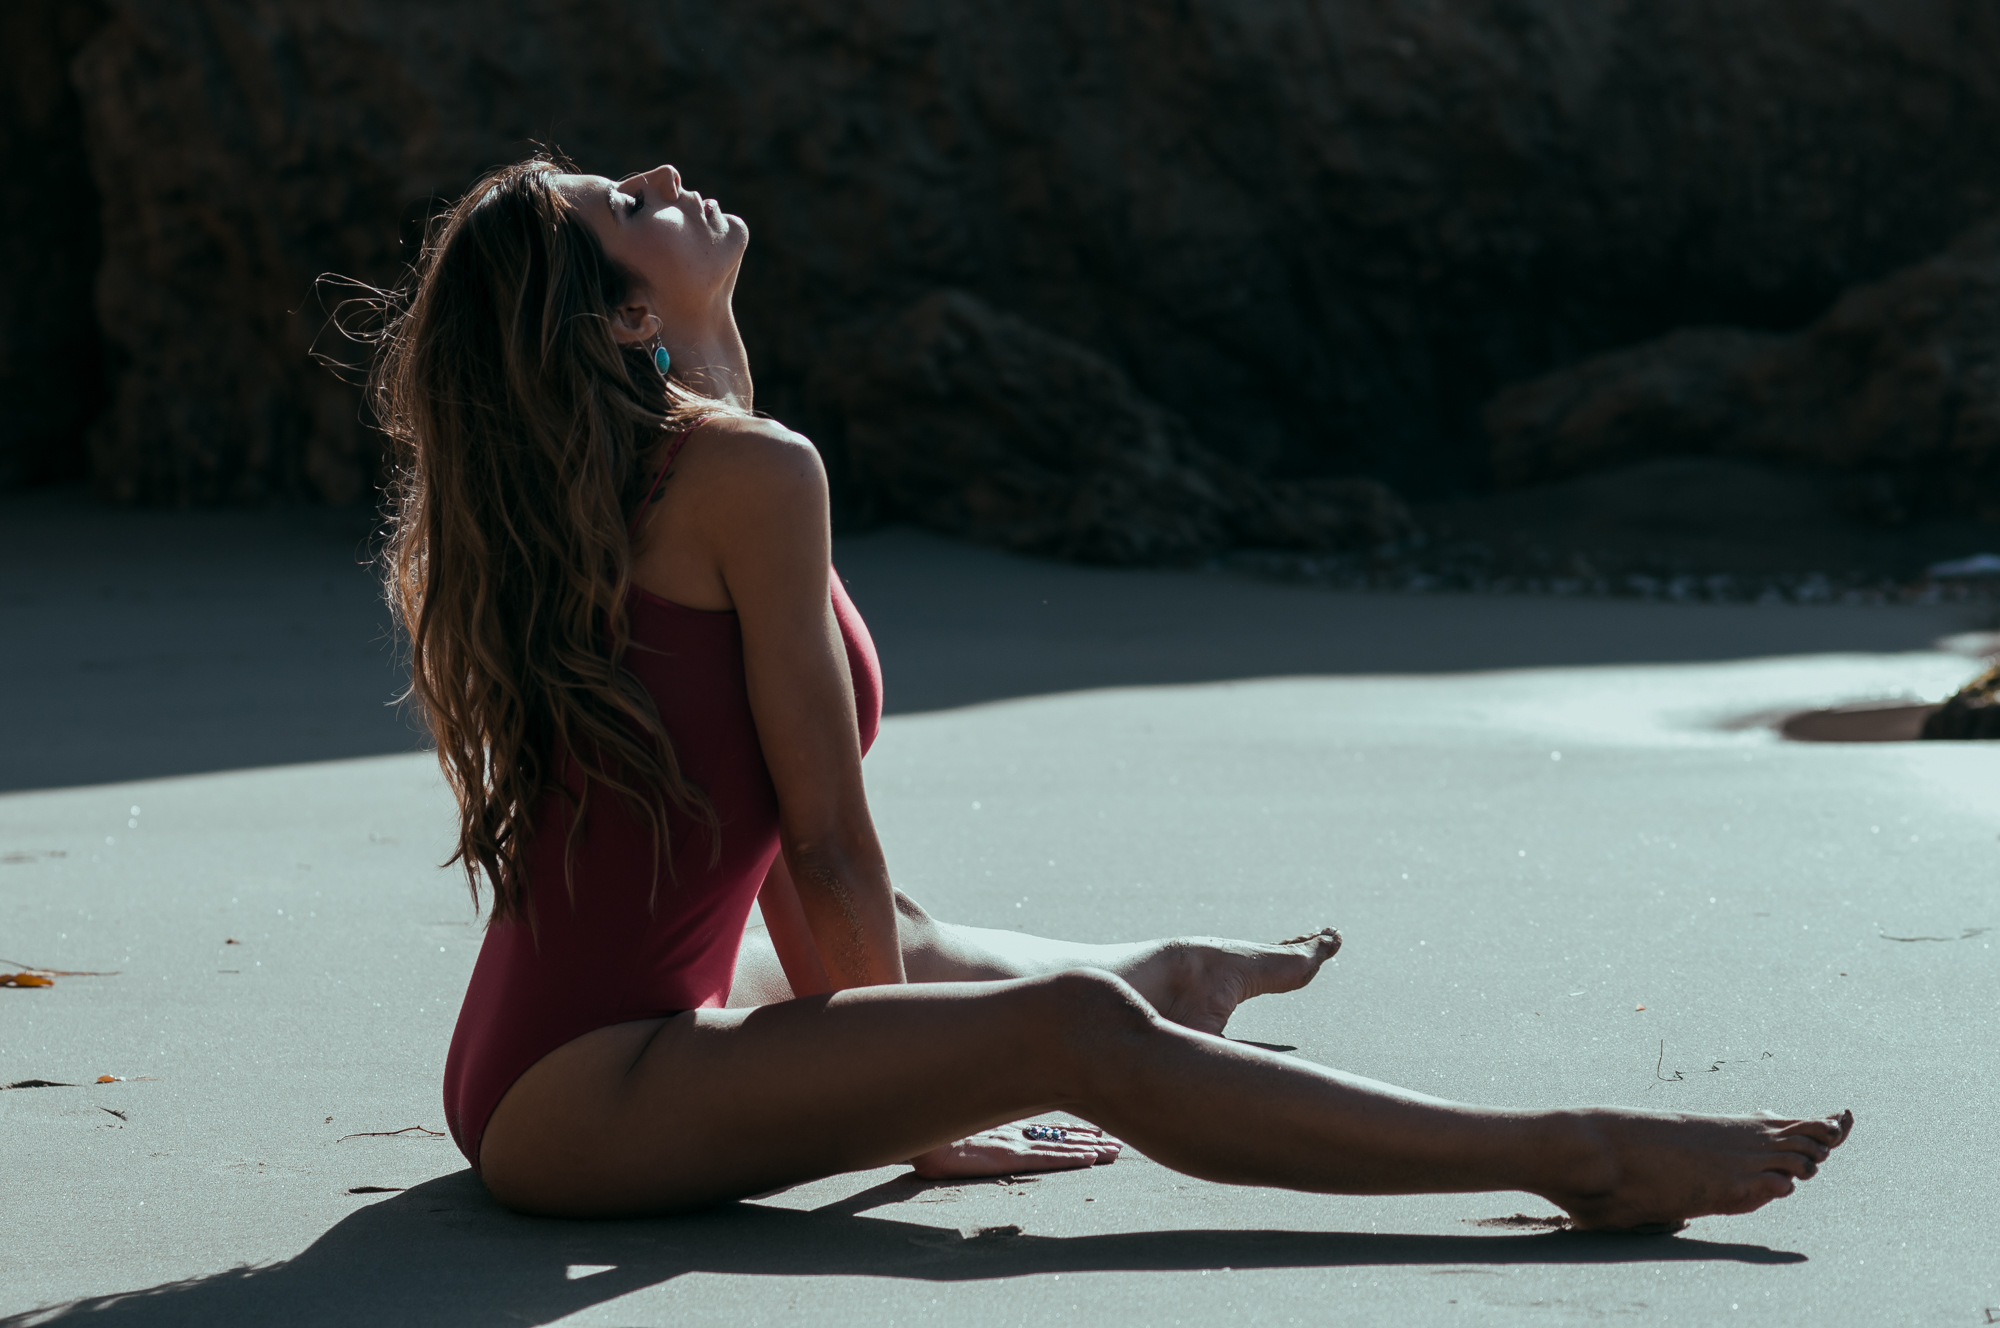
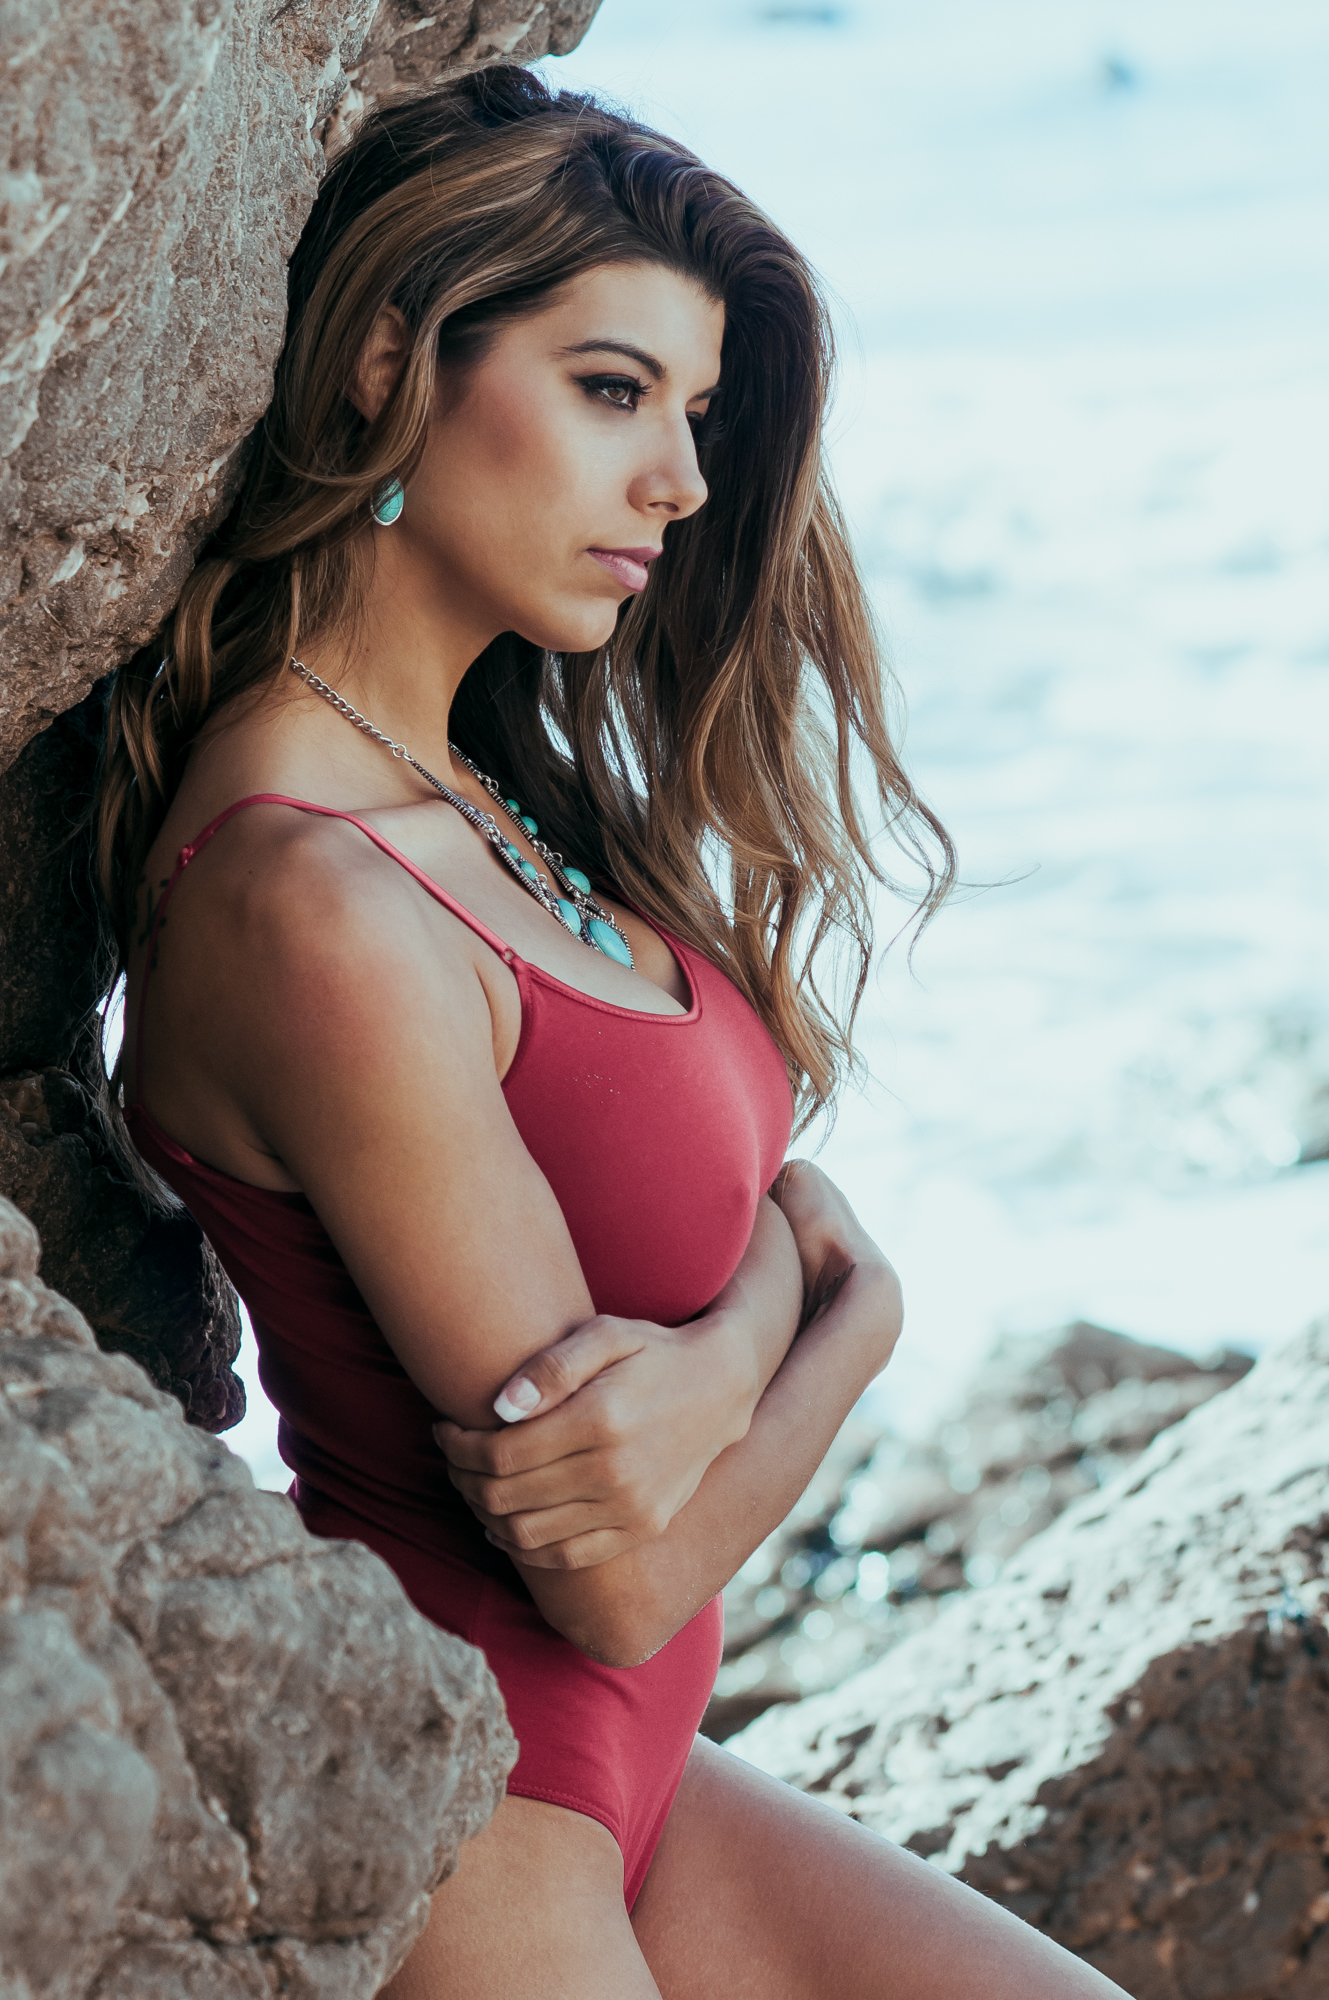
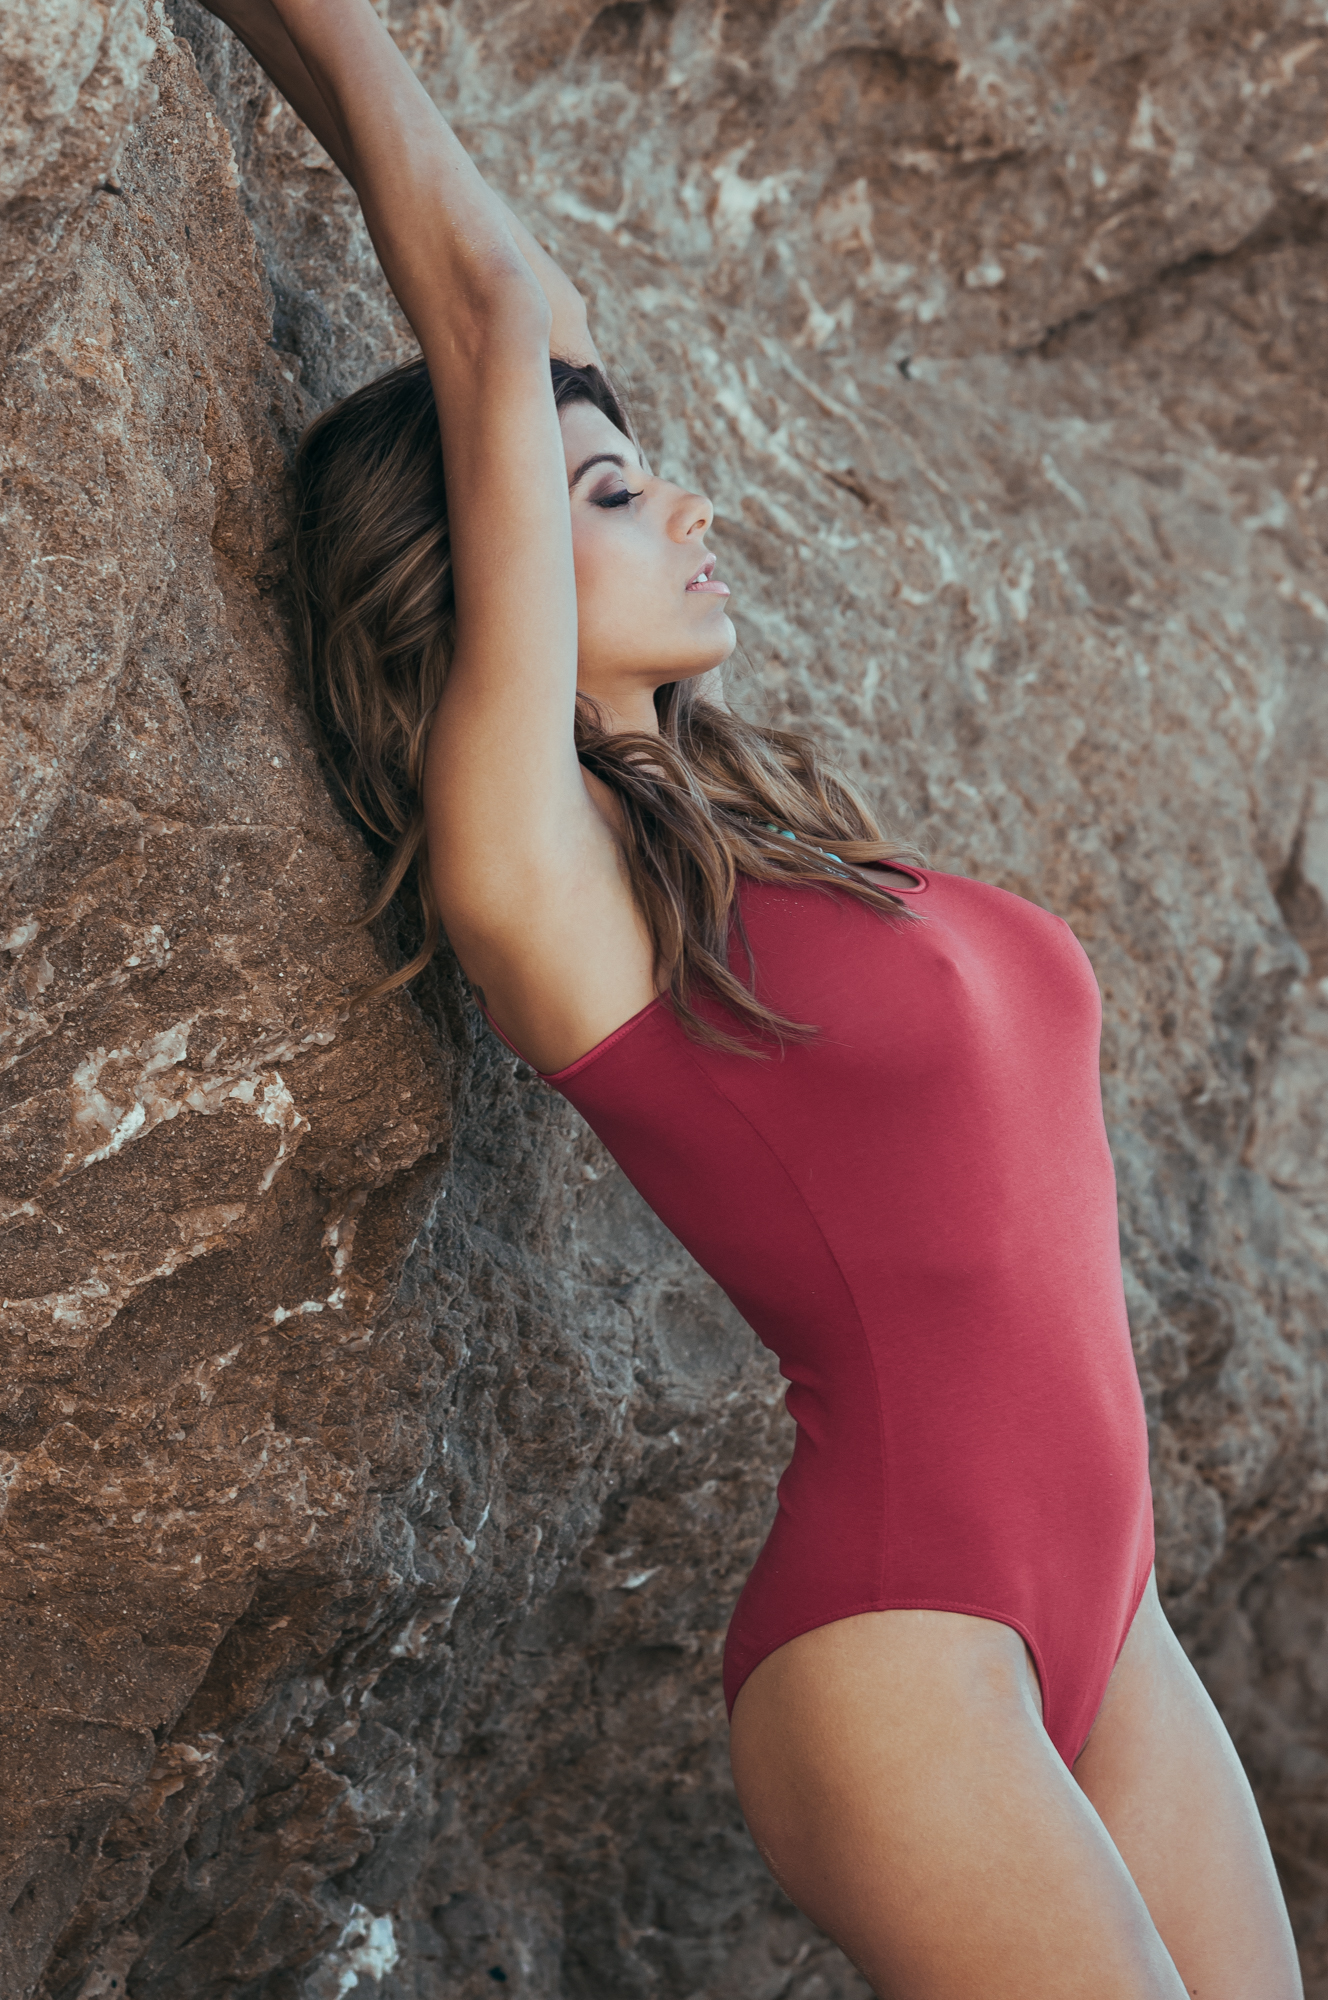
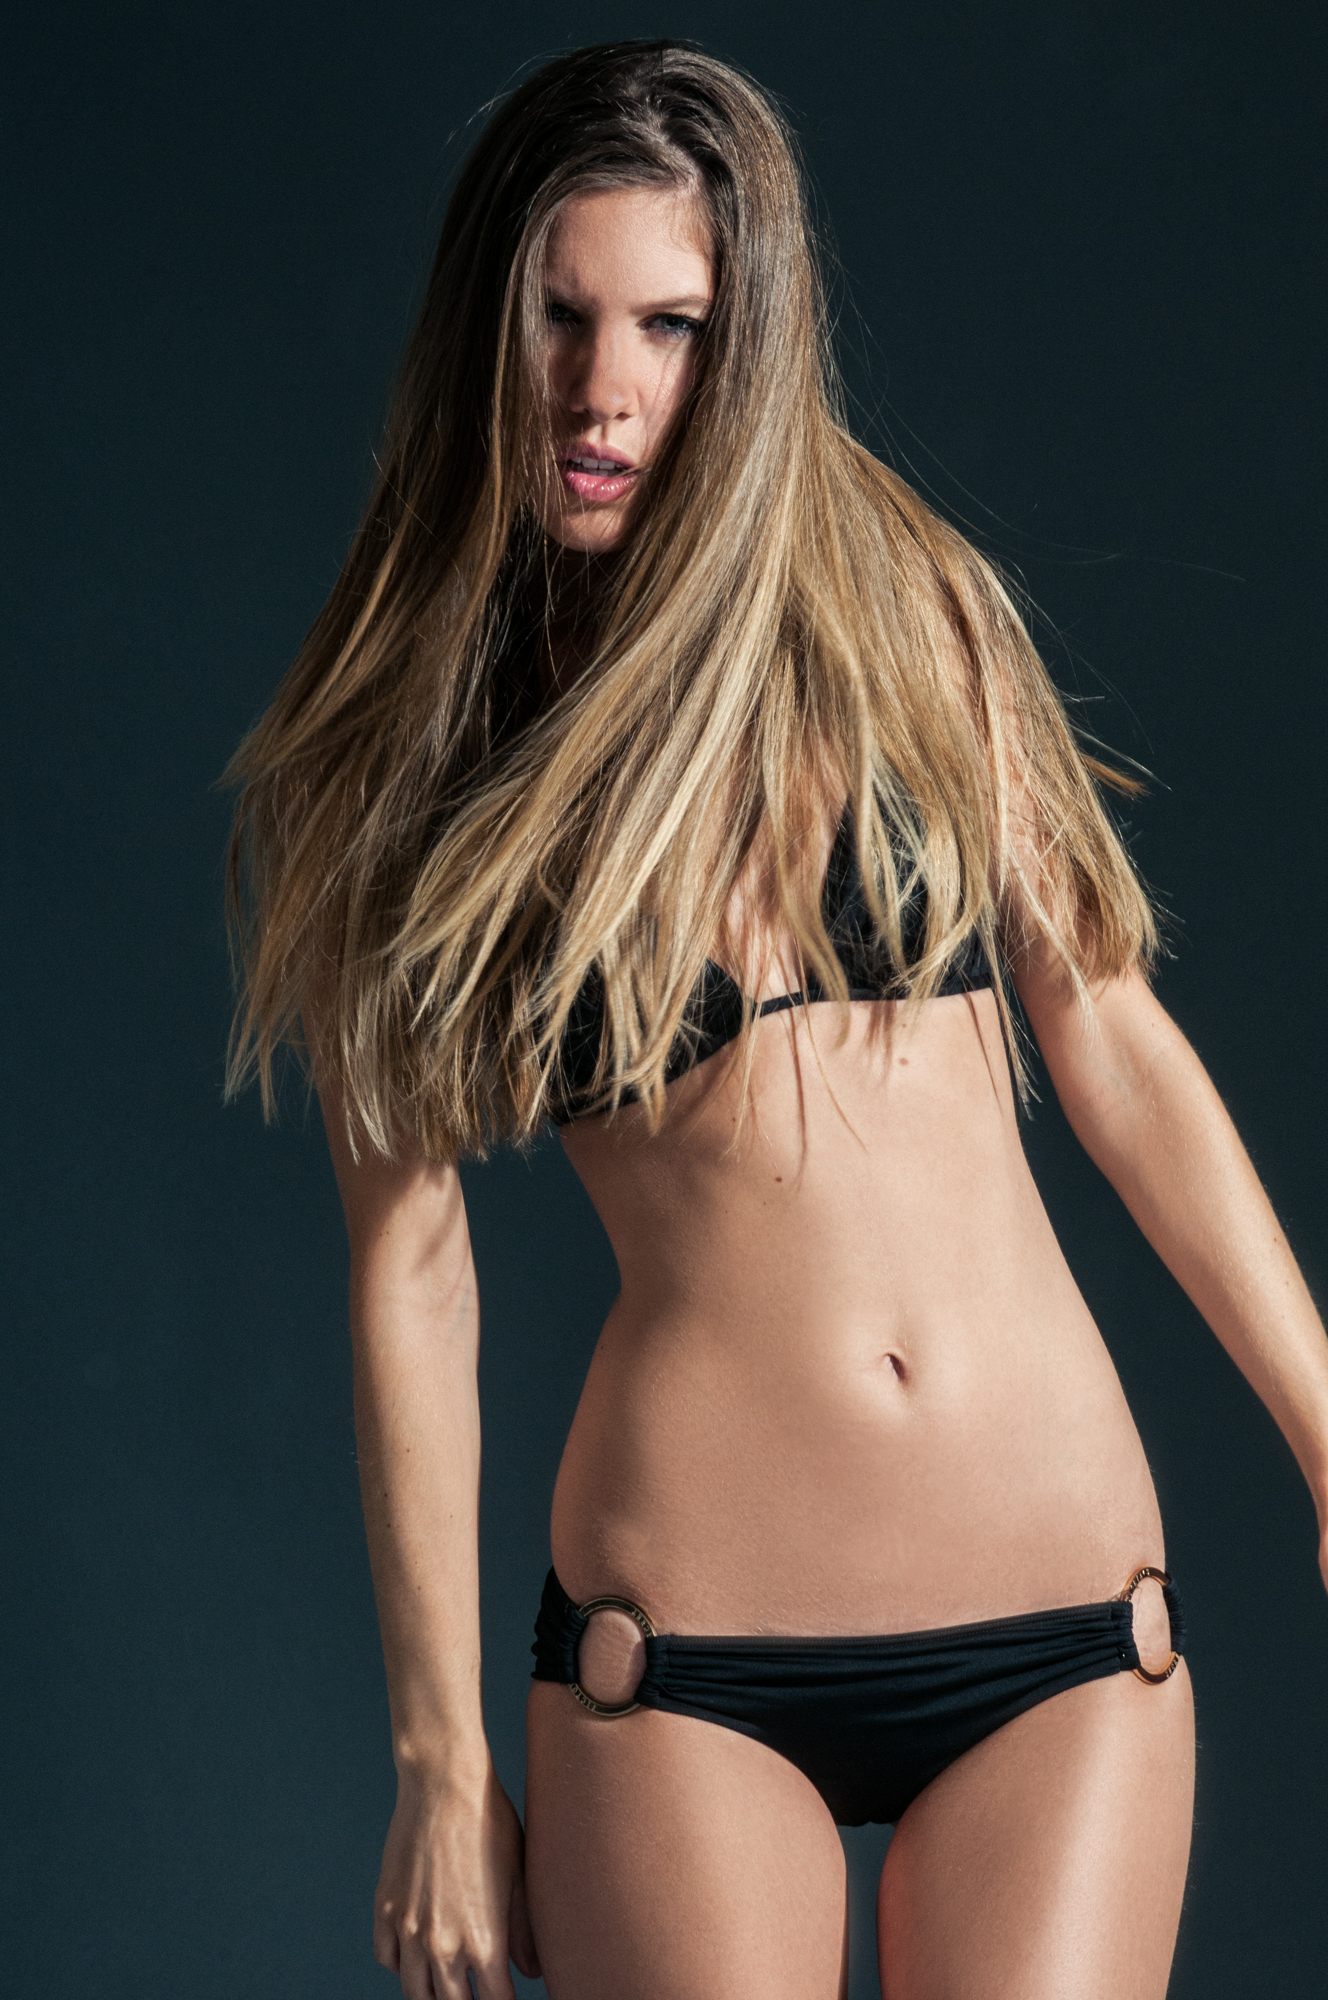
Some time ago, I was lucky enough to shoot with Ashley Salazar, the first Playboy Cyber Girl of the Year. I had about two hours with her before she caught a flight back to Saint Louis. It was late October and we decided to shoot at the beach. For all intensive purposes, this should have been a terrible shoot with no rapport, no MUA, no hair, no assistant, but by using my sense of light, we got some amazing images. Learning how to see light is something that all photographers do overtime. Study as much as you can, but you’ll have to be out in the field to properly develop your photo-senses. No book can prepare you for when you’re thigh deep in the ocean, tripping over rocks, sun at 6 o’clock, and the sea bluffs might add a beautiful bounce to your subject. Positioning your subject is a whole other topic, but goes in hand with learning how to see light (I will save that for a different blog post).
Practicing how to see light is all about observation. For me personally, light is best observed in its natural environment, meaning not in studio. In the studio it’s really easy to mistake how to see light since you know the source and it stays consistent. Outside however, there’s all sorts of light sources: metal buildings, floors, lamps, streetlights, parked cars, signs, everything is a light source. I can’t tell you how often I’m walking around an office complex and stumble across reflected light that ends up just being incredibly beautiful for photos. In the case of these photos, the sand from the very beach we were shooting on added a nice fill to Ashley when I placed her in open shade. The tan color of the sea bluffs also filled her in, giving a nice even light to all the pictures. In some of them, I utilized the direction of the sun to give her a rim light, but keep in mind the sand was still giving some fill.
If you’re a diligent photographer, serious about your craft, you’ll learn how to see light. It’s just a matter of time. Truly, this is what separates the masters from the amateurs. Working at the Palm Springs Photo Festival I’ve spoken to dozens of pro commercial and fine art photographers and one of the biggest points they emphasize is their visualization of light sources. They may not understand it entirely, but they can see it and know when it’s good. Nels Israelson even taught an entire workshop on the subject. Once you’ve accomplished this, you can take a decent picture virtually anywhere.
To practice try hanging out in public places in the mornings and evenings; notice how the light reflects and bounces off walls. Pay special attention to colors and notice how light bouncing is colored by everything it touches. Go outside on rainy days and see what happens to shadows as the sun moves around the clouds. And finally, spend the day in an old structure like a train station or library with lots of windows. Pay attention to the time of day and how the light is coming through the windows. Photography is a life lesson in how to see. As always, let me know if you like this post or if you hated it. Was I too vague? Do you need more examples? Let me know. Always happy to help.
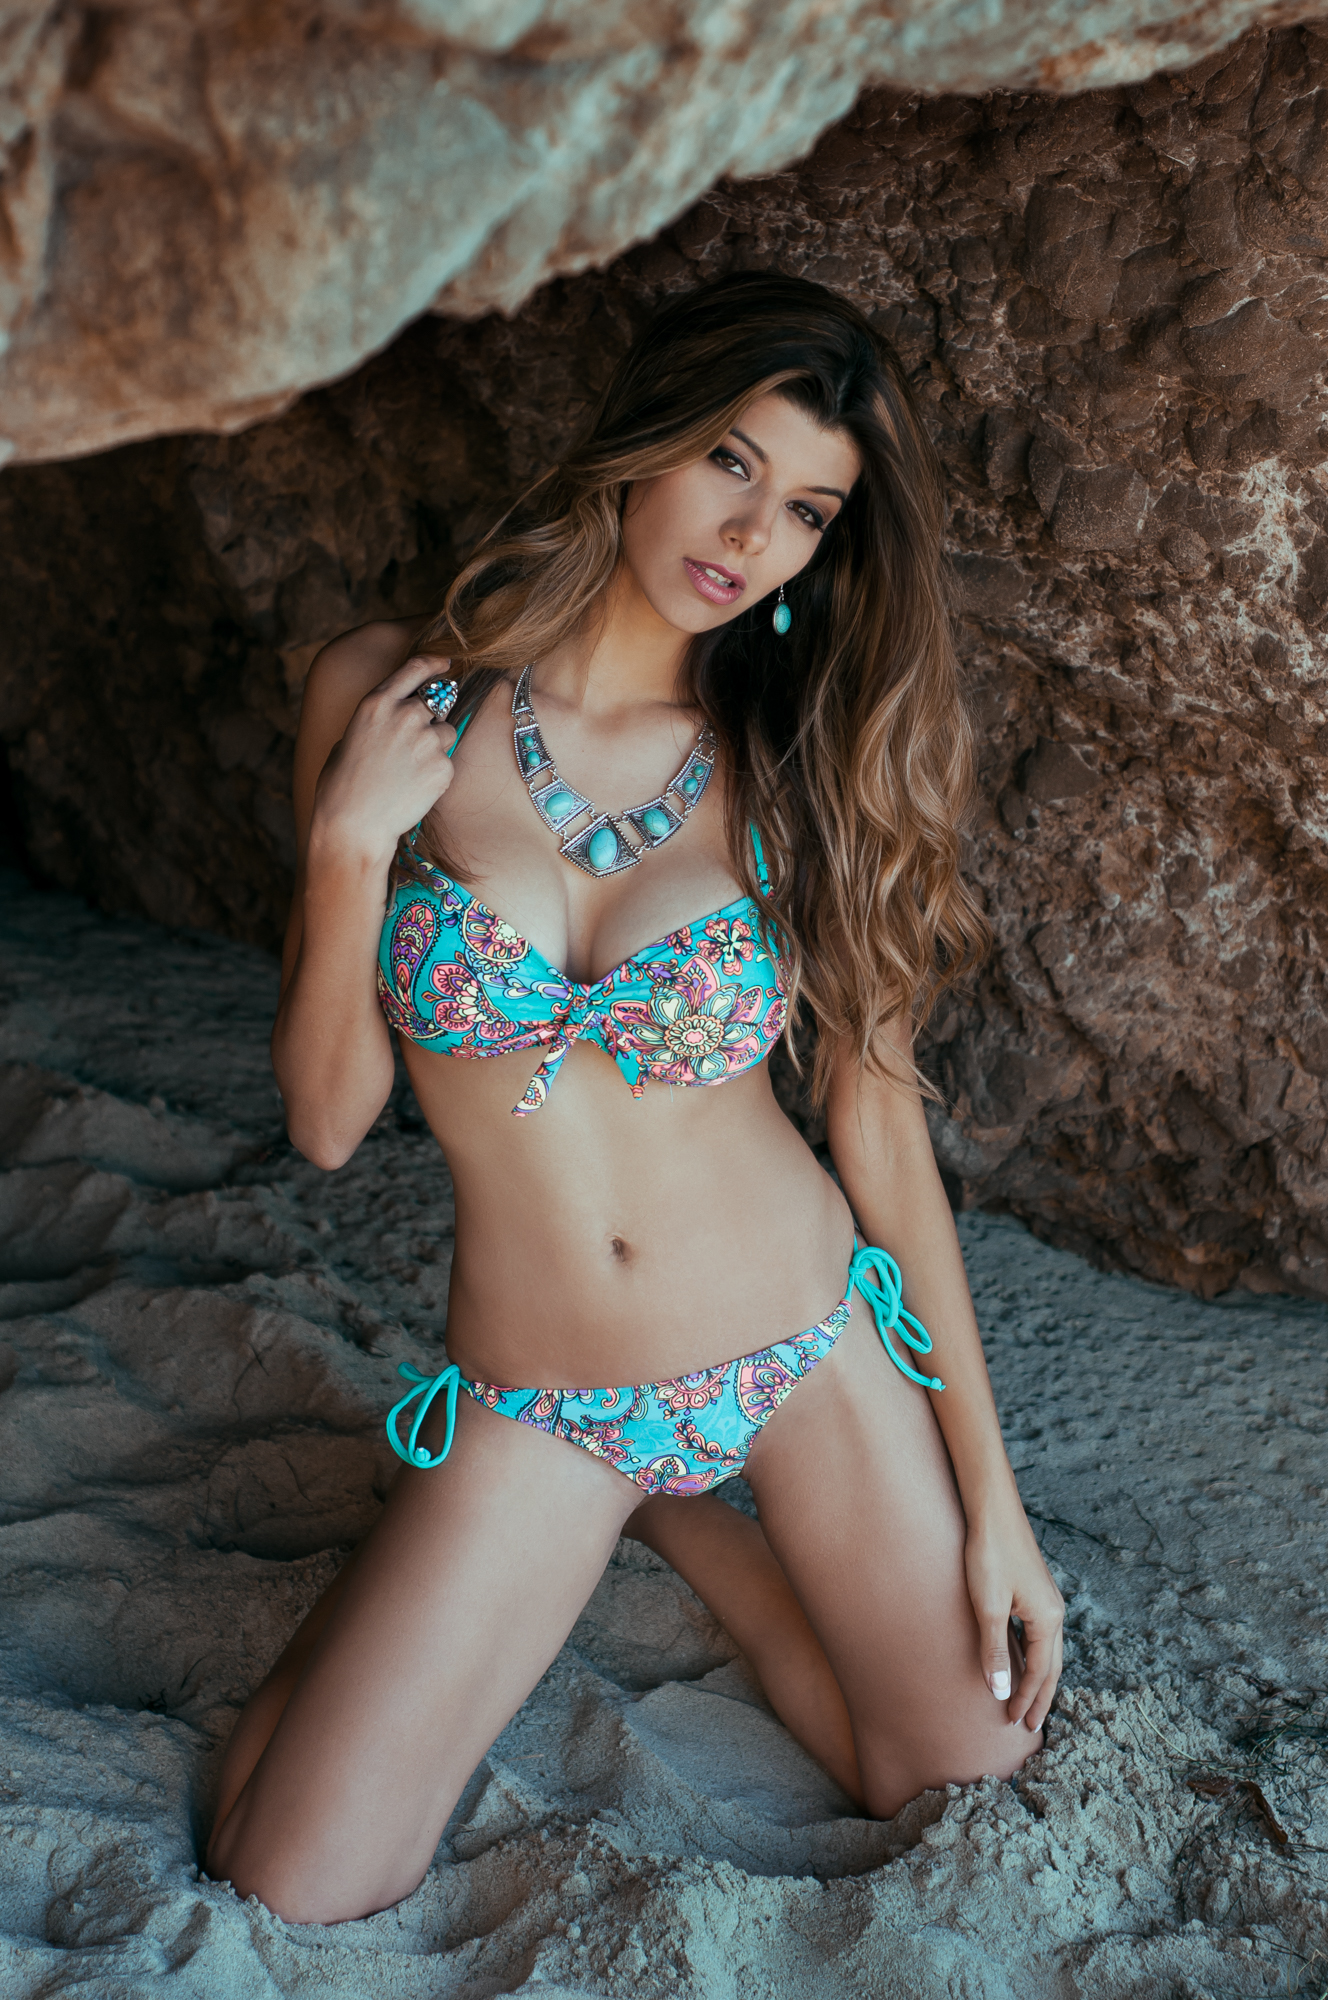

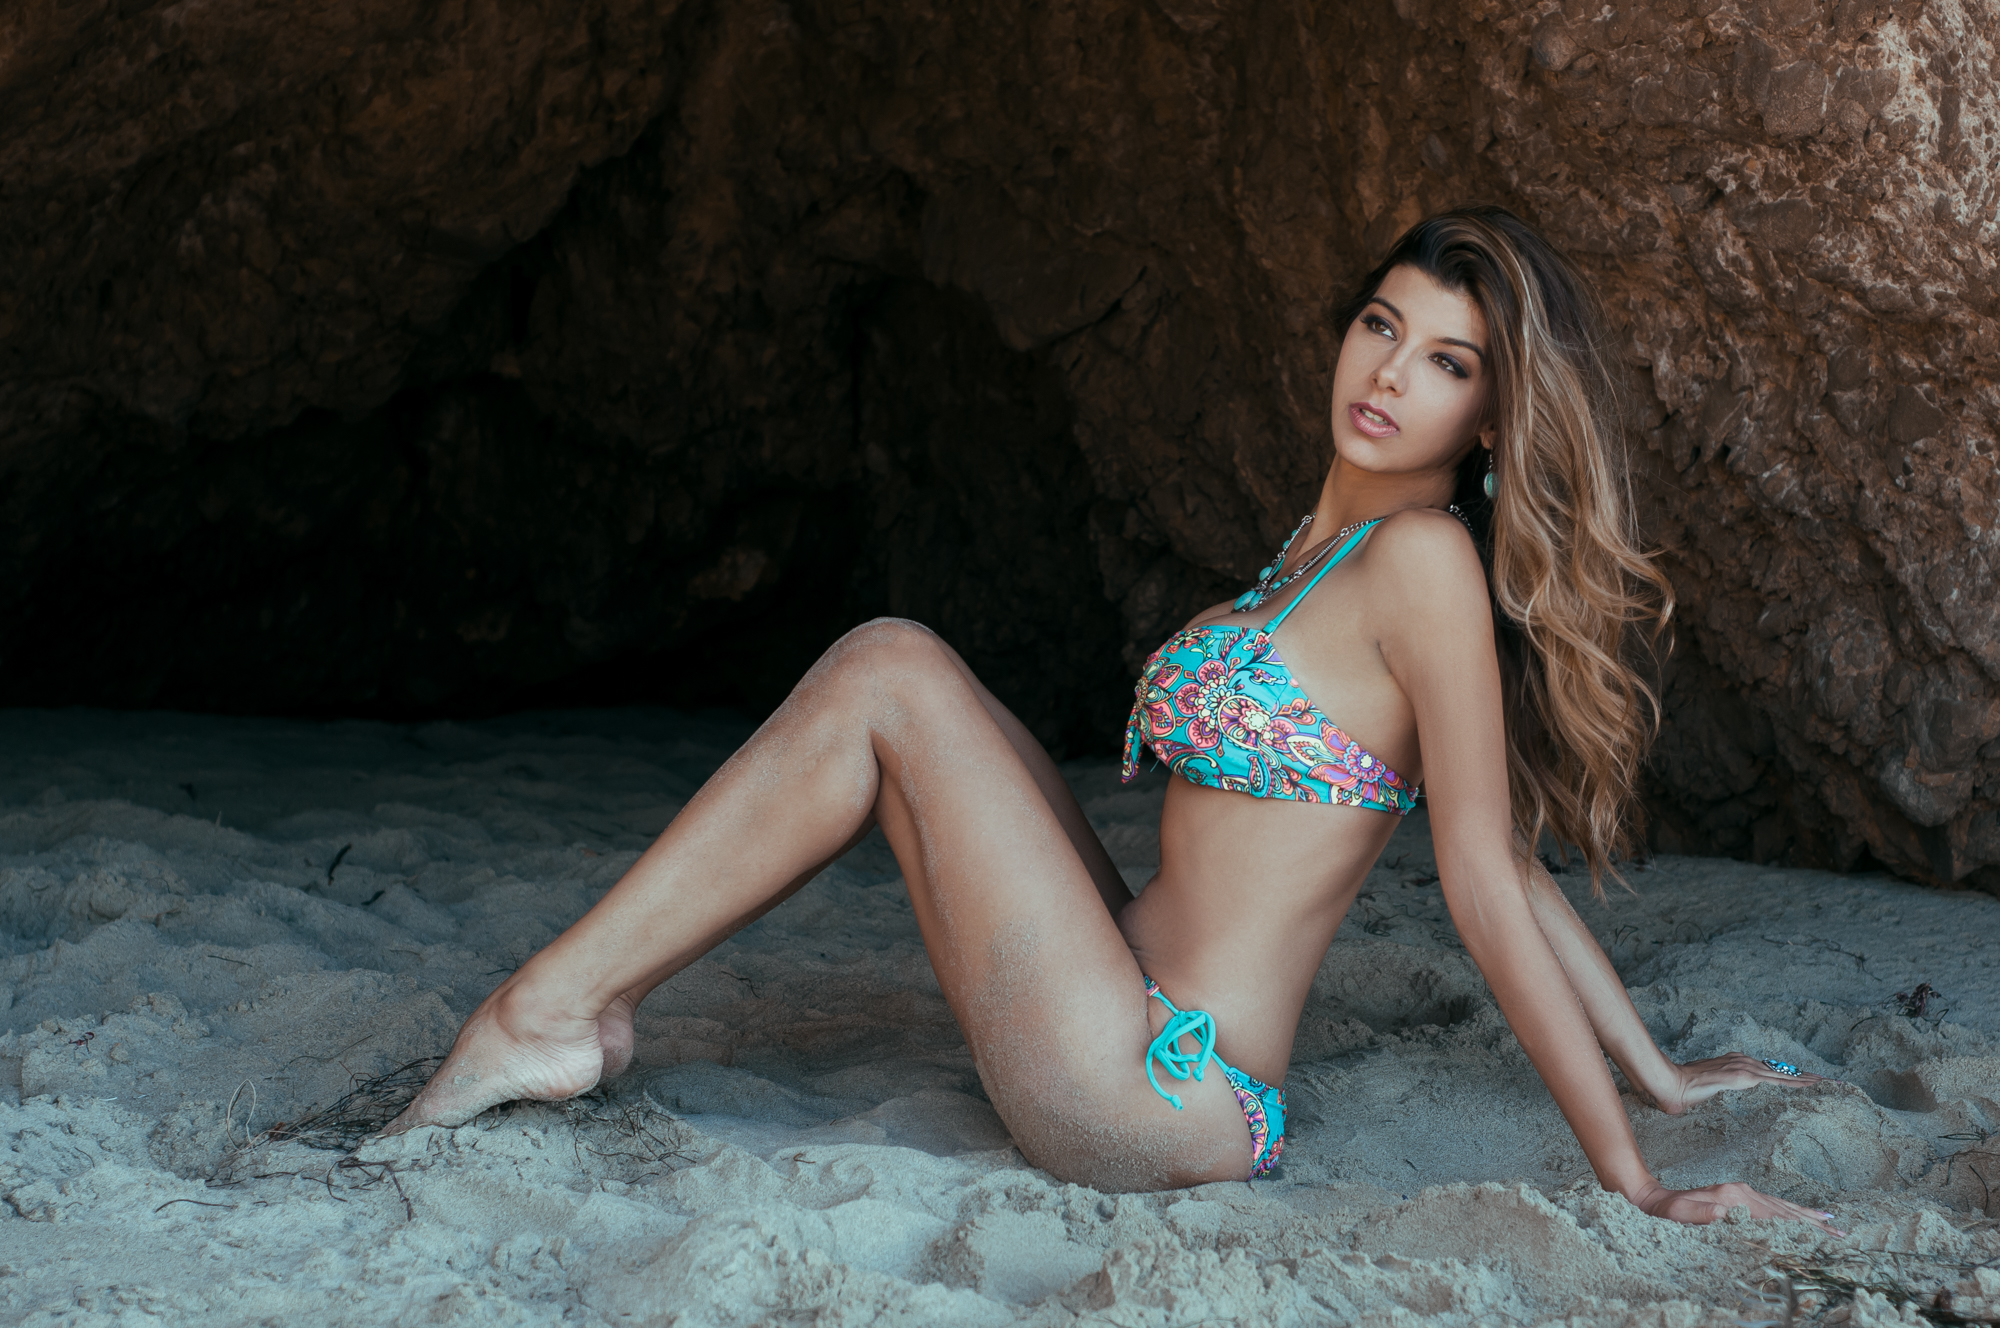

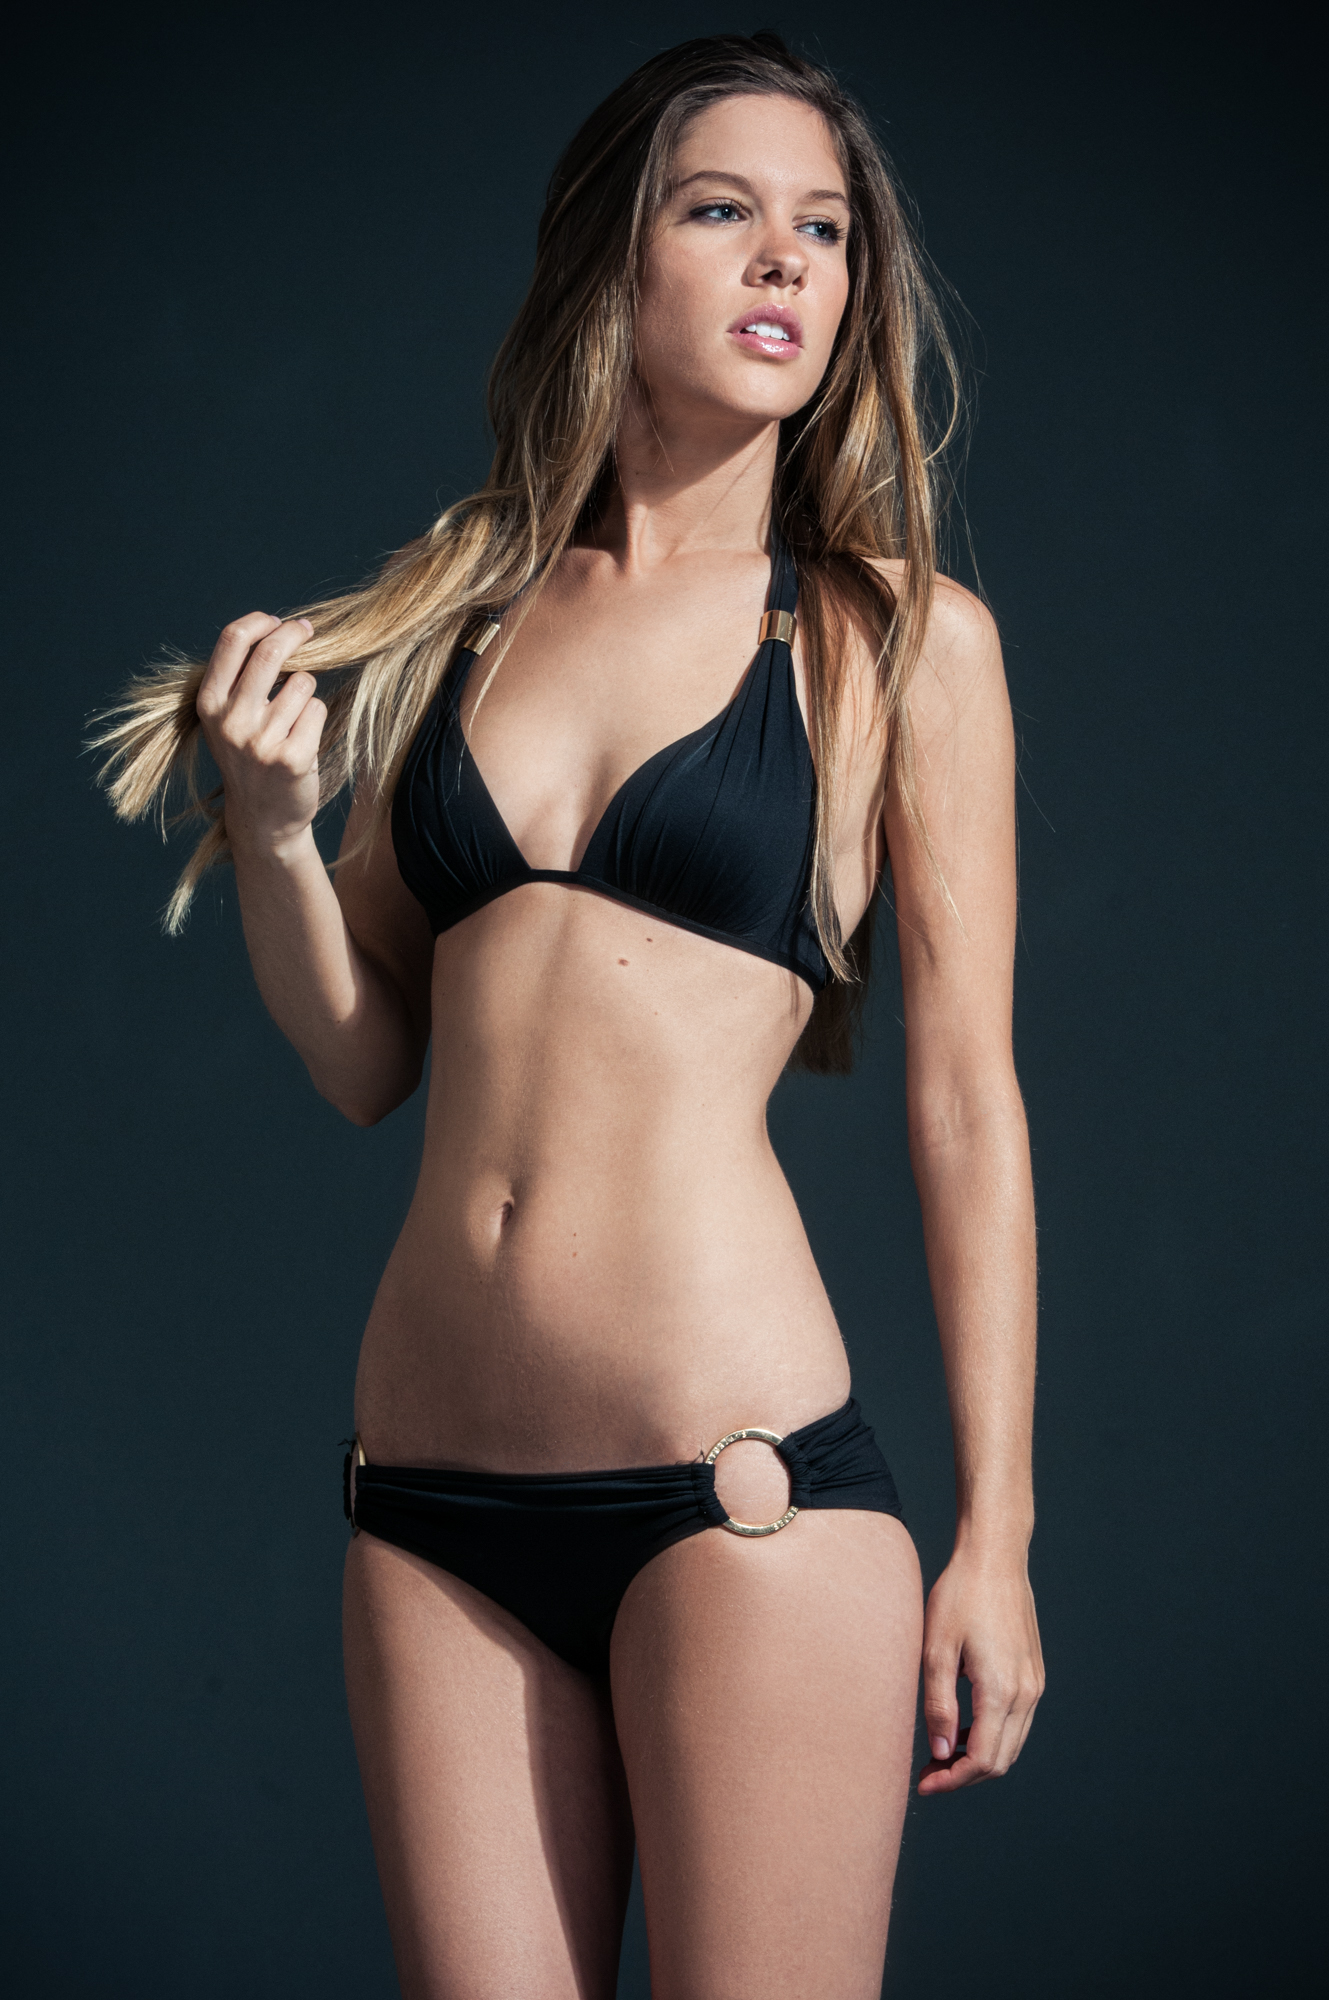
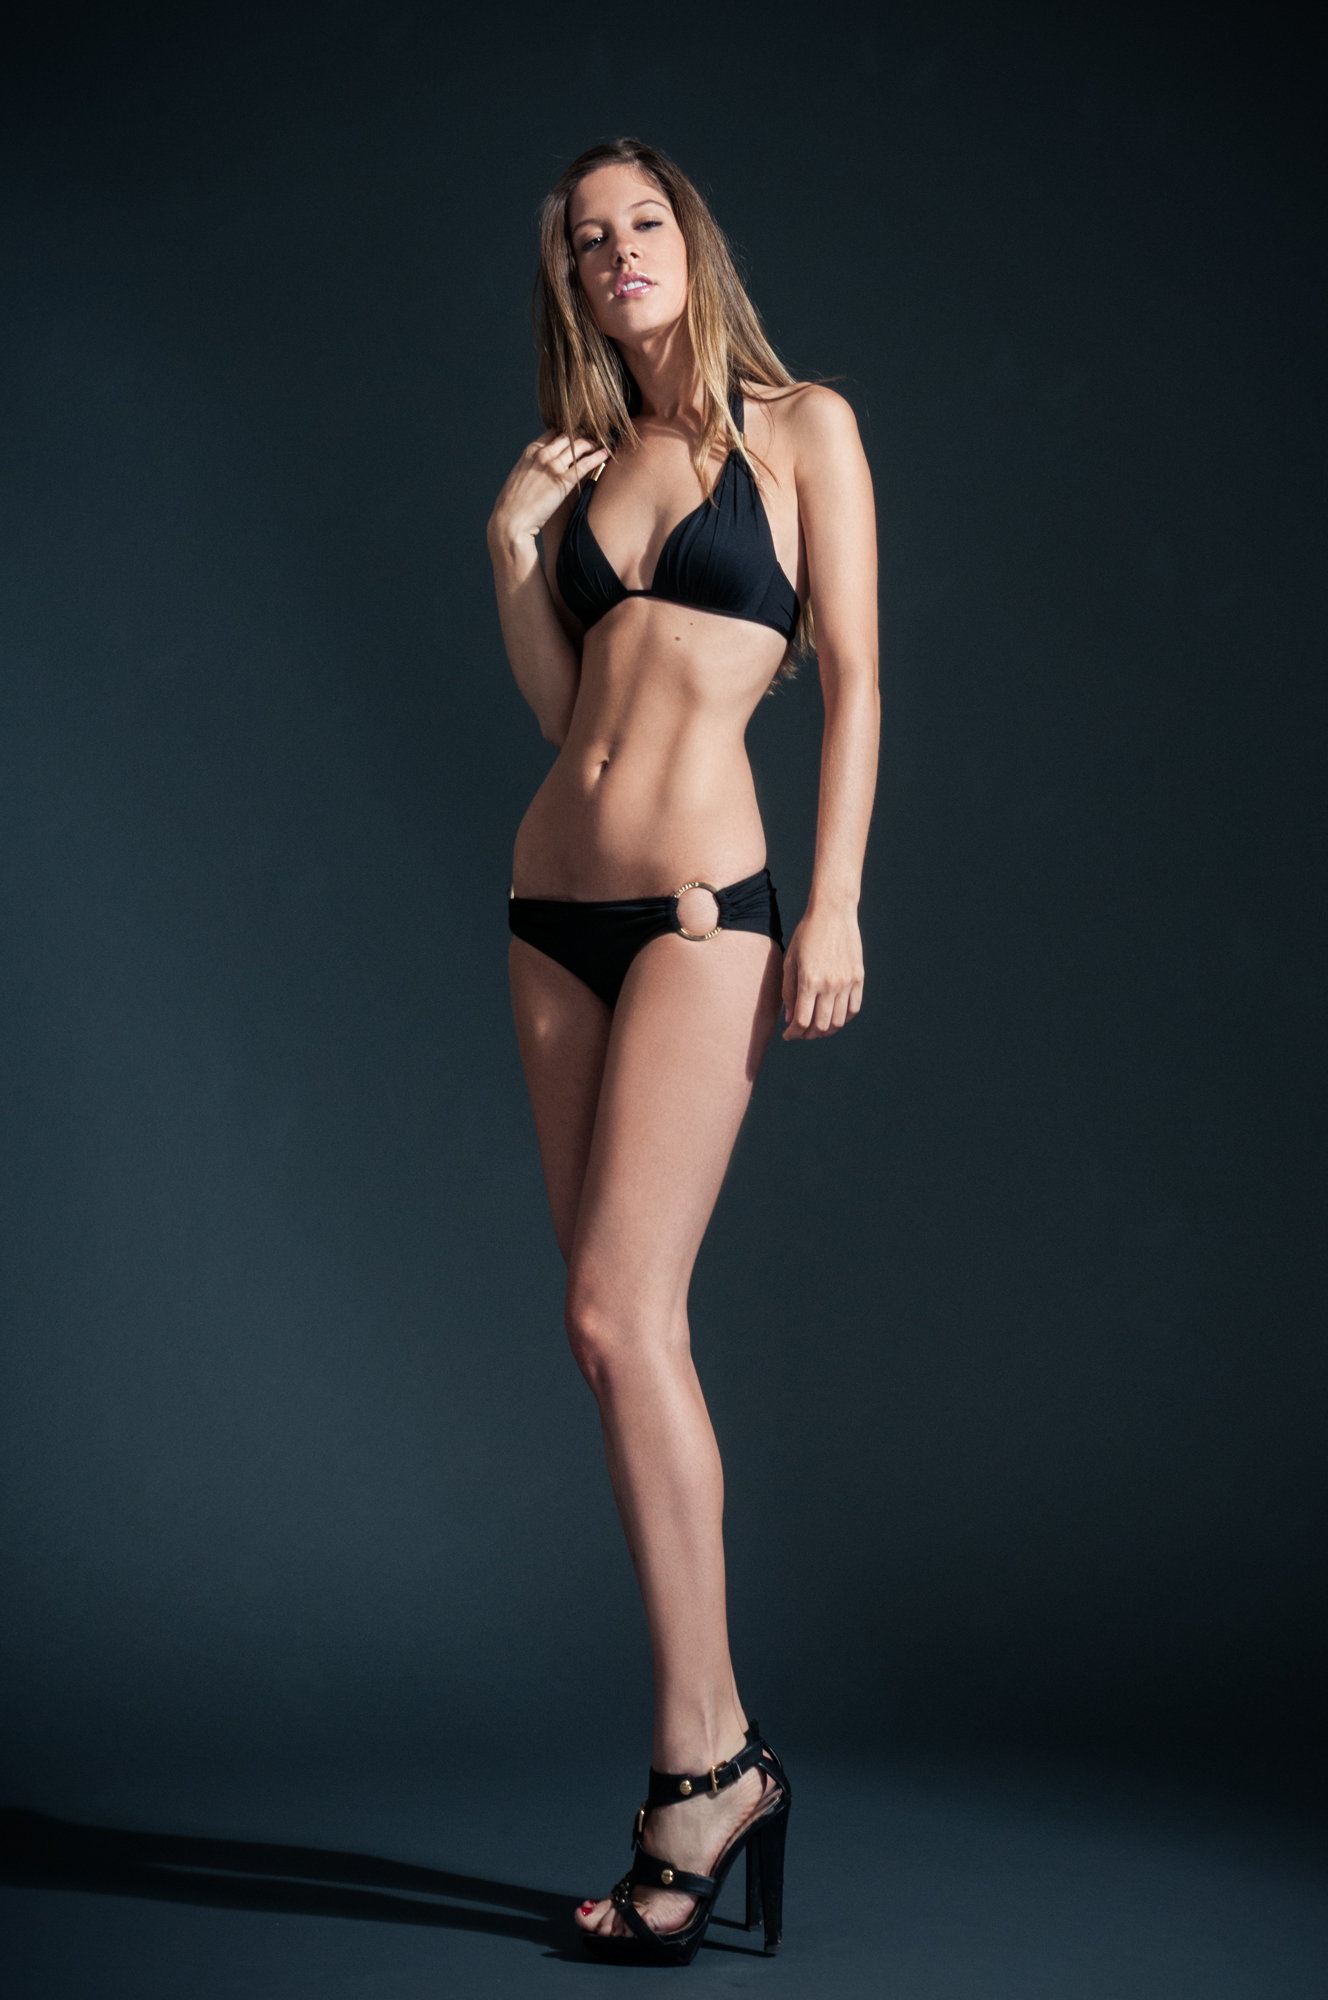
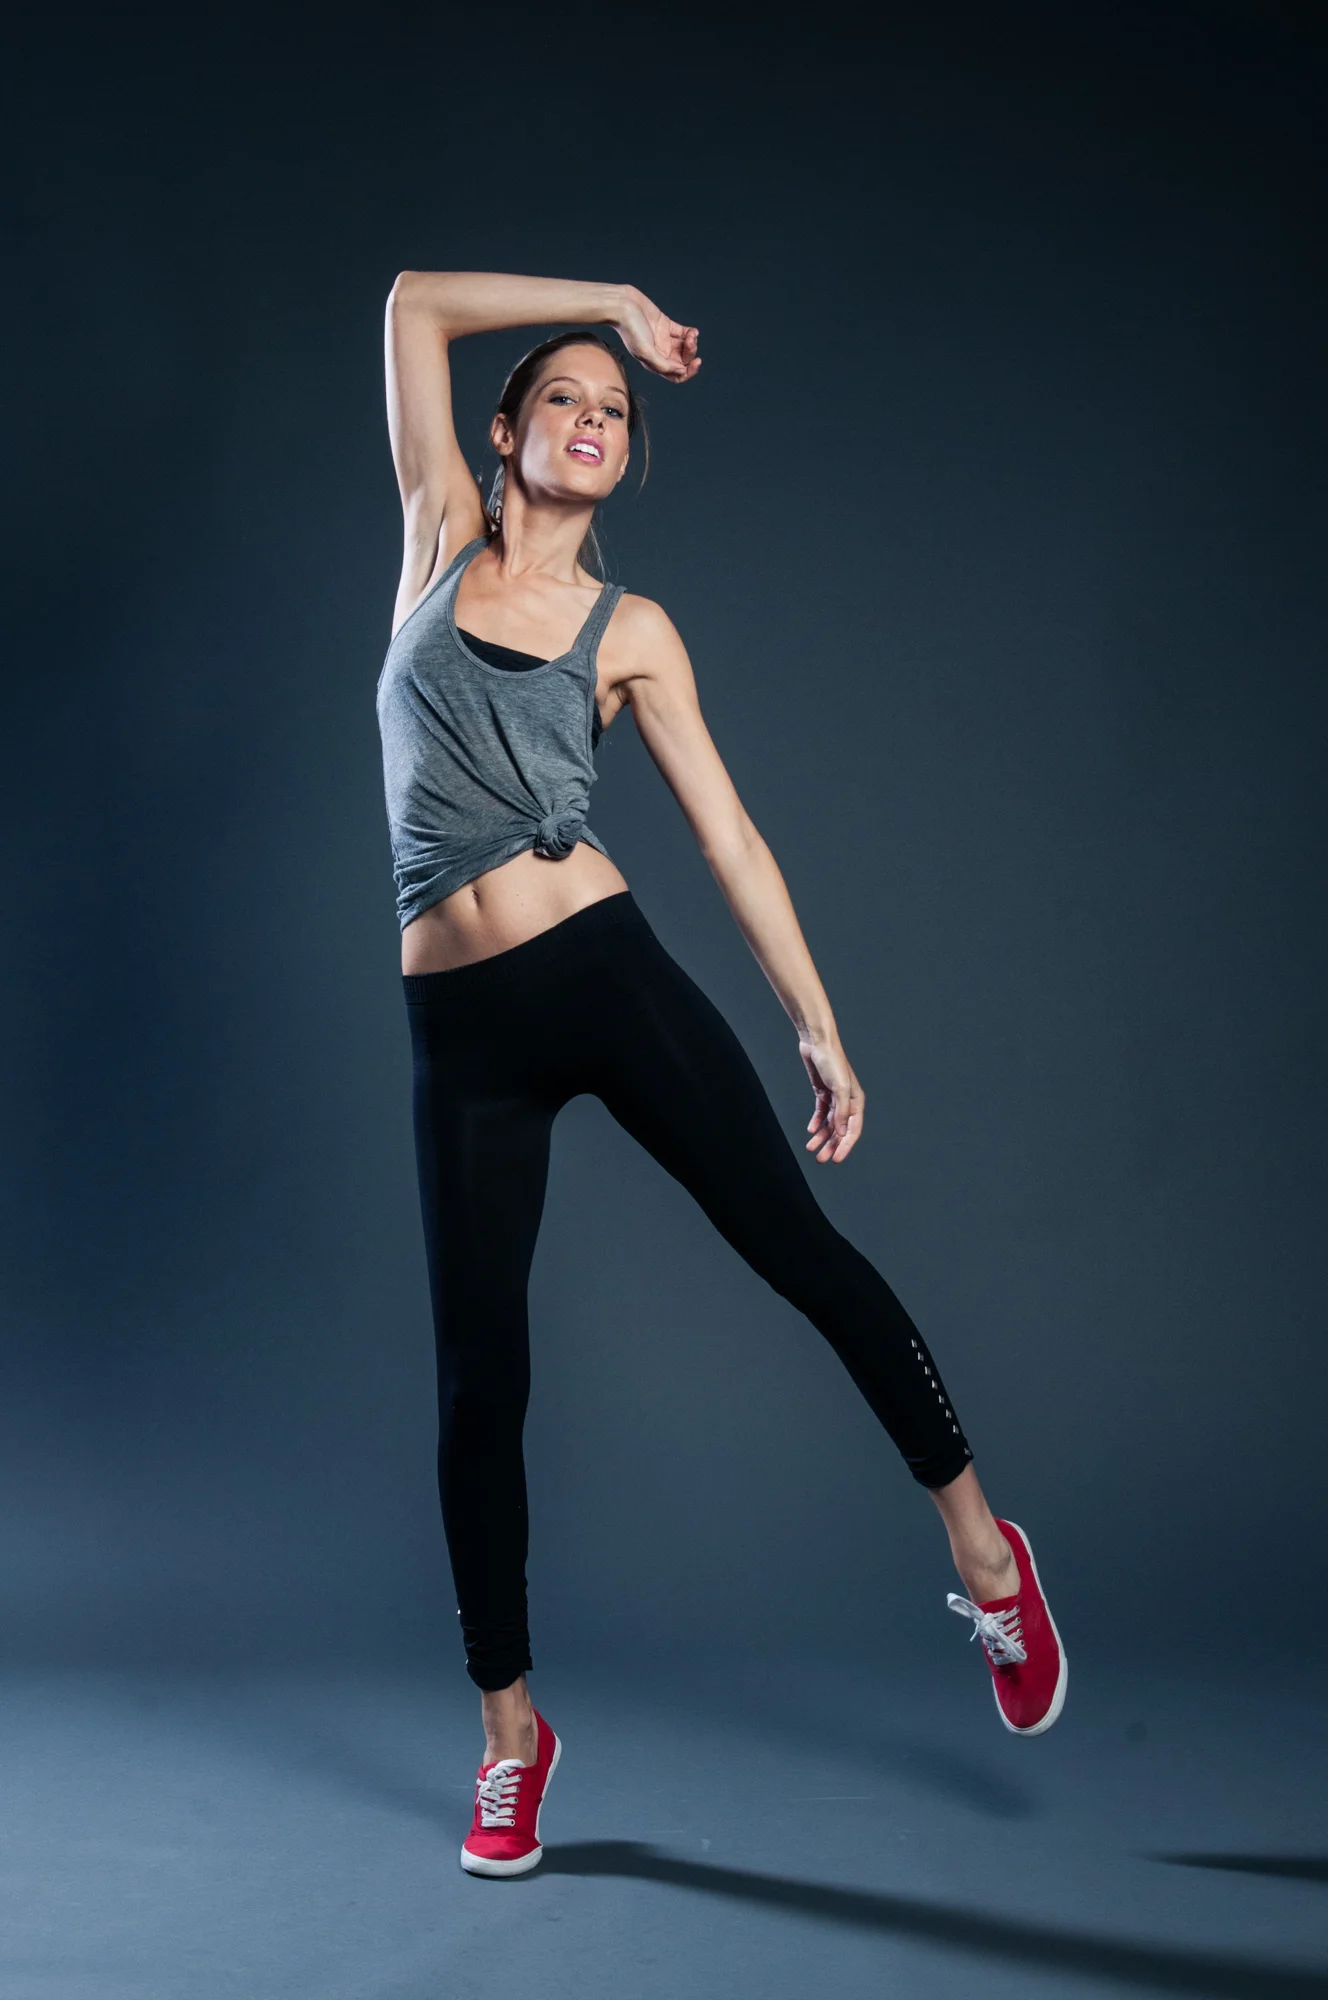
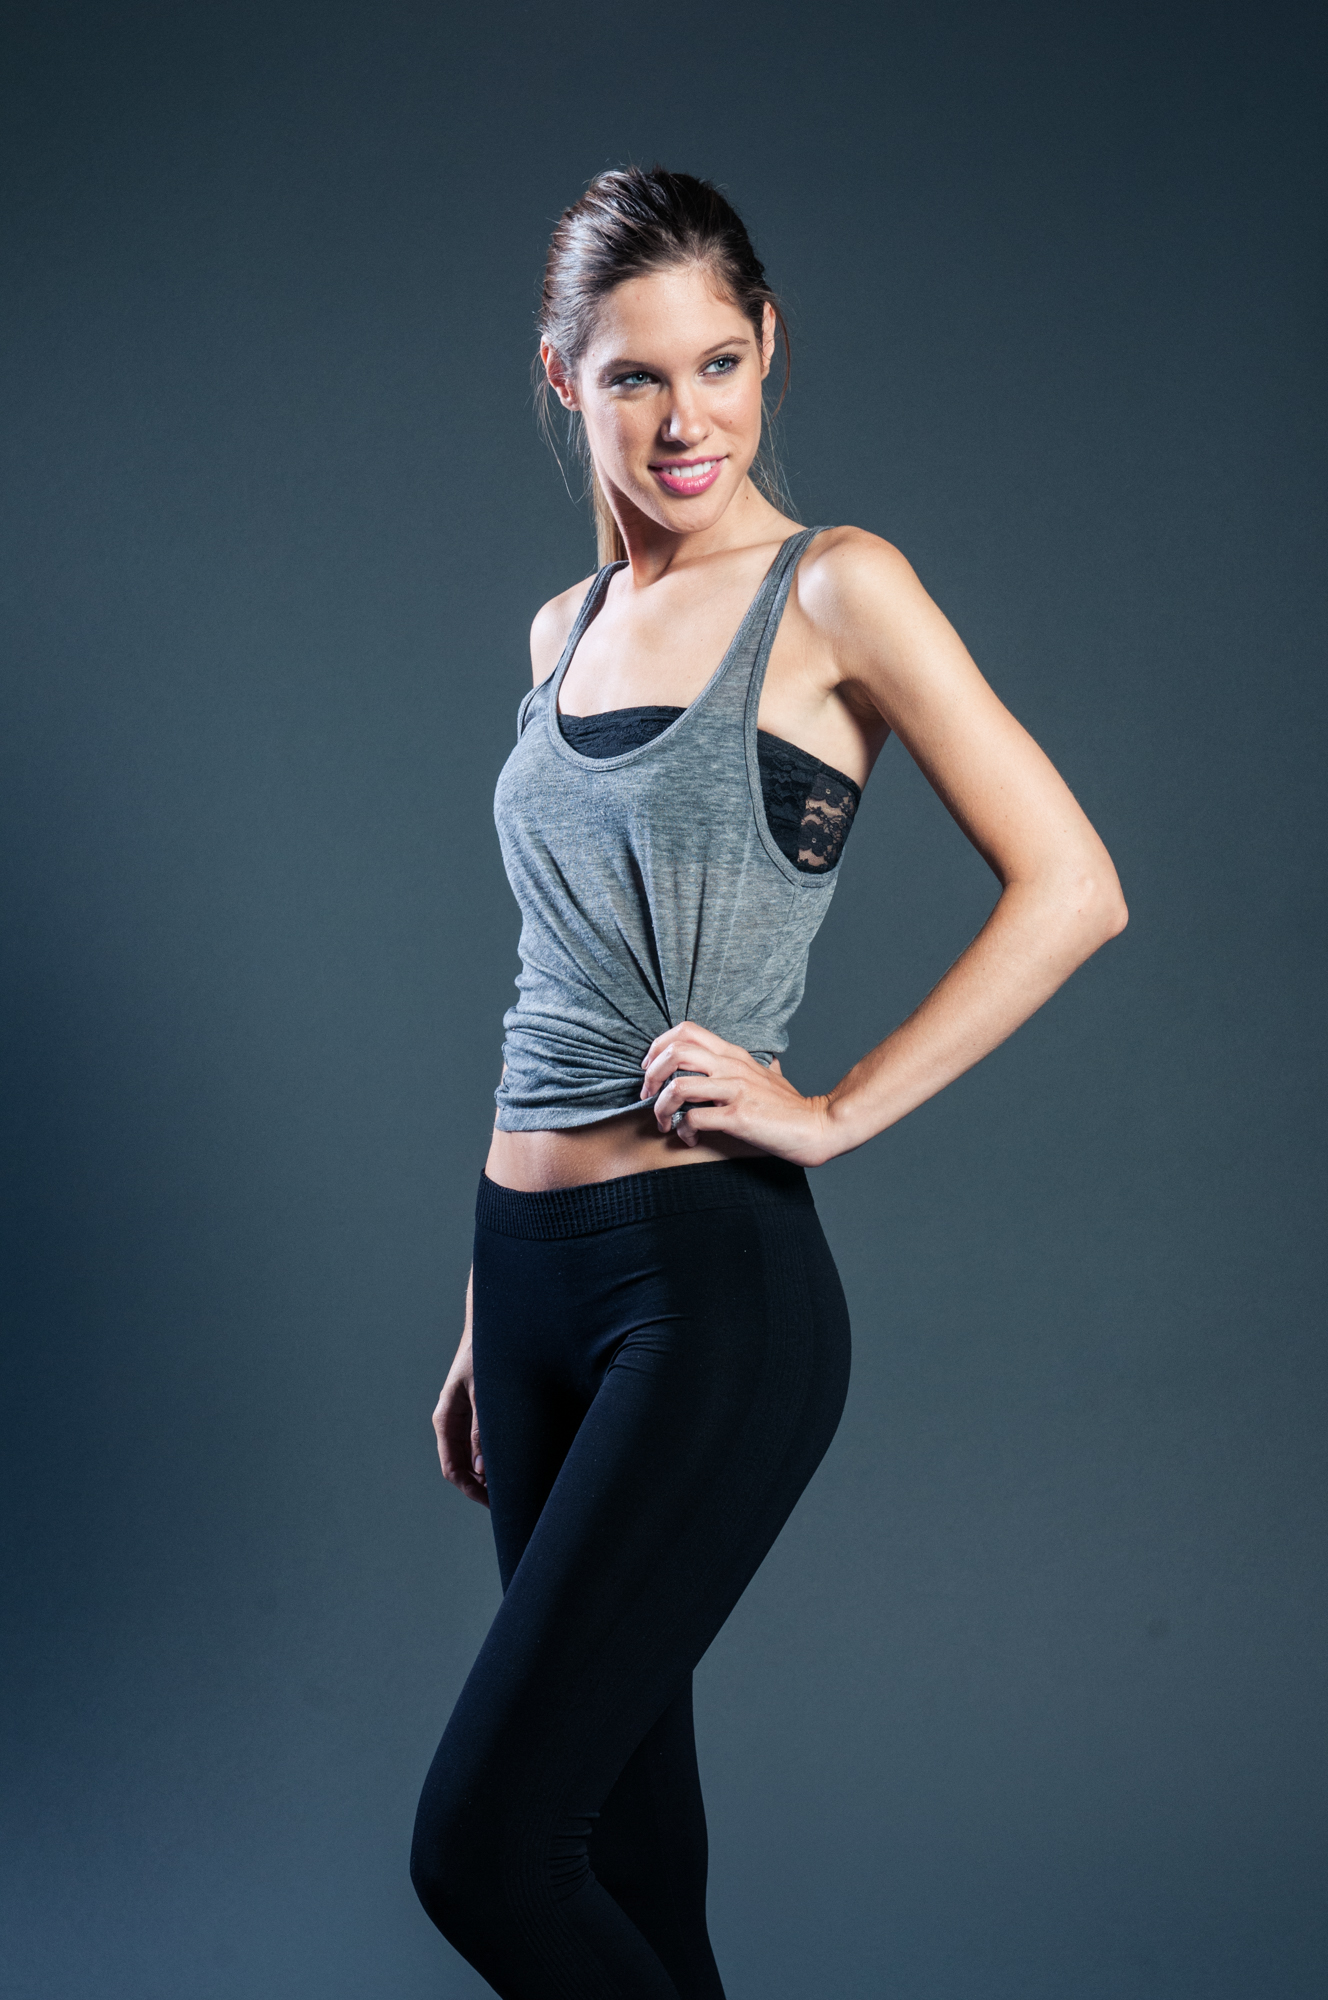
I'm often asked to help develop models and for this particular shoot we decided to go with a studio setting. This whole set was done with just two lights, one as a key and another as a rim light in the jumping/rocker looks. When working with minimal light sources it's important to learn about feathering and placing your model. I'd highly recommend all beginners to start with just one light to see how this works. Don't try eliminate shadows, just make them interesting. An optional piece of equipment is a reflector. The bigger the better for full length shots like these. It will soften the shadows significantly. If anyone has specific questions, please feel free to email me.


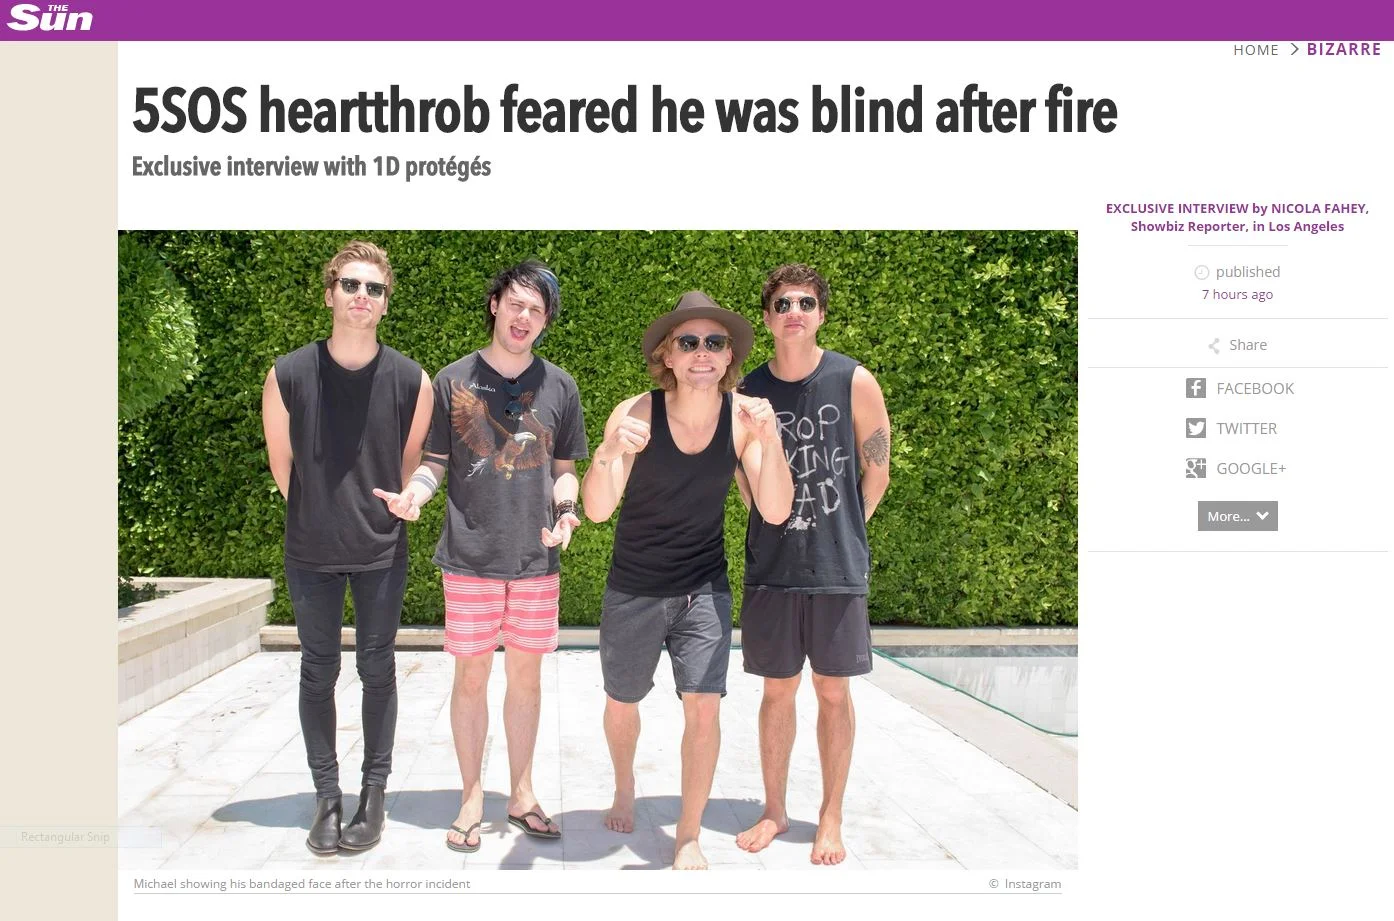
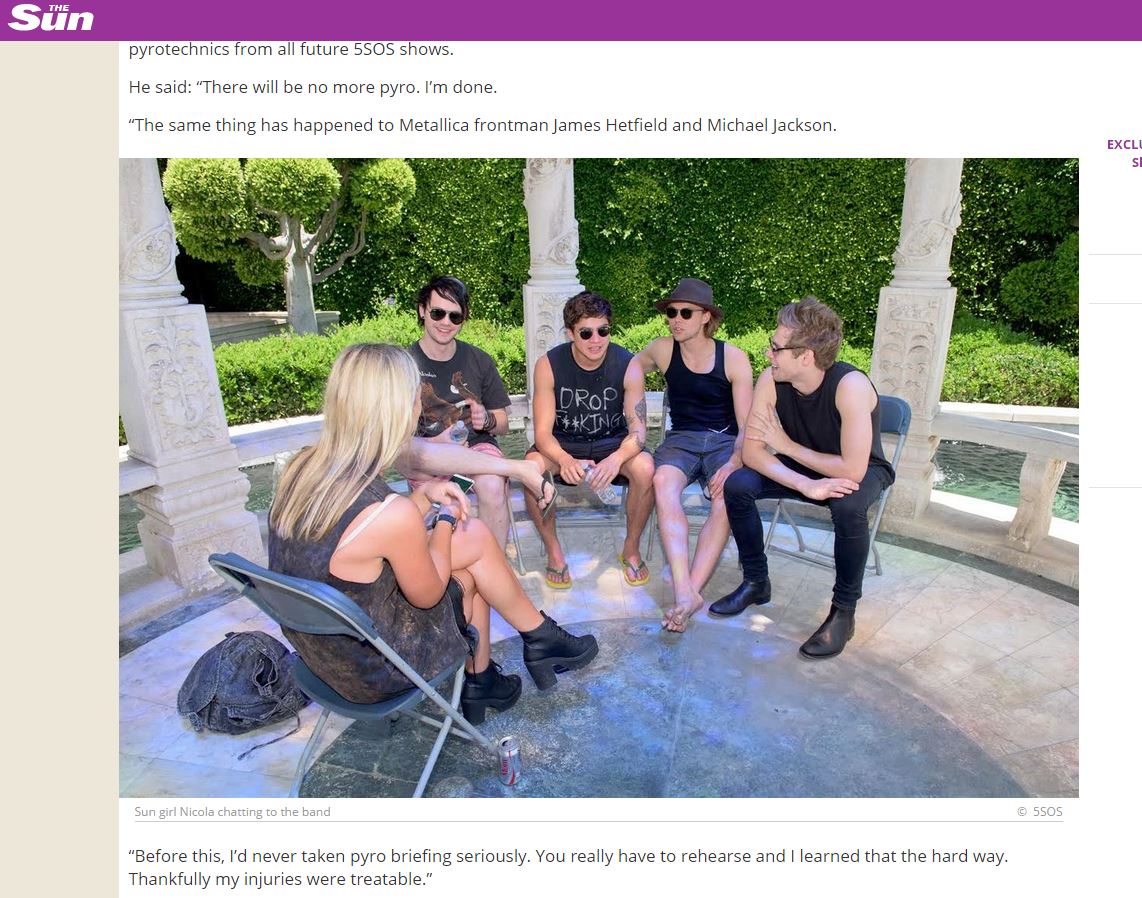
This week wraps up another successful bts shoot with 5 Seconds of Summer. Every time I work with them I feel incredibly lucky and honored to be a part of their progress and to see them grow as a band. It's hard for me to even fathom, but I've been working with 5 Seconds of Summer for over a year! That said, with a quick google search I was able to find more of my work displayed lovingly for you across the internet. Here are the screen grabs from various sources. When I'm on set with them, I get so much material from them, it's fun to see where it ends up.